Pair a module on Dashboard
One guided wizard pairs any Clarity accessory module to a Node-S — here's how it works from start to finish.
To use an accessory module, you first pair it with a Node-S. Pairing tells Clarity that the node and module are connected, configures the node to accept the module, and lets the module start sending its data to the Clarity Cloud. Nodes and modules share a single Devices page, and pairing always happens in a guided Pair module wizard that works the same way for every module — Dust, Black Carbon, Ozone, Multi-Gas, and Wind alike. Only the deployment guidance shown partway through is tailored to your module.
Pairing requires an org admin or technician role. If your role can't manage devices, the pairing buttons are still visible but disabled, with a "Requires org admin or technician role" tooltip — ask your org admin.
Before you pair
The Node-S you want to pair with must already be configured. The wizard only lets you pair with nodes that are compatible and available, so an unconfigured or already-occupied node won't be selectable. If you haven't configured the node yet, follow Configure your Clarity Node-S first, then come back here.
Pair from the Devices page
This is the full guided path. It works the same regardless of which module you're pairing.
-
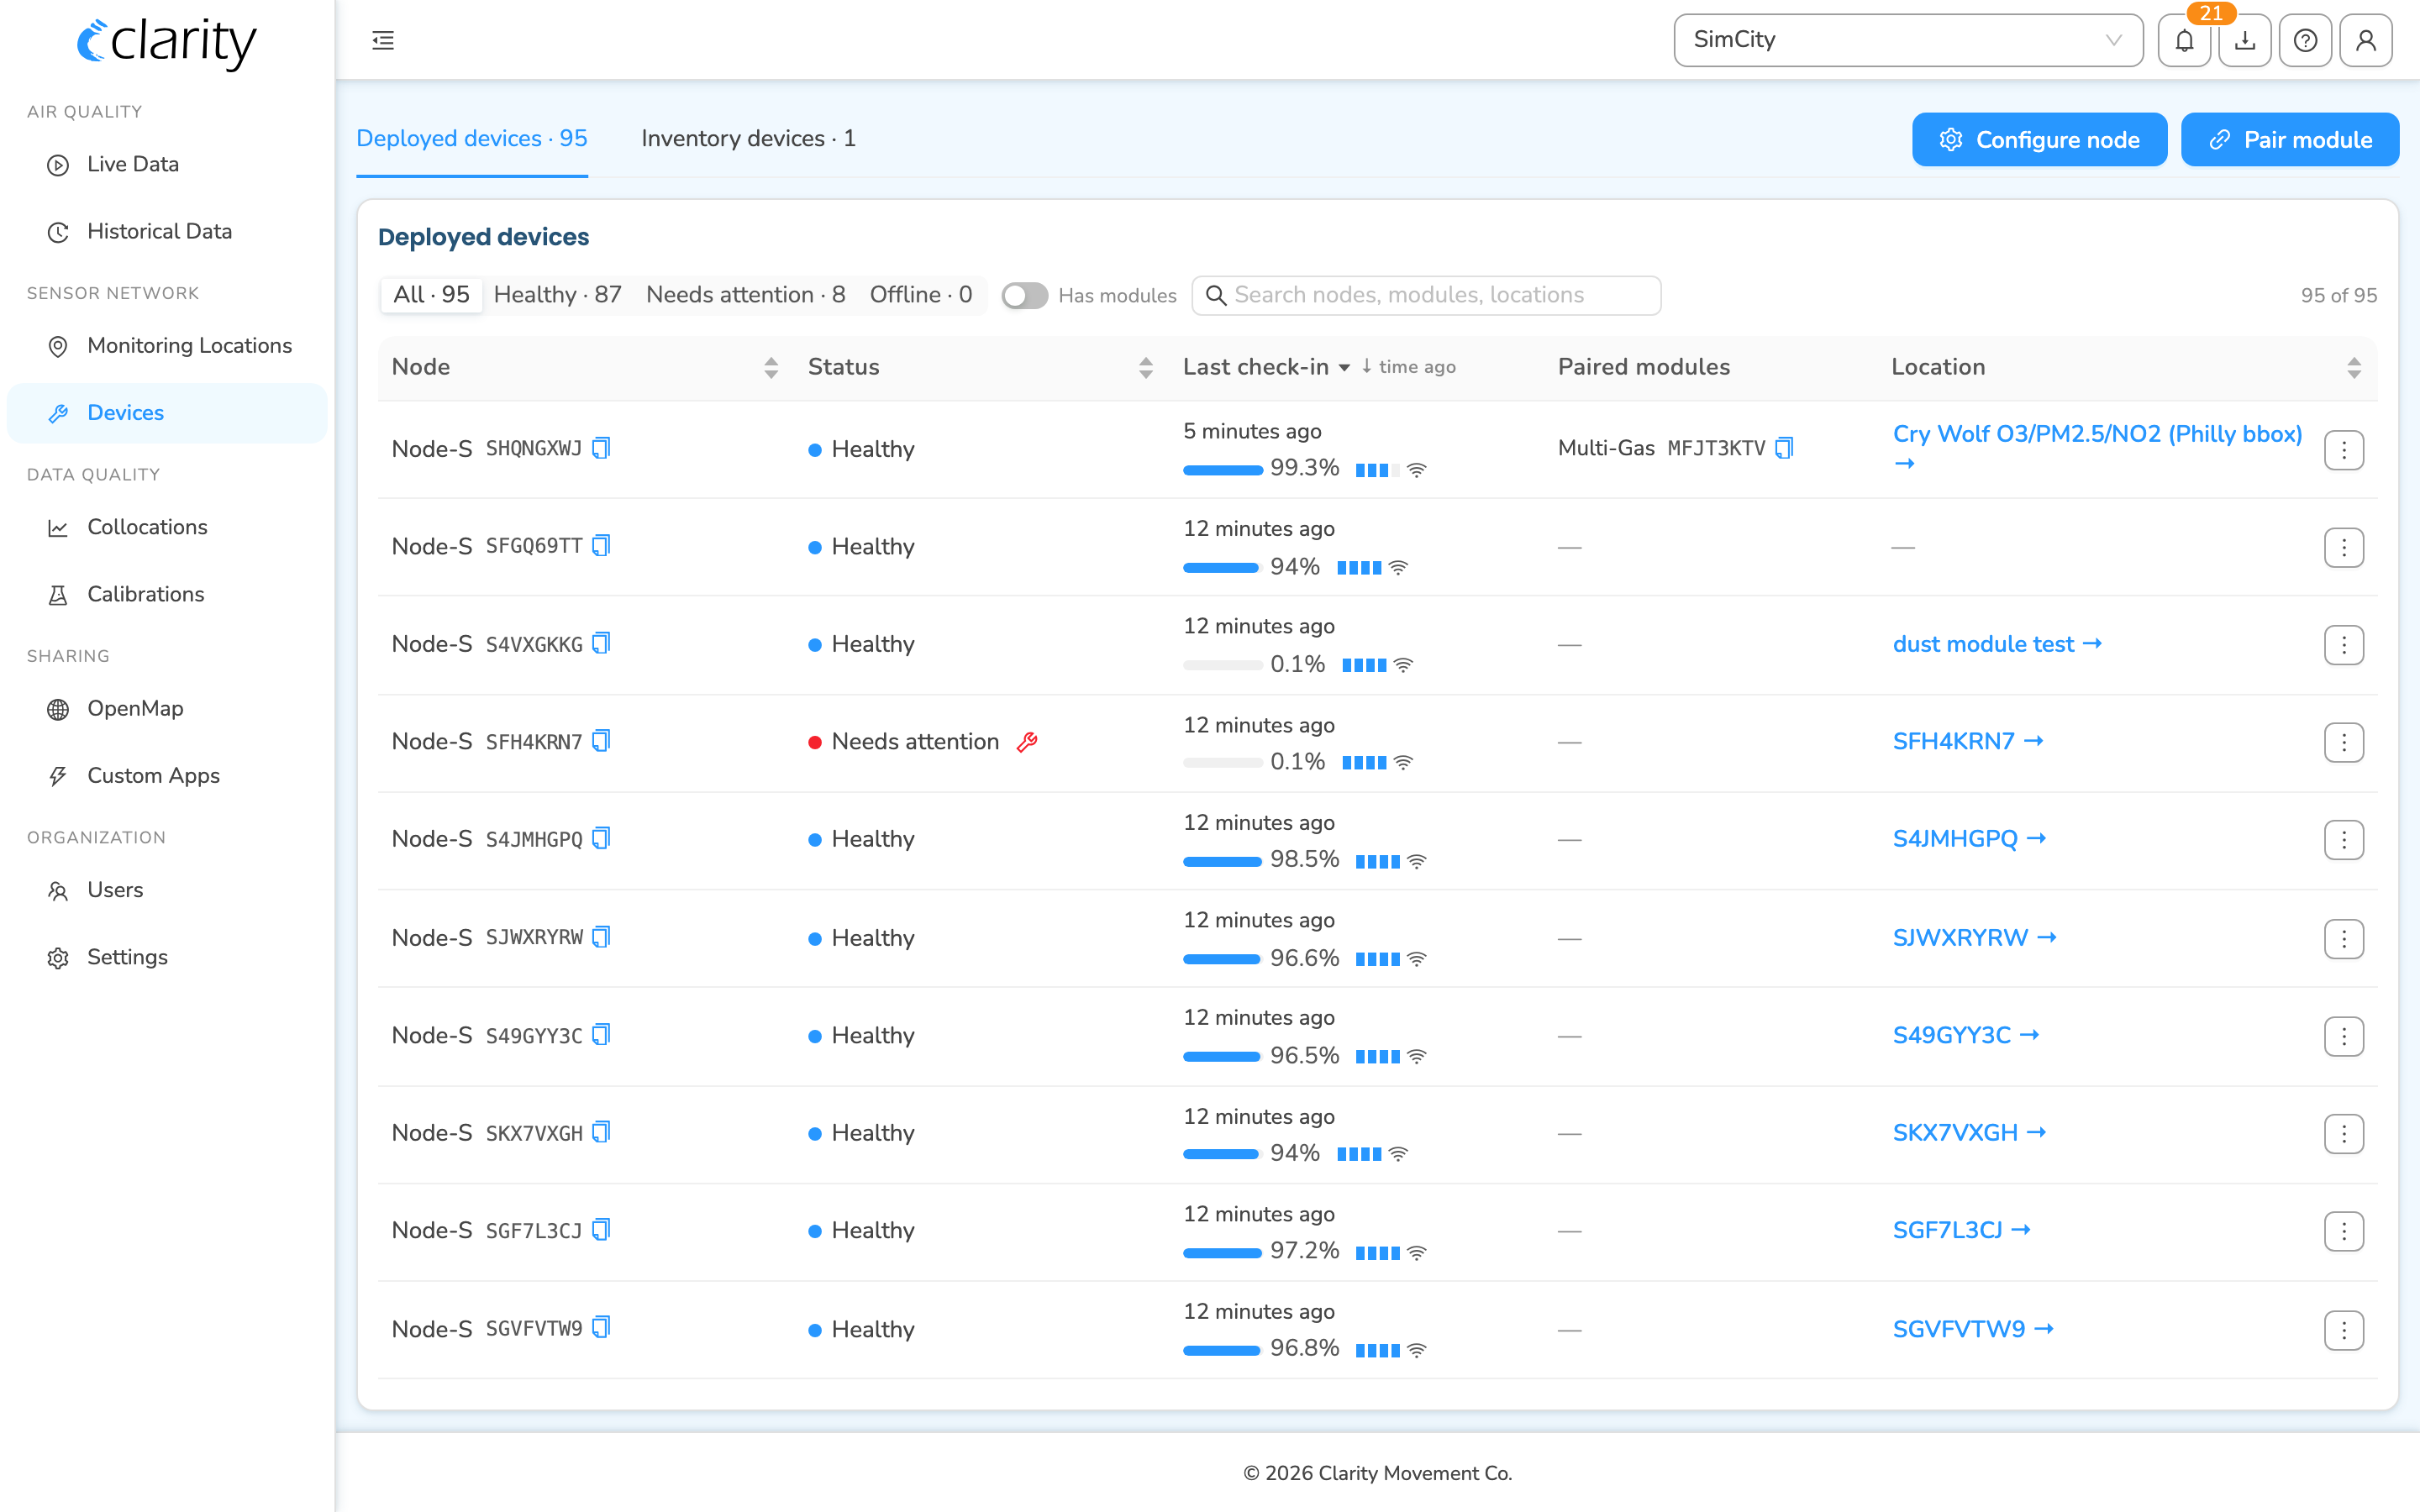
Open the Devices page. Sign in to the Clarity Dashboard and, in the left sidebar under SENSOR NETWORK, click Devices. The Devices page is a single unified list of every node and module your organization owns, split into a Deployed devices tab (nodes currently running at a location, with any paired modules shown in the Paired modules column) and an Inventory devices tab (nodes and modules you own that aren't deployed yet).
-
Click Pair module. The button sits at the top-right of the page and stays visible on both tabs. It opens the wizard at
/devices/pair-a-module.Two shortcuts into the wizard: From the Inventory devices tab, open a module row's ⋮ overflow menu and choose Pair module — this carries that module's ID straight into the wizard. And scanning the QR/ID sticker on the module opens the wizard with the module already filled in, so you can skip the next step.
-
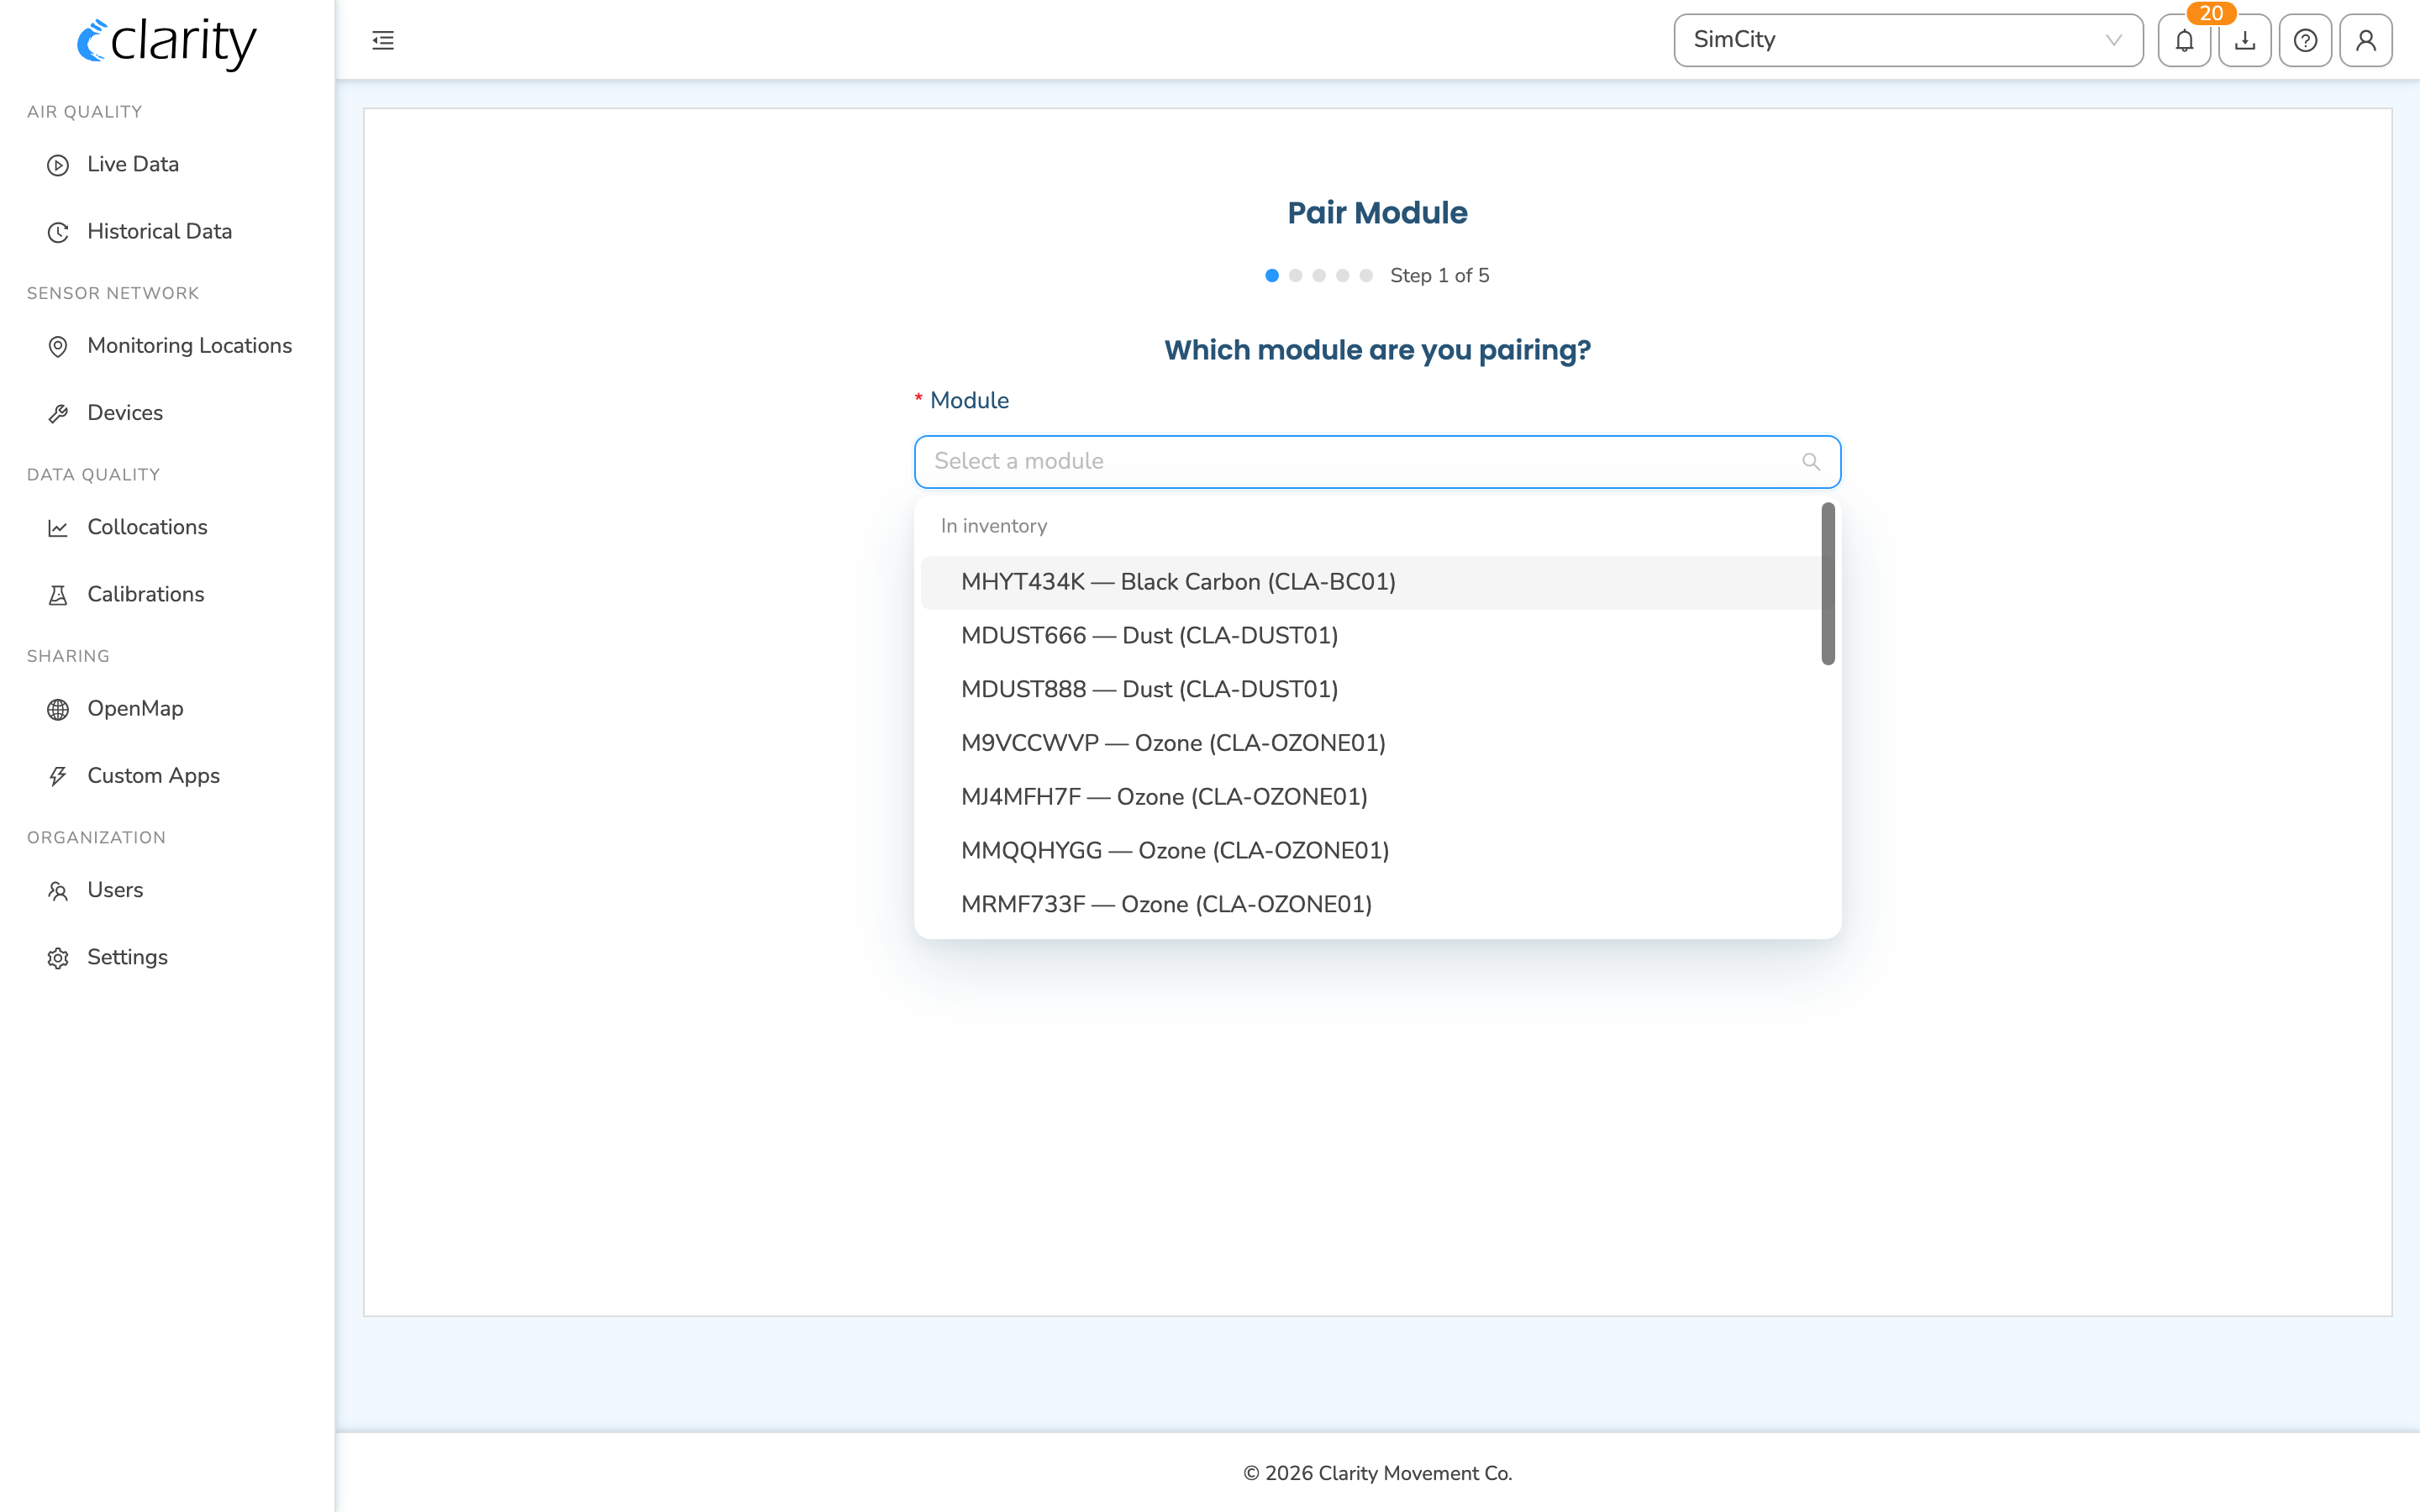
Choose the module. On the Which module are you pairing? step, pick your module from the Module dropdown. It's grouped into In inventory (modules available to pair) and Already paired (listed so you can locate an ID you're holding, but greyed out and not selectable). Select your module and click Next.
-
Confirm the module. The Is this the module you want to pair? step shows the resolved module name, type (SKU), and ID. Check that they match the sticker on your physical module, then click Next. If the module is already paired to another node, you'll see an Already paired warning here telling you which node it's on — unpair it first (see Unpair or re-pair a module below) before you can continue.

-
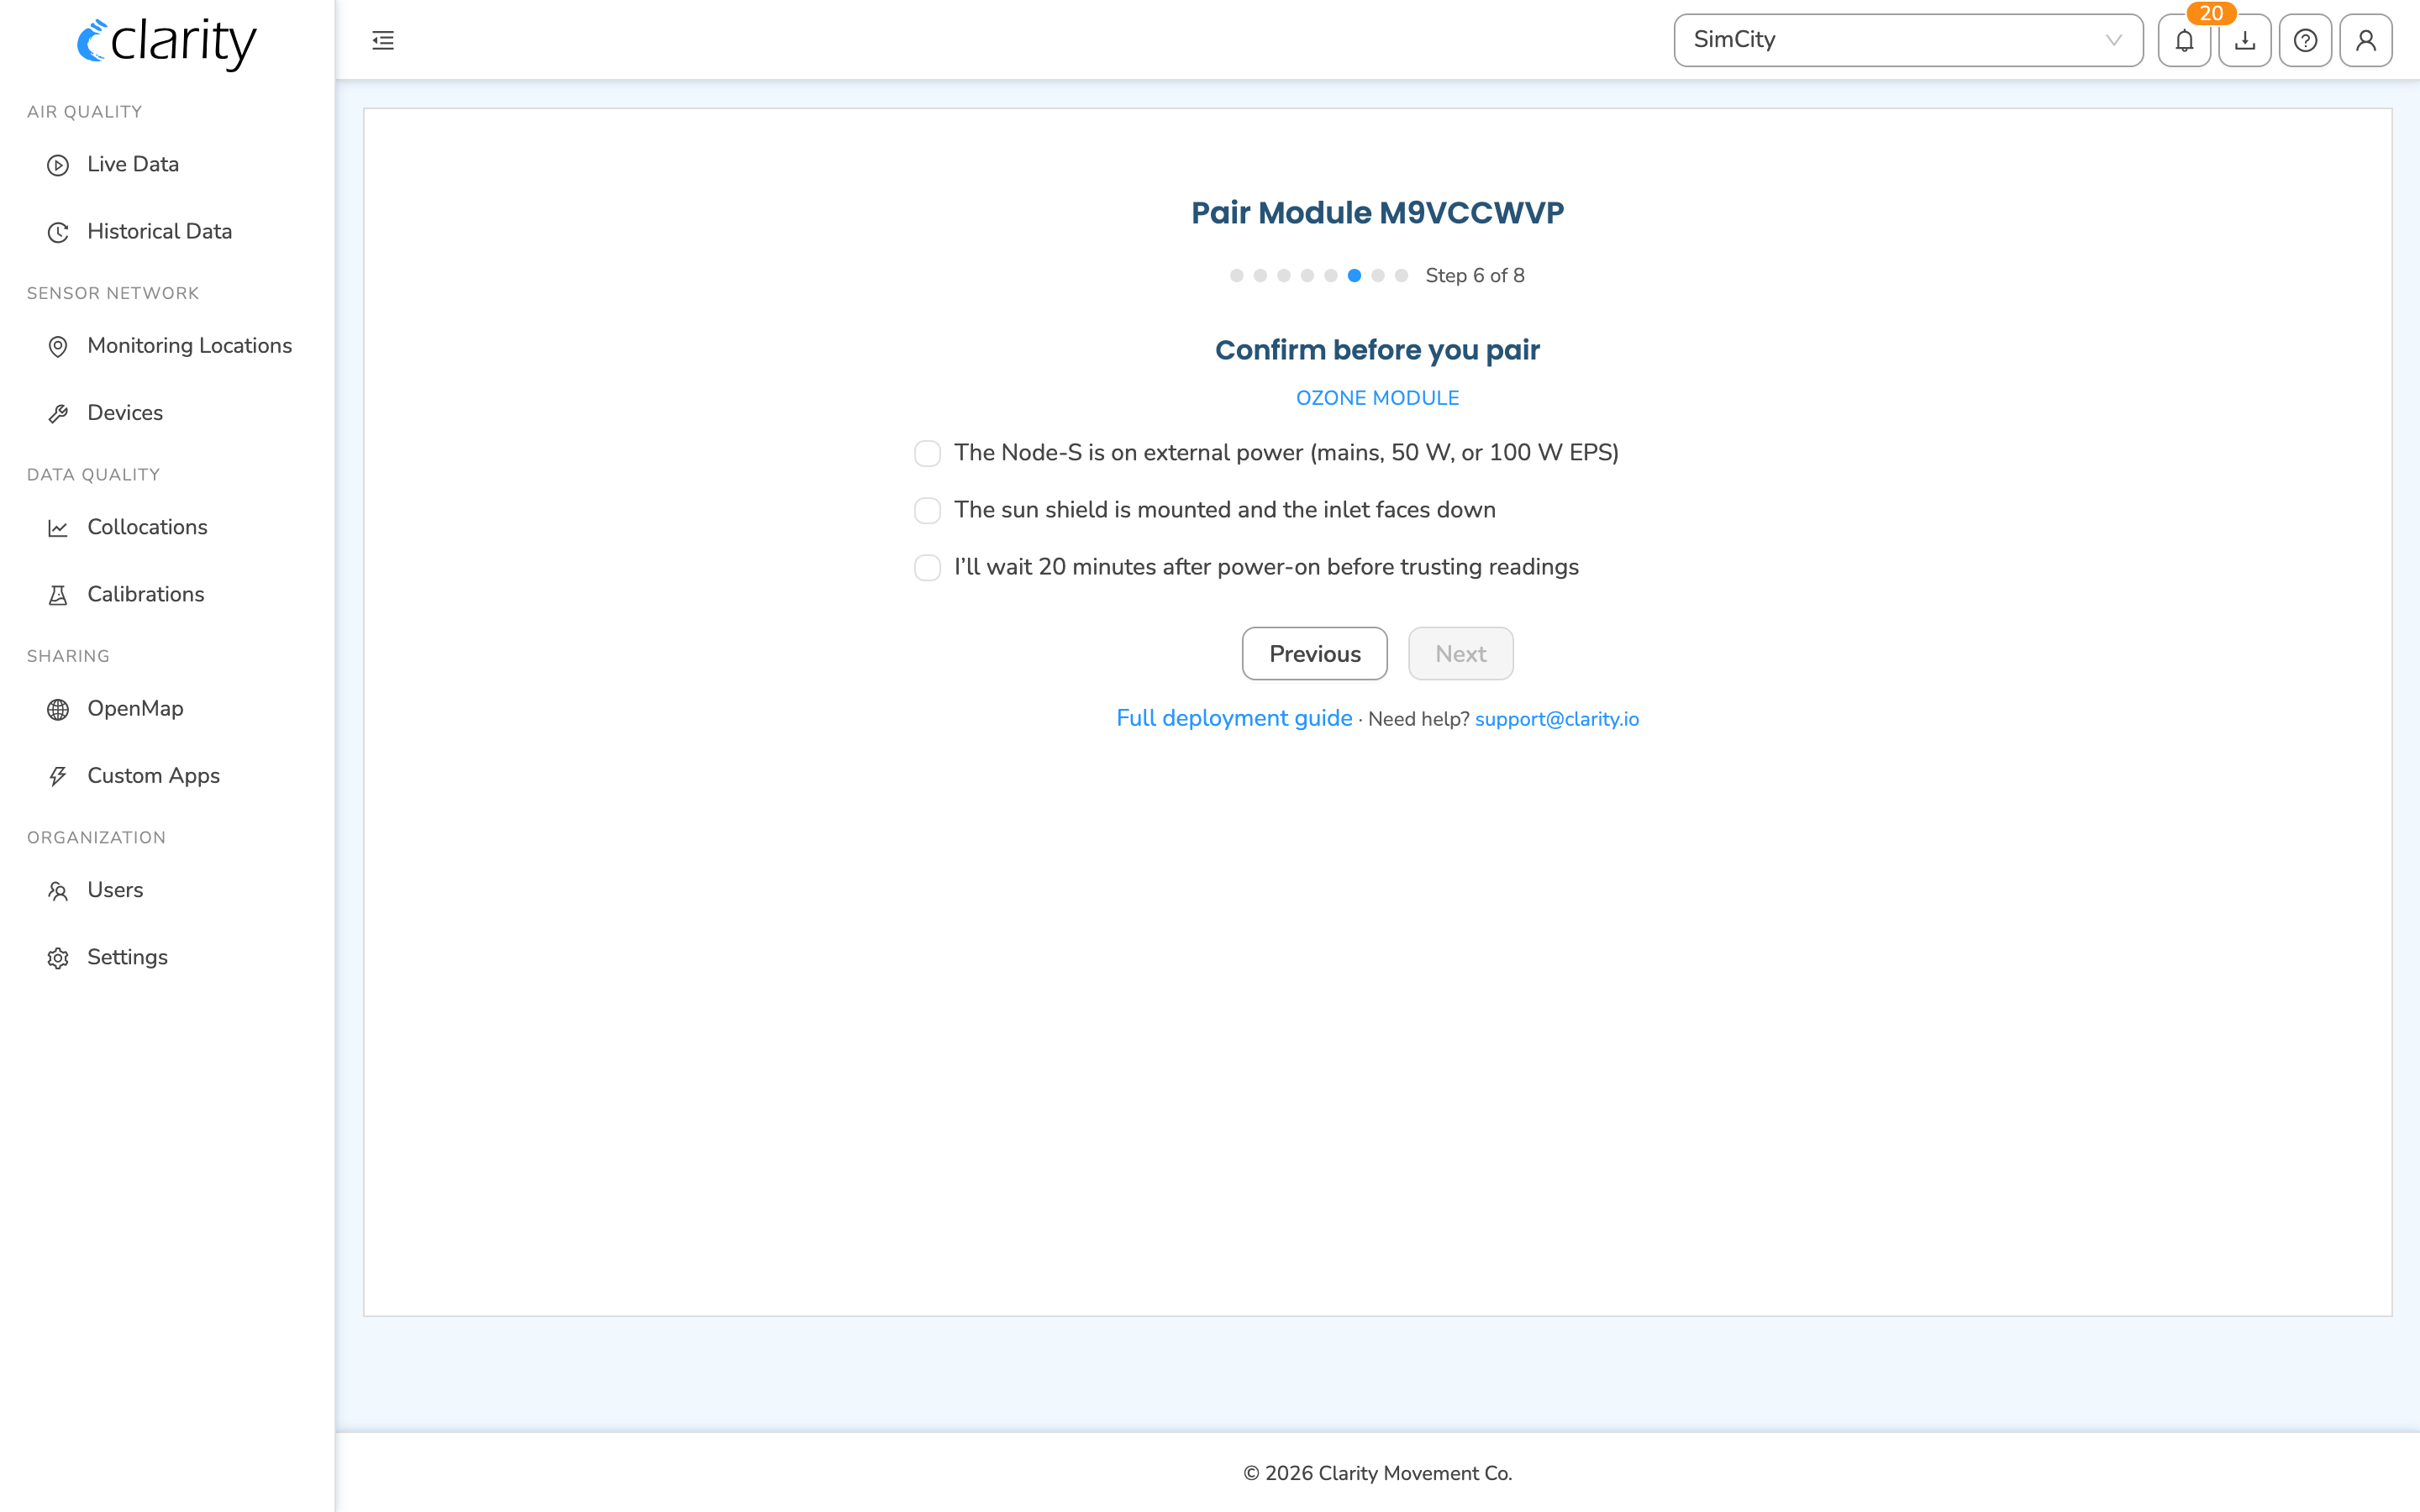
Review your module's deployment guidance. Next, the wizard shows a few quick deployment guide cards followed by a Confirm before you pair checklist. The contents depend on your module family — they cover the things that matter for that module, such as power, orientation, airflow, and warm-up. You can't advance until every checklist box is ticked, which is the wizard's way of confirming you're set up to deploy correctly. The exact requirements, and the reasons behind them, live in your module's deploy guide: Dust, Black Carbon, Ozone, Multi-Gas, or Wind.
-
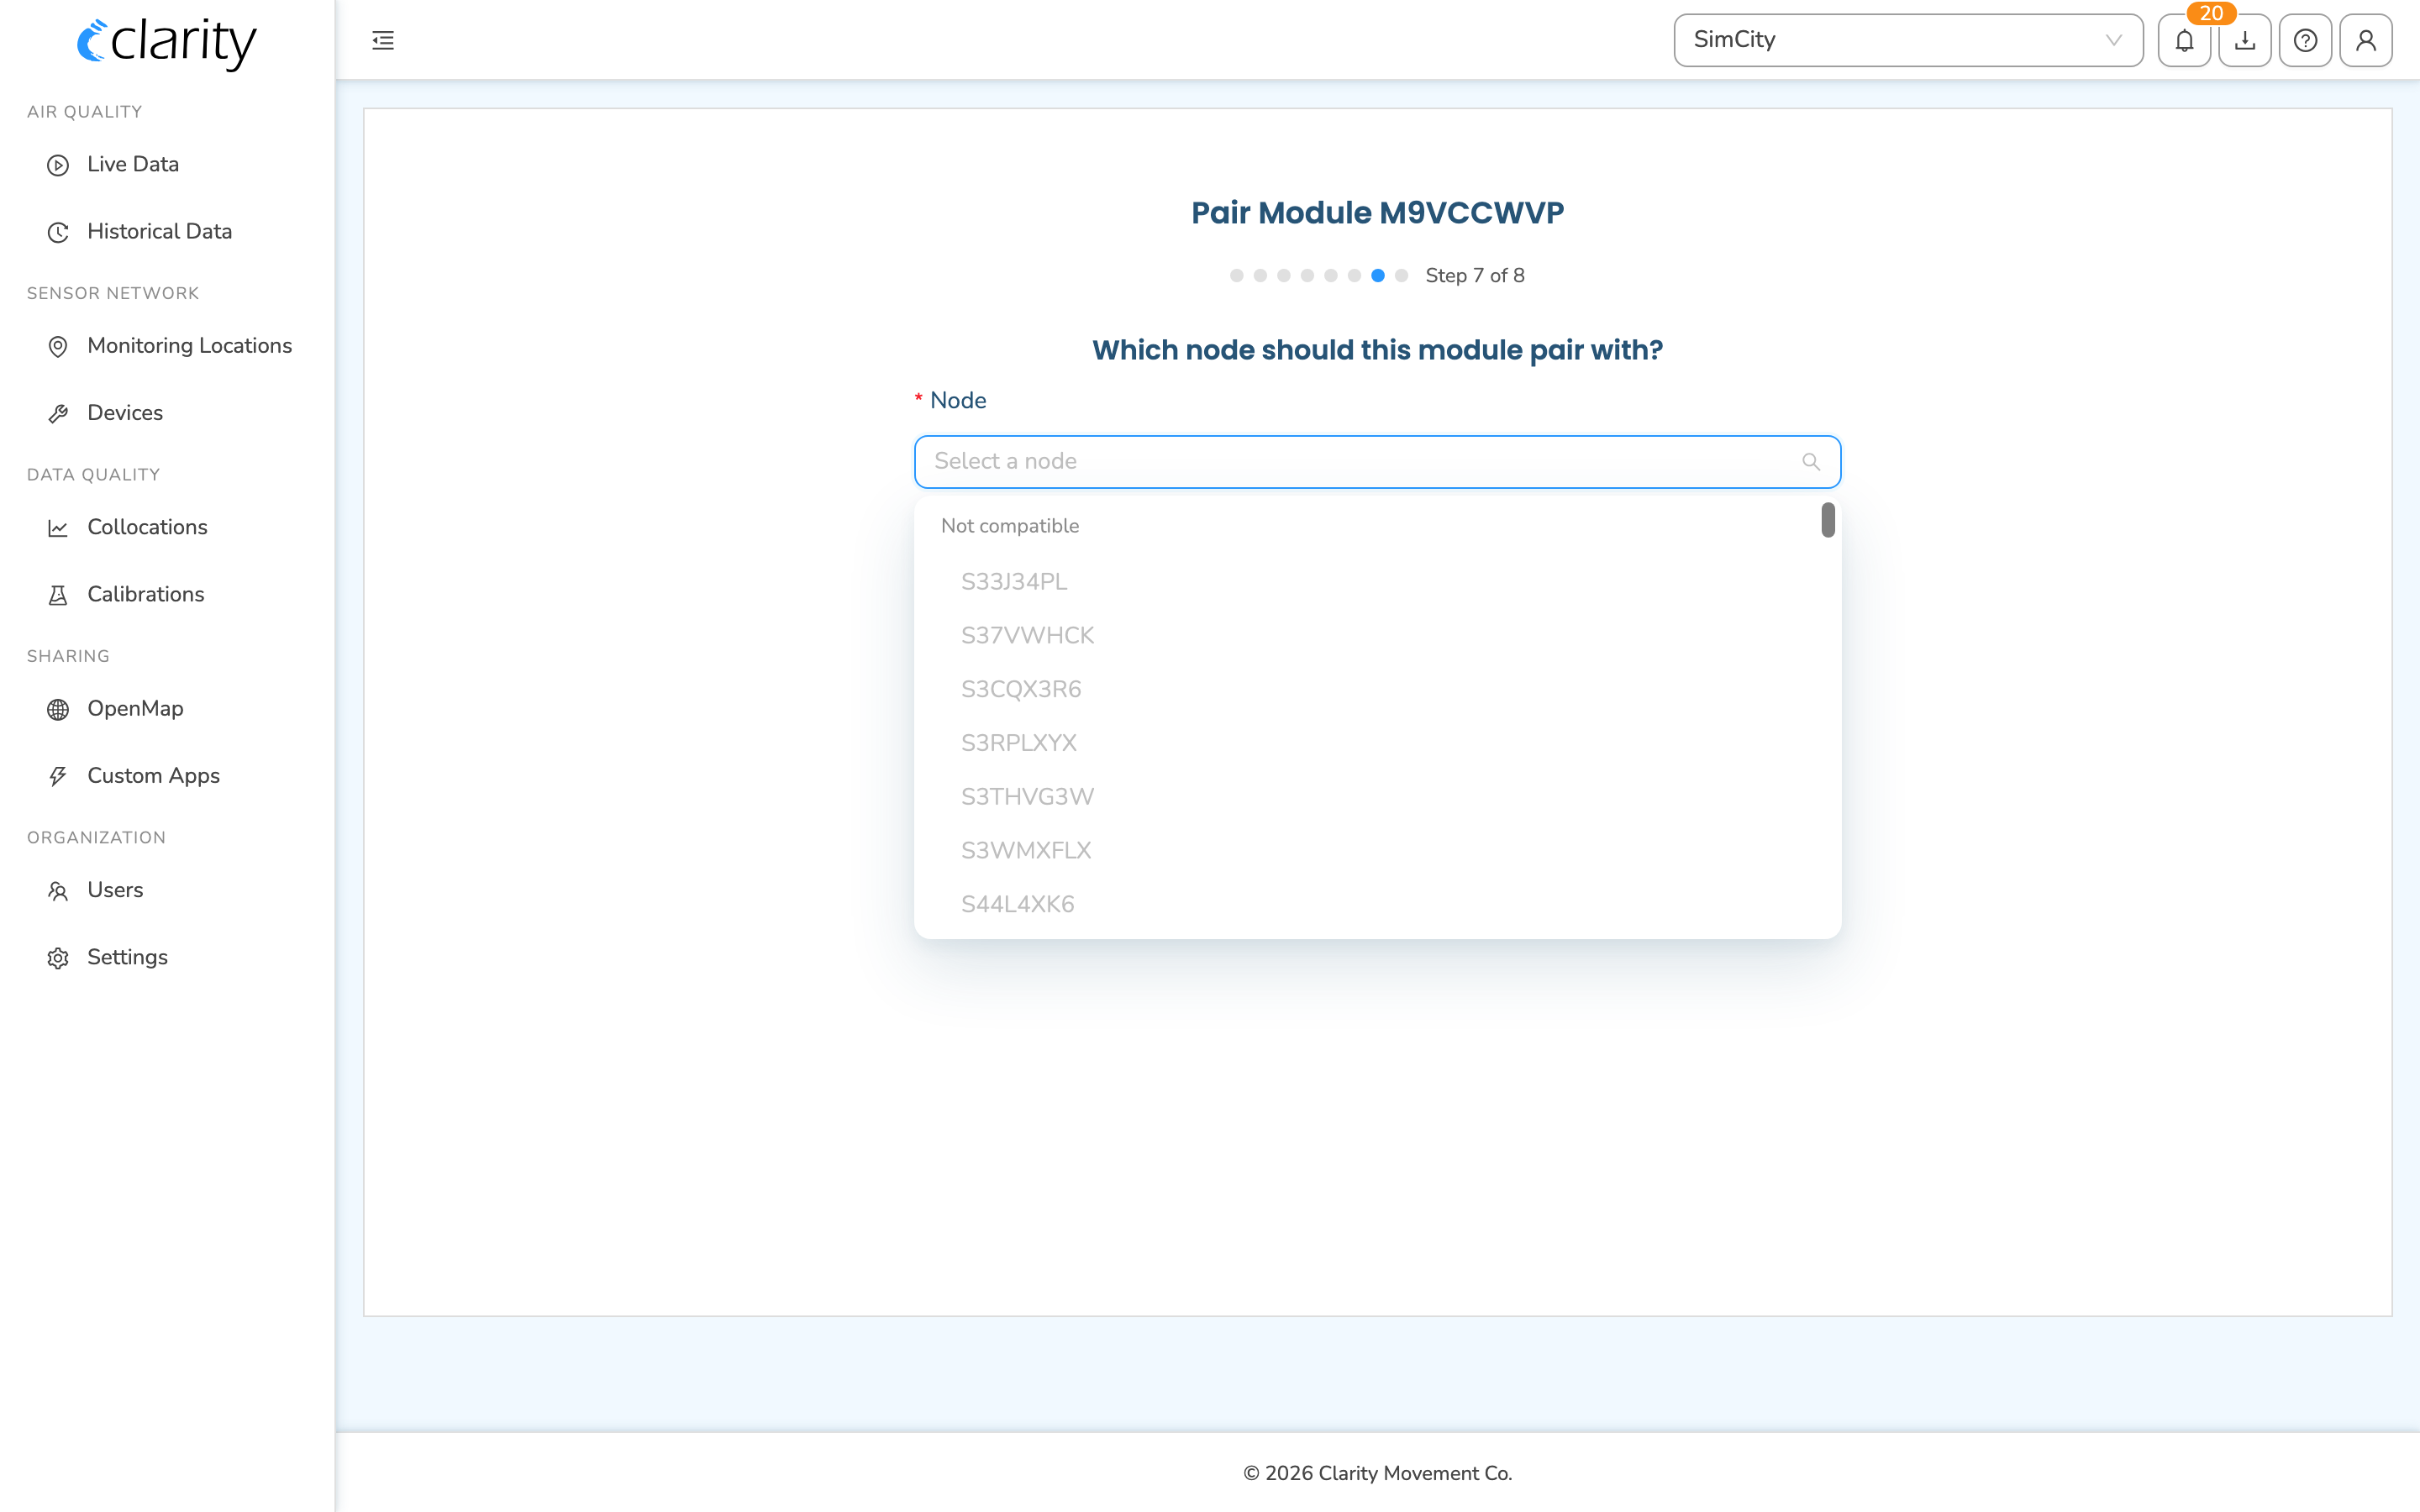
Choose the node. On the Which node should this module pair with? step, pick the Node-S from the Node dropdown. It's grouped into Available to pair (compatible and free — selectable), Compatible, but not available (greyed out; for example, another module of the same family is already paired to it), and Not compatible (greyed out). Only compatible, available nodes are selectable. The Node ID is printed on the bottom of the Node-S. Click Next.
-
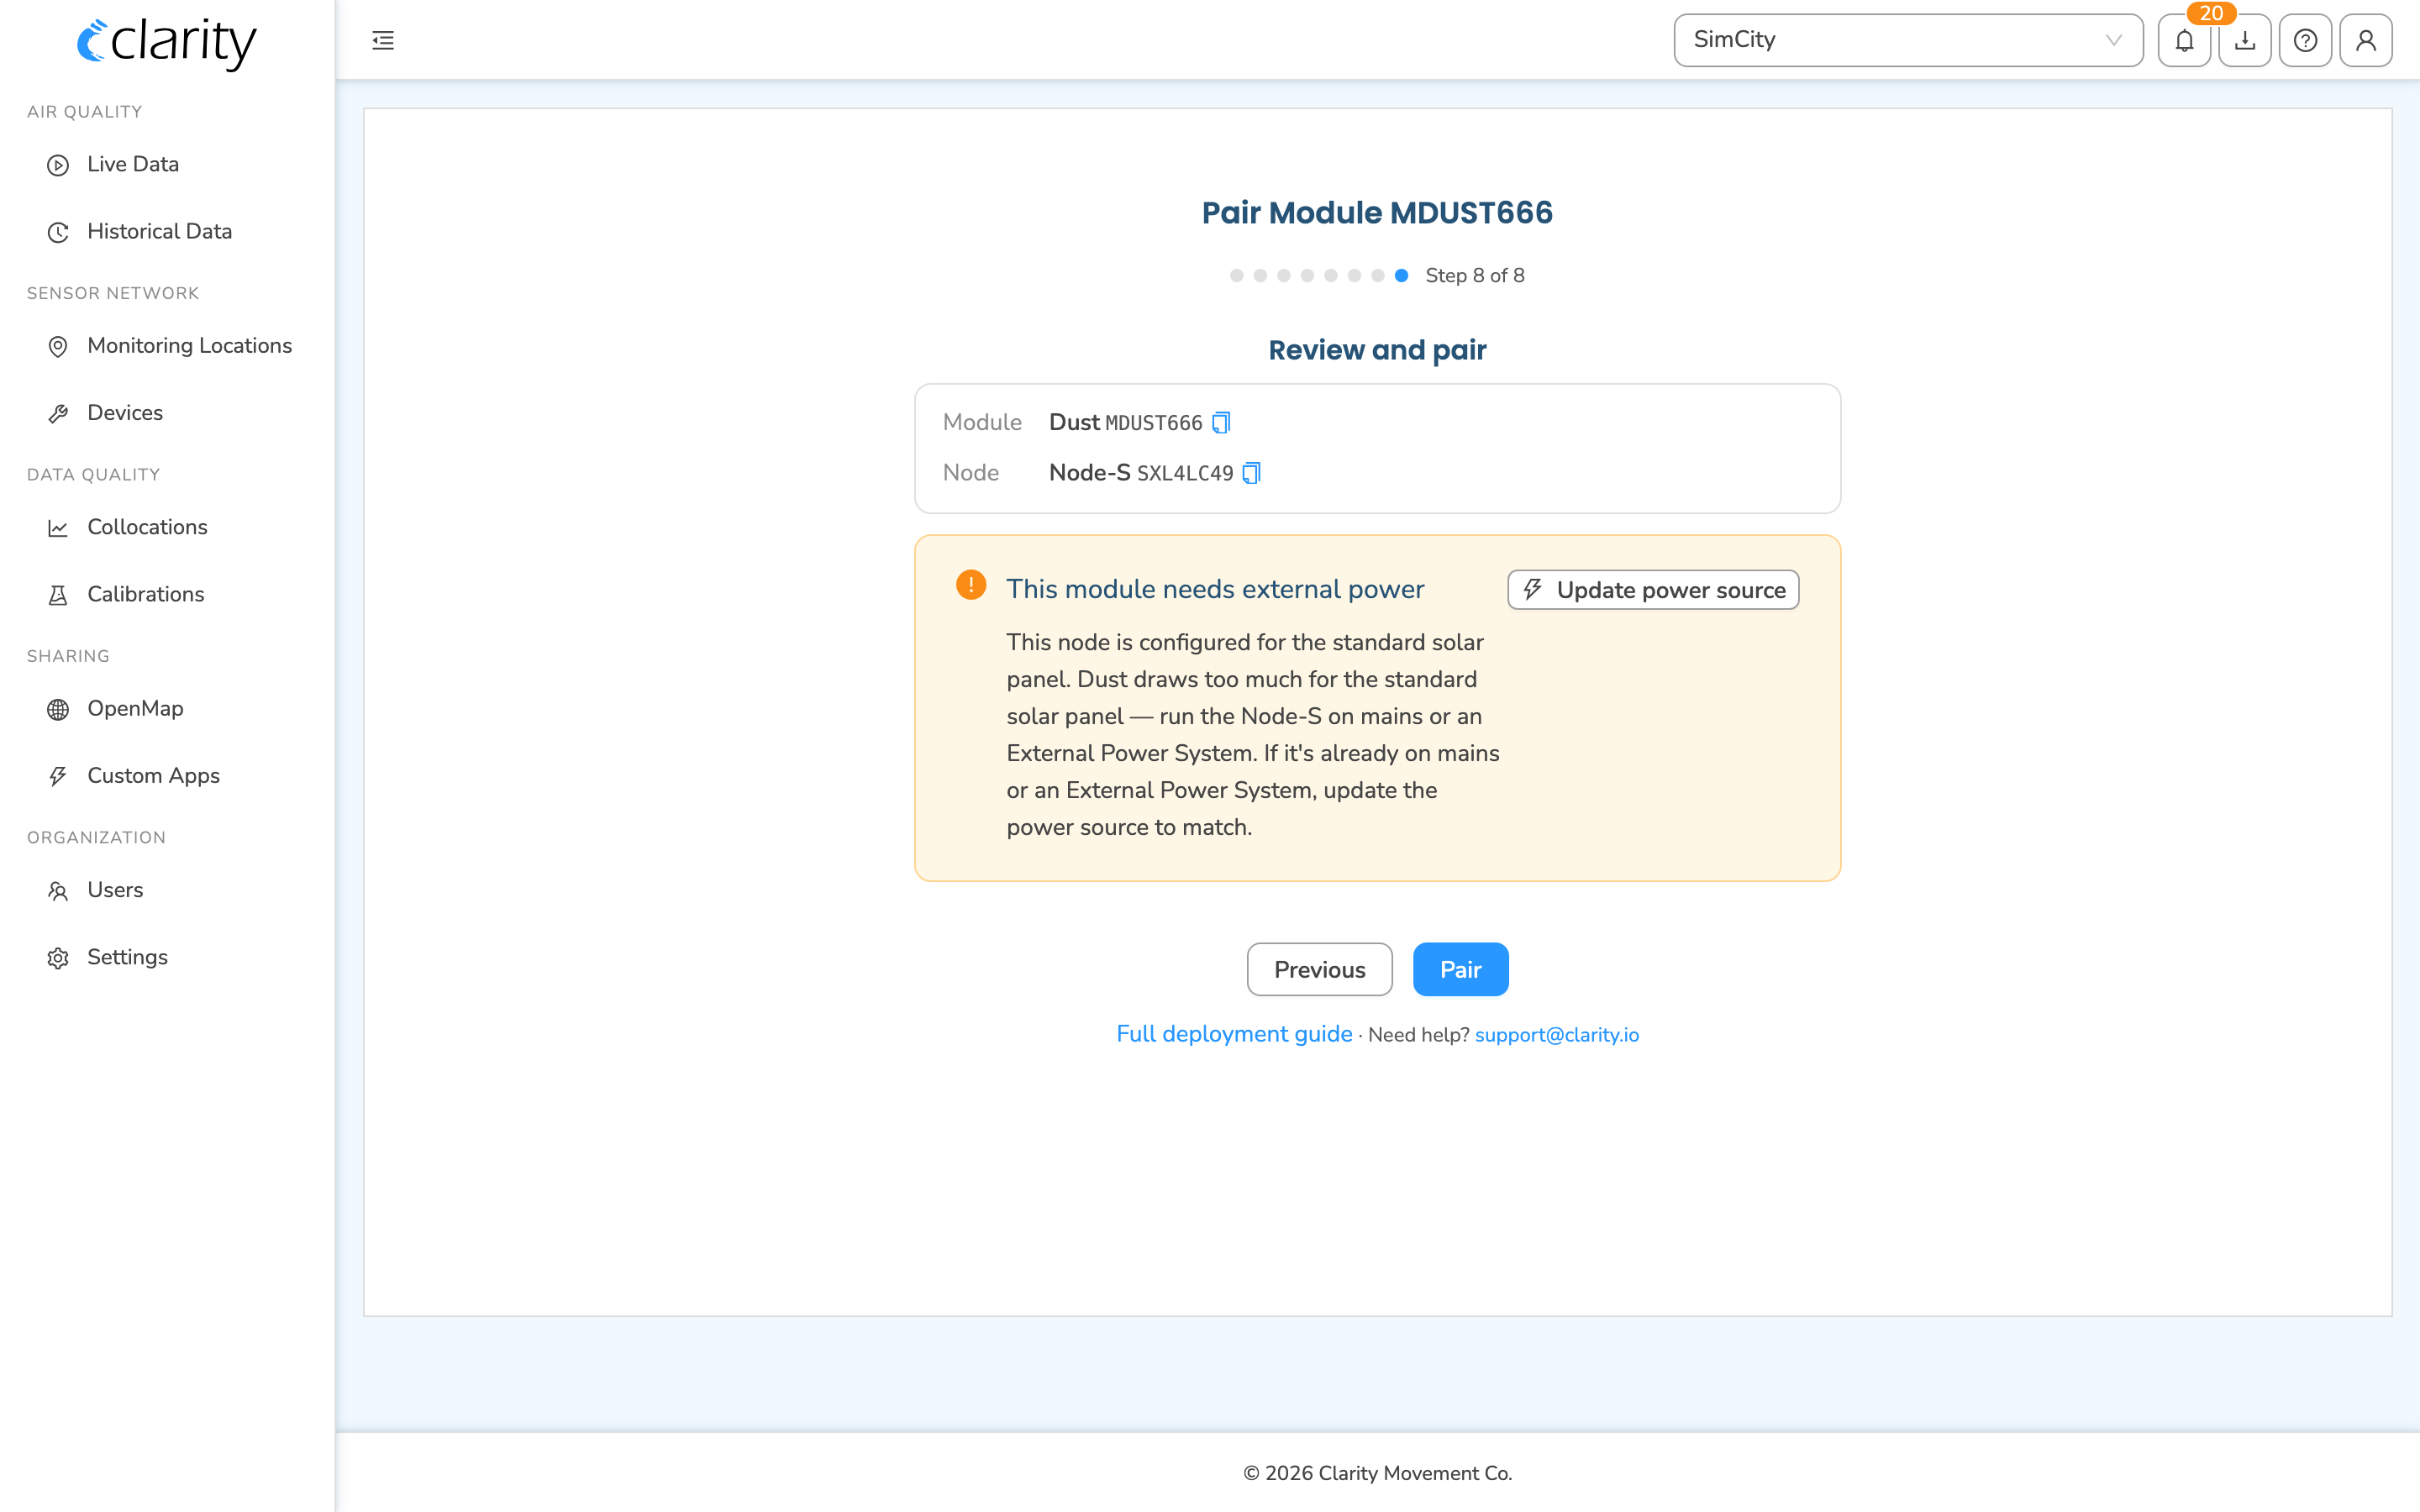
Review and pair. The final Review and pair step summarizes the module and node you've chosen. For power-hungry modules, if the node you selected is still configured for (or detected on) the standard solar panel, a This module needs external power warning appears here, with an Update power source button so you can fix the node's power configuration without leaving the wizard. When everything looks right, click Pair.
-
Done. On success you'll see a Module paired confirmation screen telling you the module is now paired to the node. At the site, listen for the Module-Connection-Success beep, and expect the first reading to land in 2–20 minutes once the node uplinks. From here you can jump to the paired node's location card or head back to the Devices list.
Pair from a monitoring location card
If you're already looking at the node's location, you can pair in place without opening the full wizard:
- In the sidebar under SENSOR NETWORK, open Monitoring Locations and select the location whose node you want to pair.
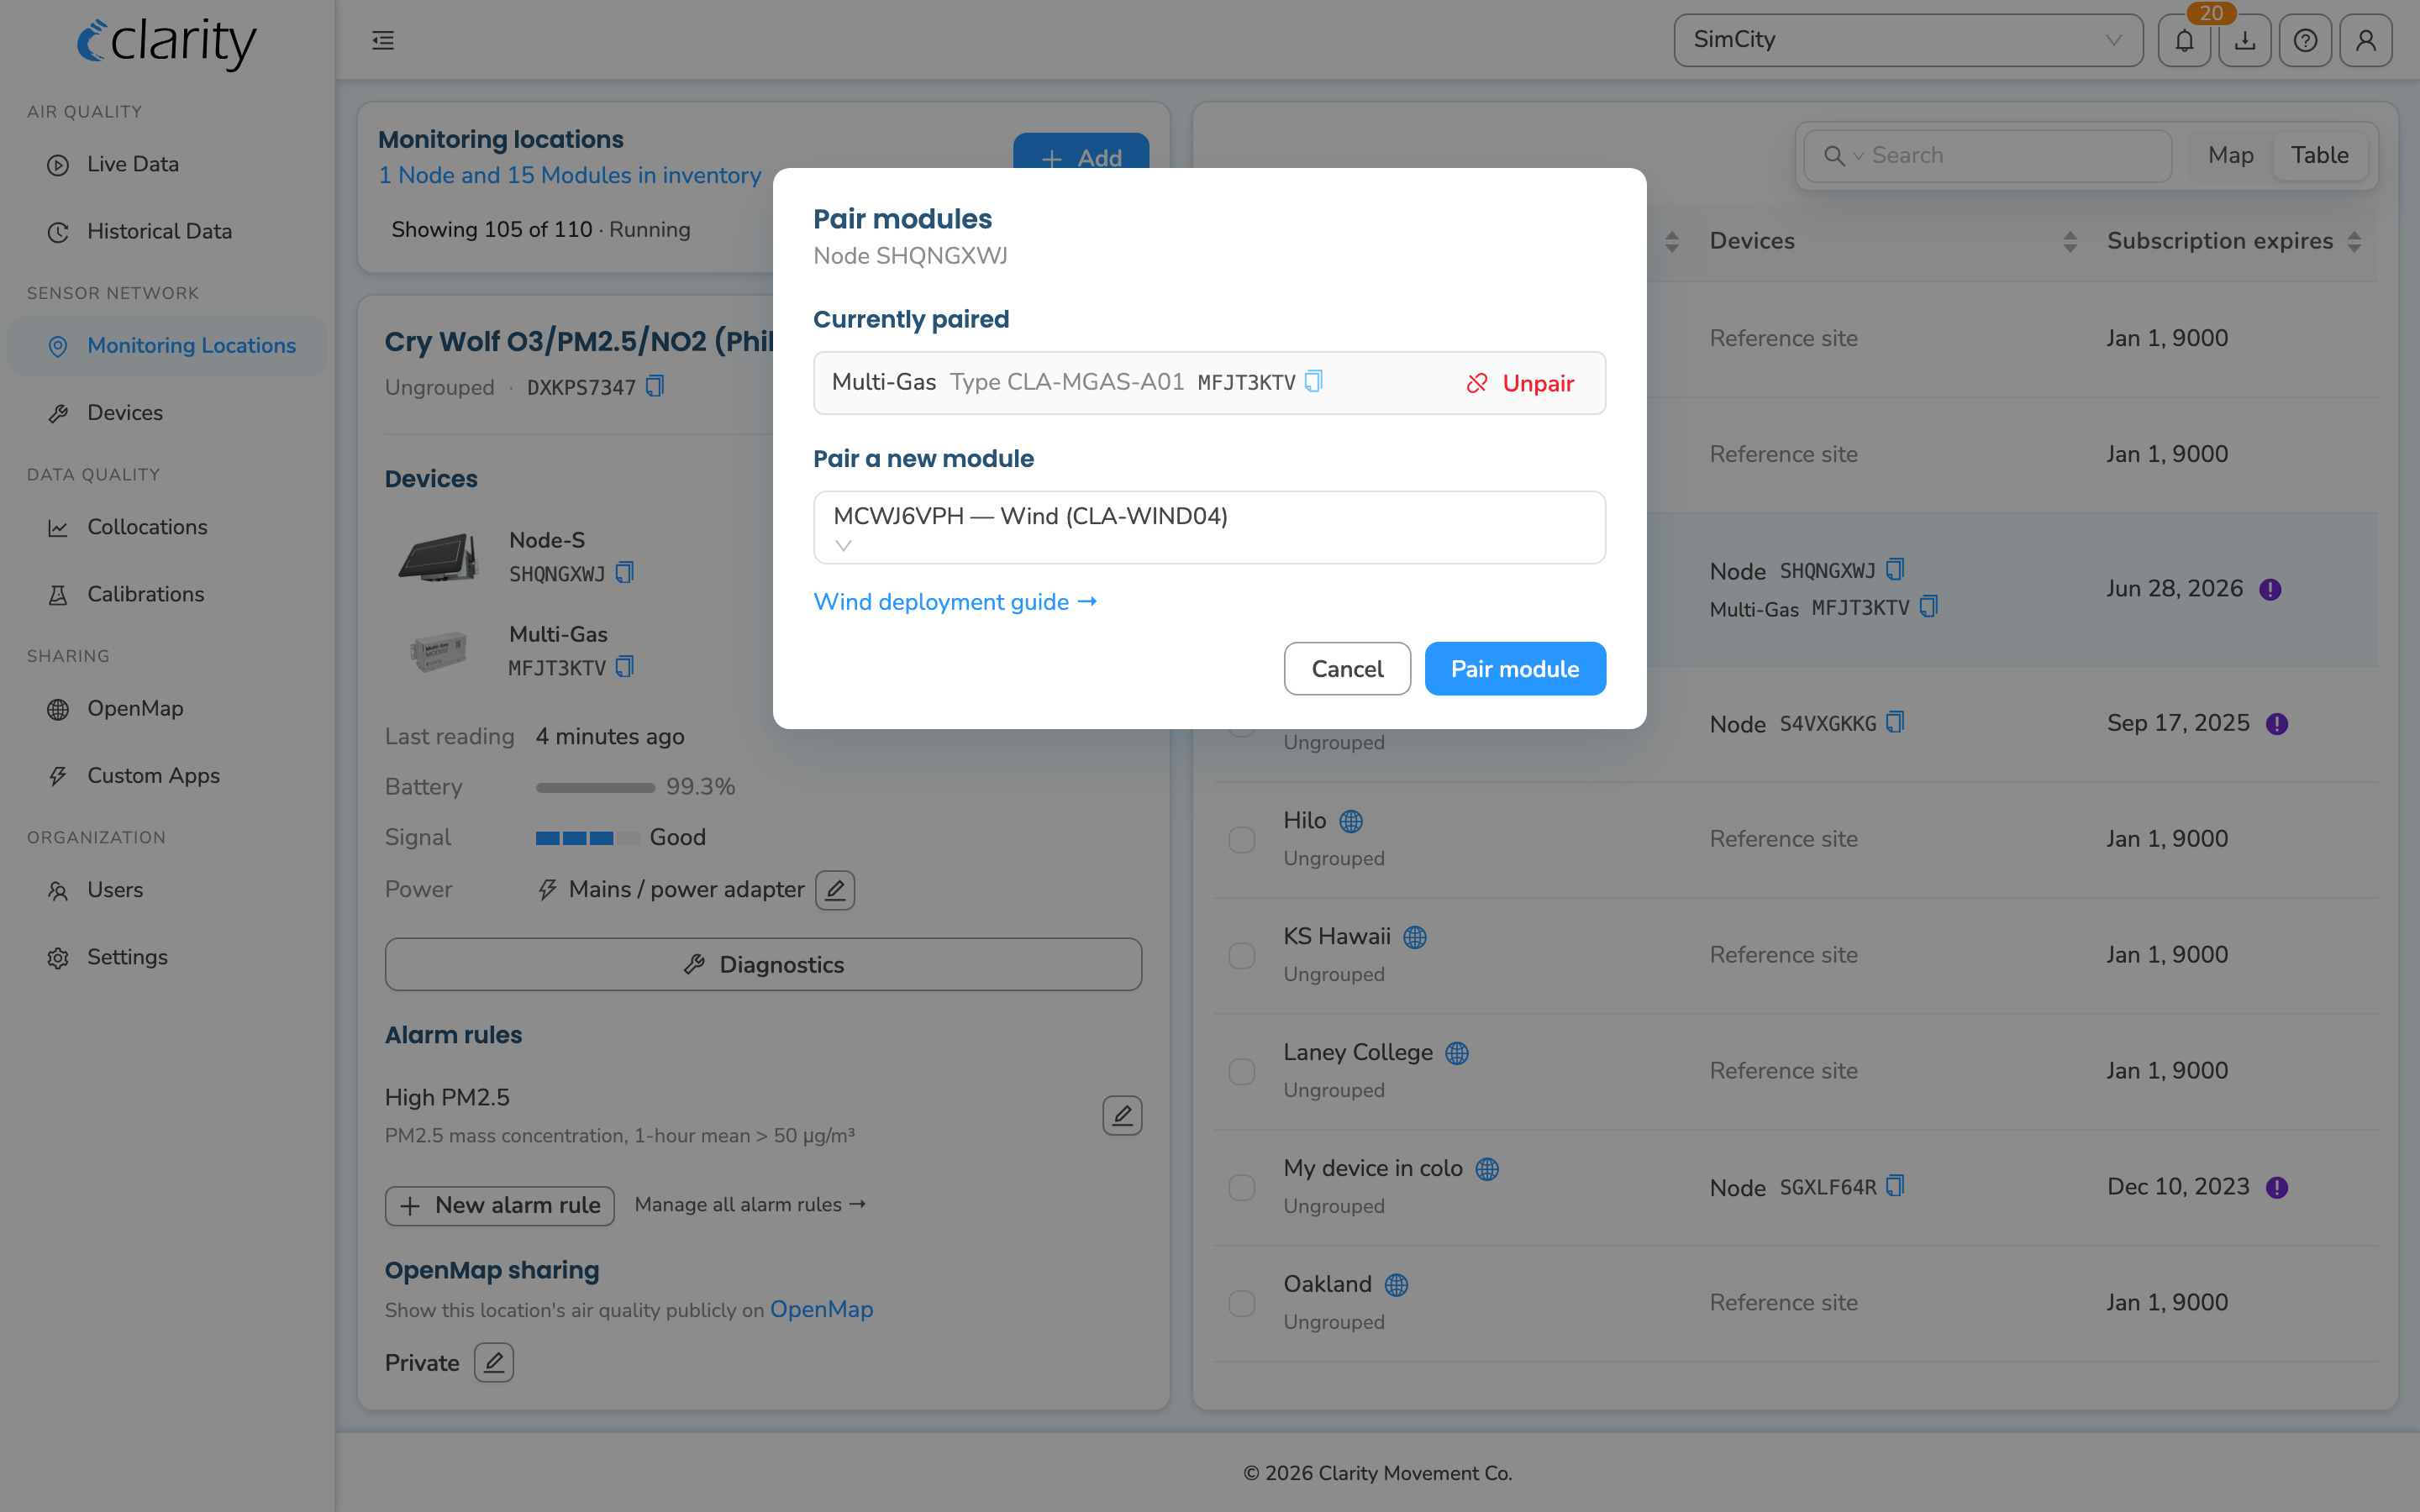
- In the Devices section of the location card, click Pair / unpair modules.
- In the Pair modules dialog, pick your module under Pair a new module and confirm.
Unpair or re-pair a module
A module can only be paired to one node at a time, so a module that's already paired elsewhere must be unpaired first before you can pair it to a new node. Unpairing lives on the node's location card: open the location in Monitoring Locations and use Pair / unpair modules in the Devices section. For the full walkthrough, see Unpair a module.
What's next
- Manage your nodes on Dashboard
- Unpair a module
- Module deploy guides: Dust, Black Carbon, Ozone, Multi-Gas, Wind
Was this article helpful?
Yes, thanks! / Not really
Still need a hand? Email us at support@clarity.io or create a support ticket, and our team will get back to you.