Giving applications access to your data via API
In addition to inviting people to your Org, an Org Admin can give data access to applications — external software platforms or services that need to read Clarity data through the API.
Connecting an application is a lot like adding a person: in both cases you're giving that user (the application or the person) a role in your Org. An application gets its own identity and its own API keys, so access no longer depends on any one person's personal key.
💡 Why this matters: Previously, people built integrations that pulled Clarity data using their personal API keys. If that person changed roles or left the Org, their key could stop working — and the integration broke. Giving an application its own identity and access lets the Org Admin control which applications have access at any time, independent of any individual.
Note: Only Org Admins can create and connect applications in the Clarity Dashboard. The Users page (where you do this) is visible to Org Admins only.
This feature provides access to the Clarity data accessible by your Org. You can also share an application ID with another Org so they can grant your application access to their data.
Where to find applications
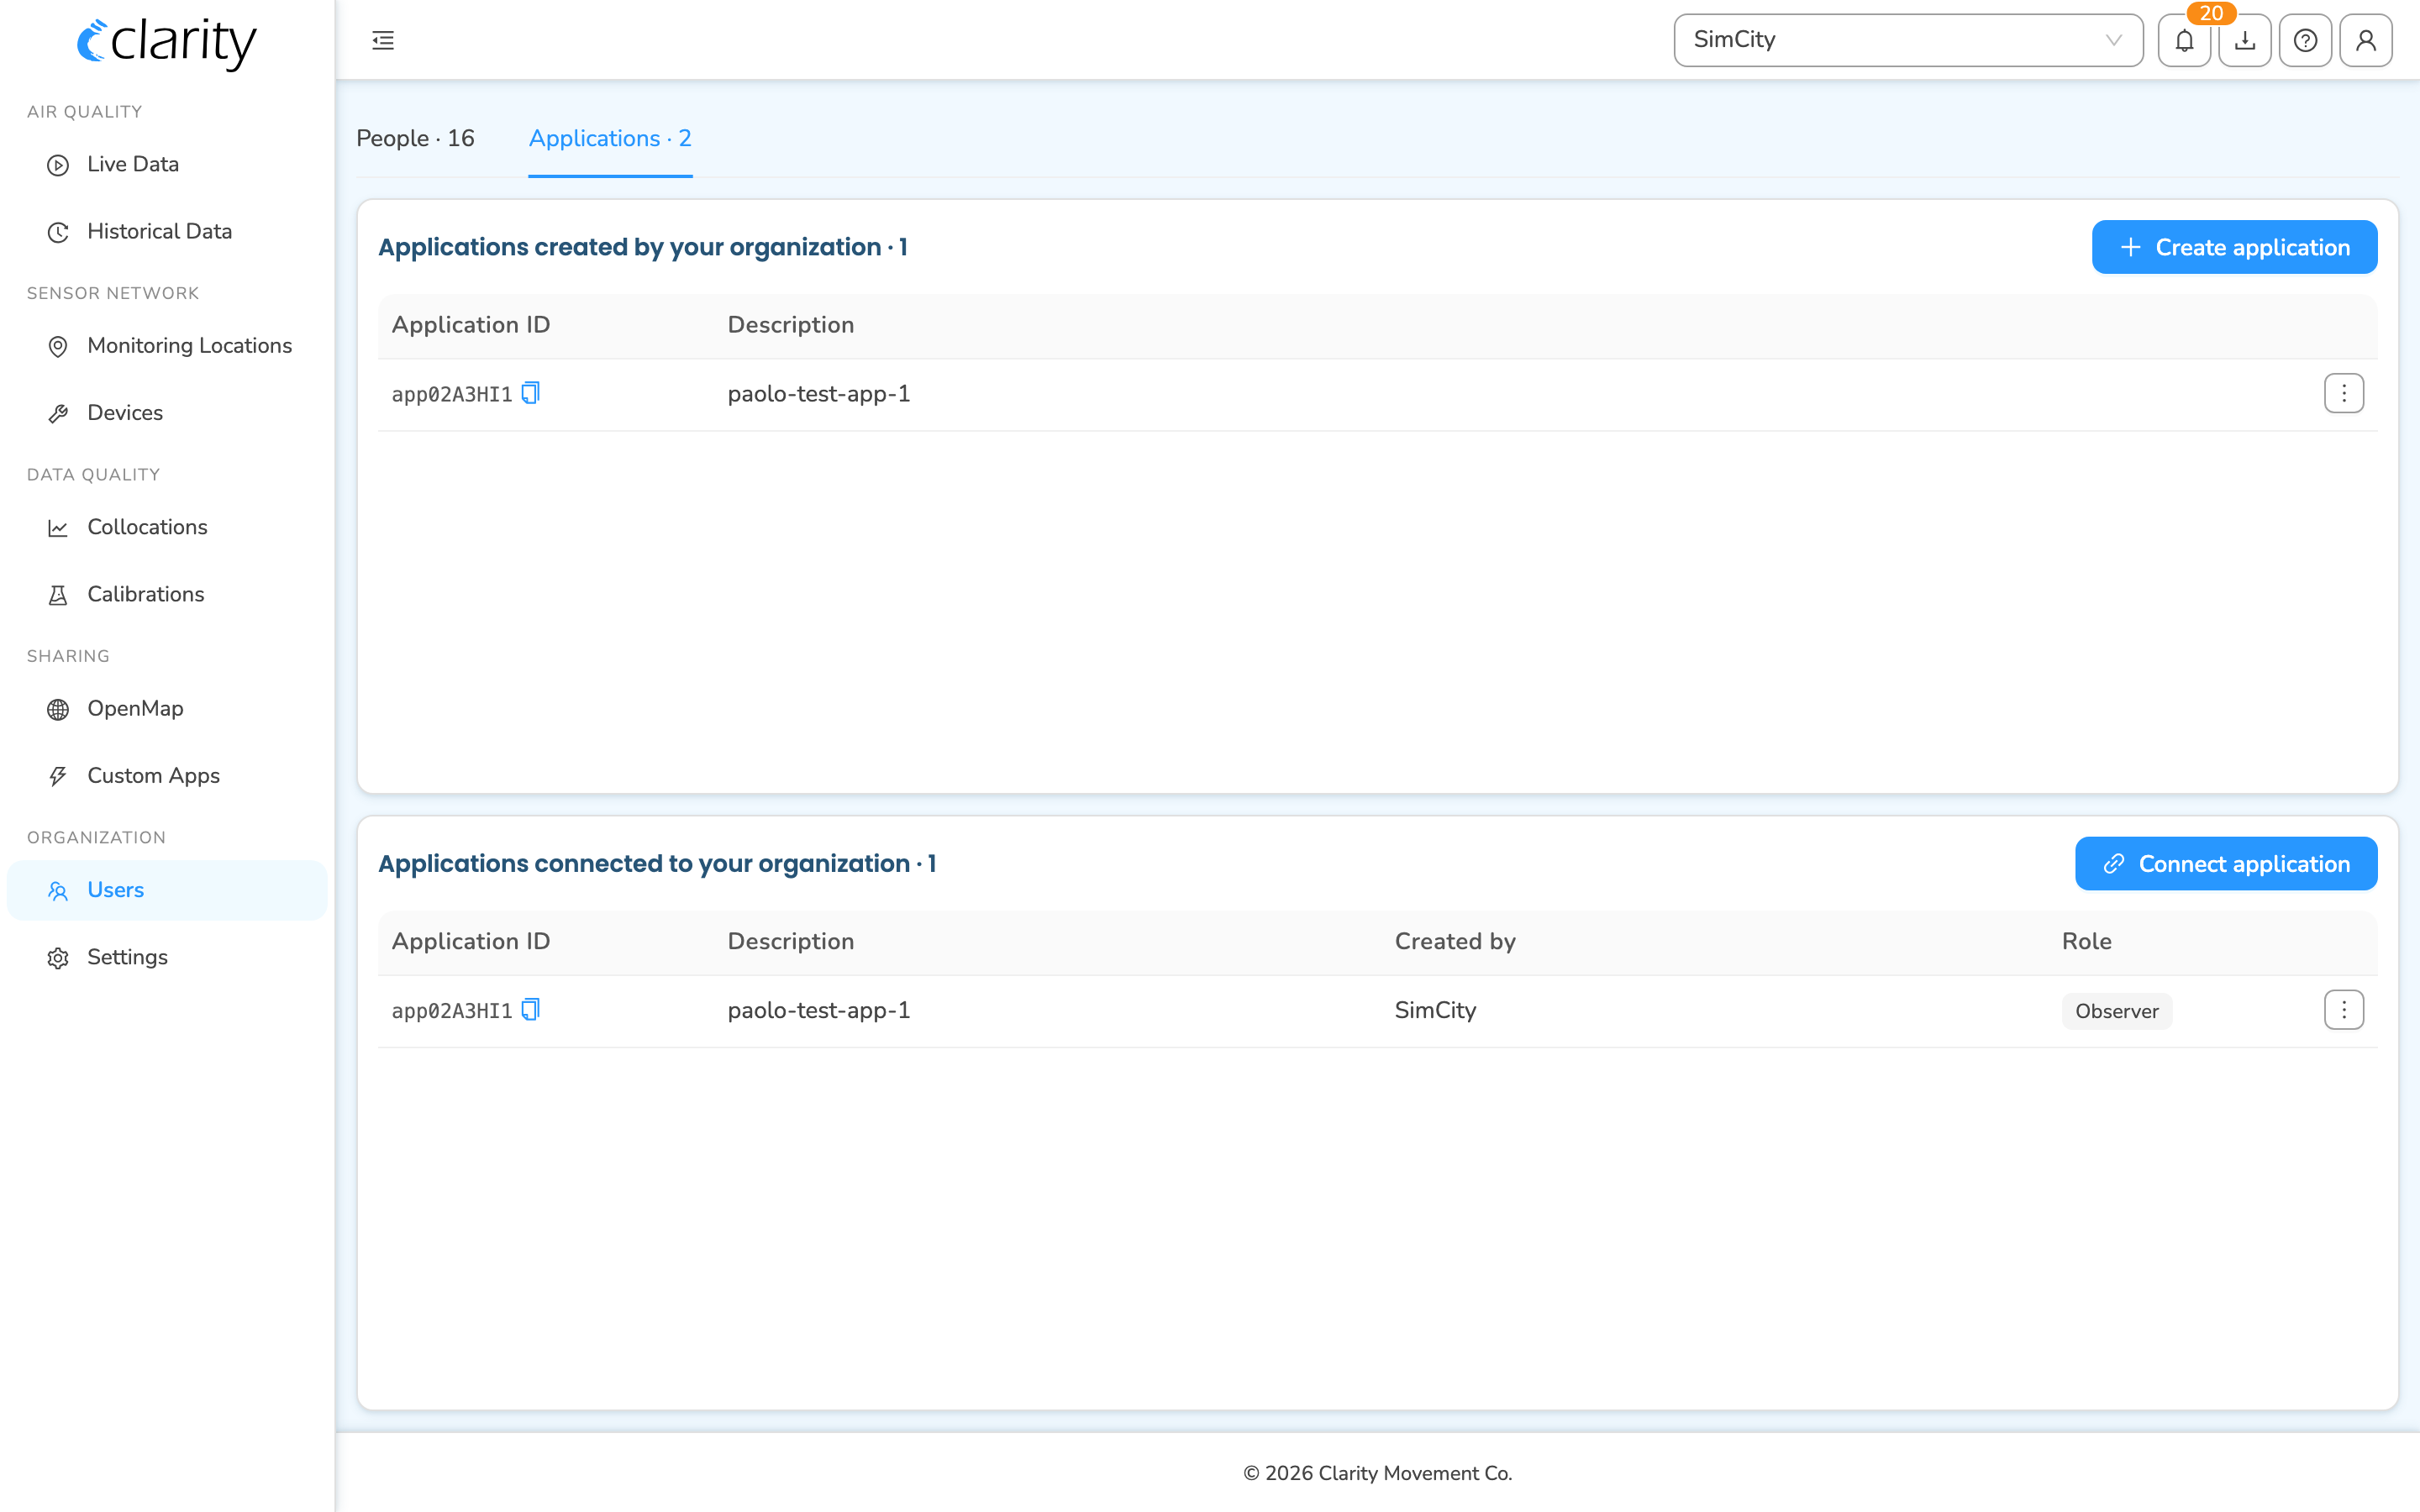
The Applications surface lives on the Users page, as a tab.
- Log in to the Clarity Dashboard.
- In the left sidebar, under Organization, click Users.
- At the top of the page, switch from the People tab to the Applications tab.
The Applications tab shows two stacked cards:
- Applications created by your organization — applications you've created (each gets an Application ID and its own API keys).
- Applications connected to your organization — applications (yours or another Org's) that you've granted a role and access to.
Tip: A direct link to this tab is
…/users?tab=applications.
Creating a new application for your Org
- Go to the Users → Applications tab (see above).
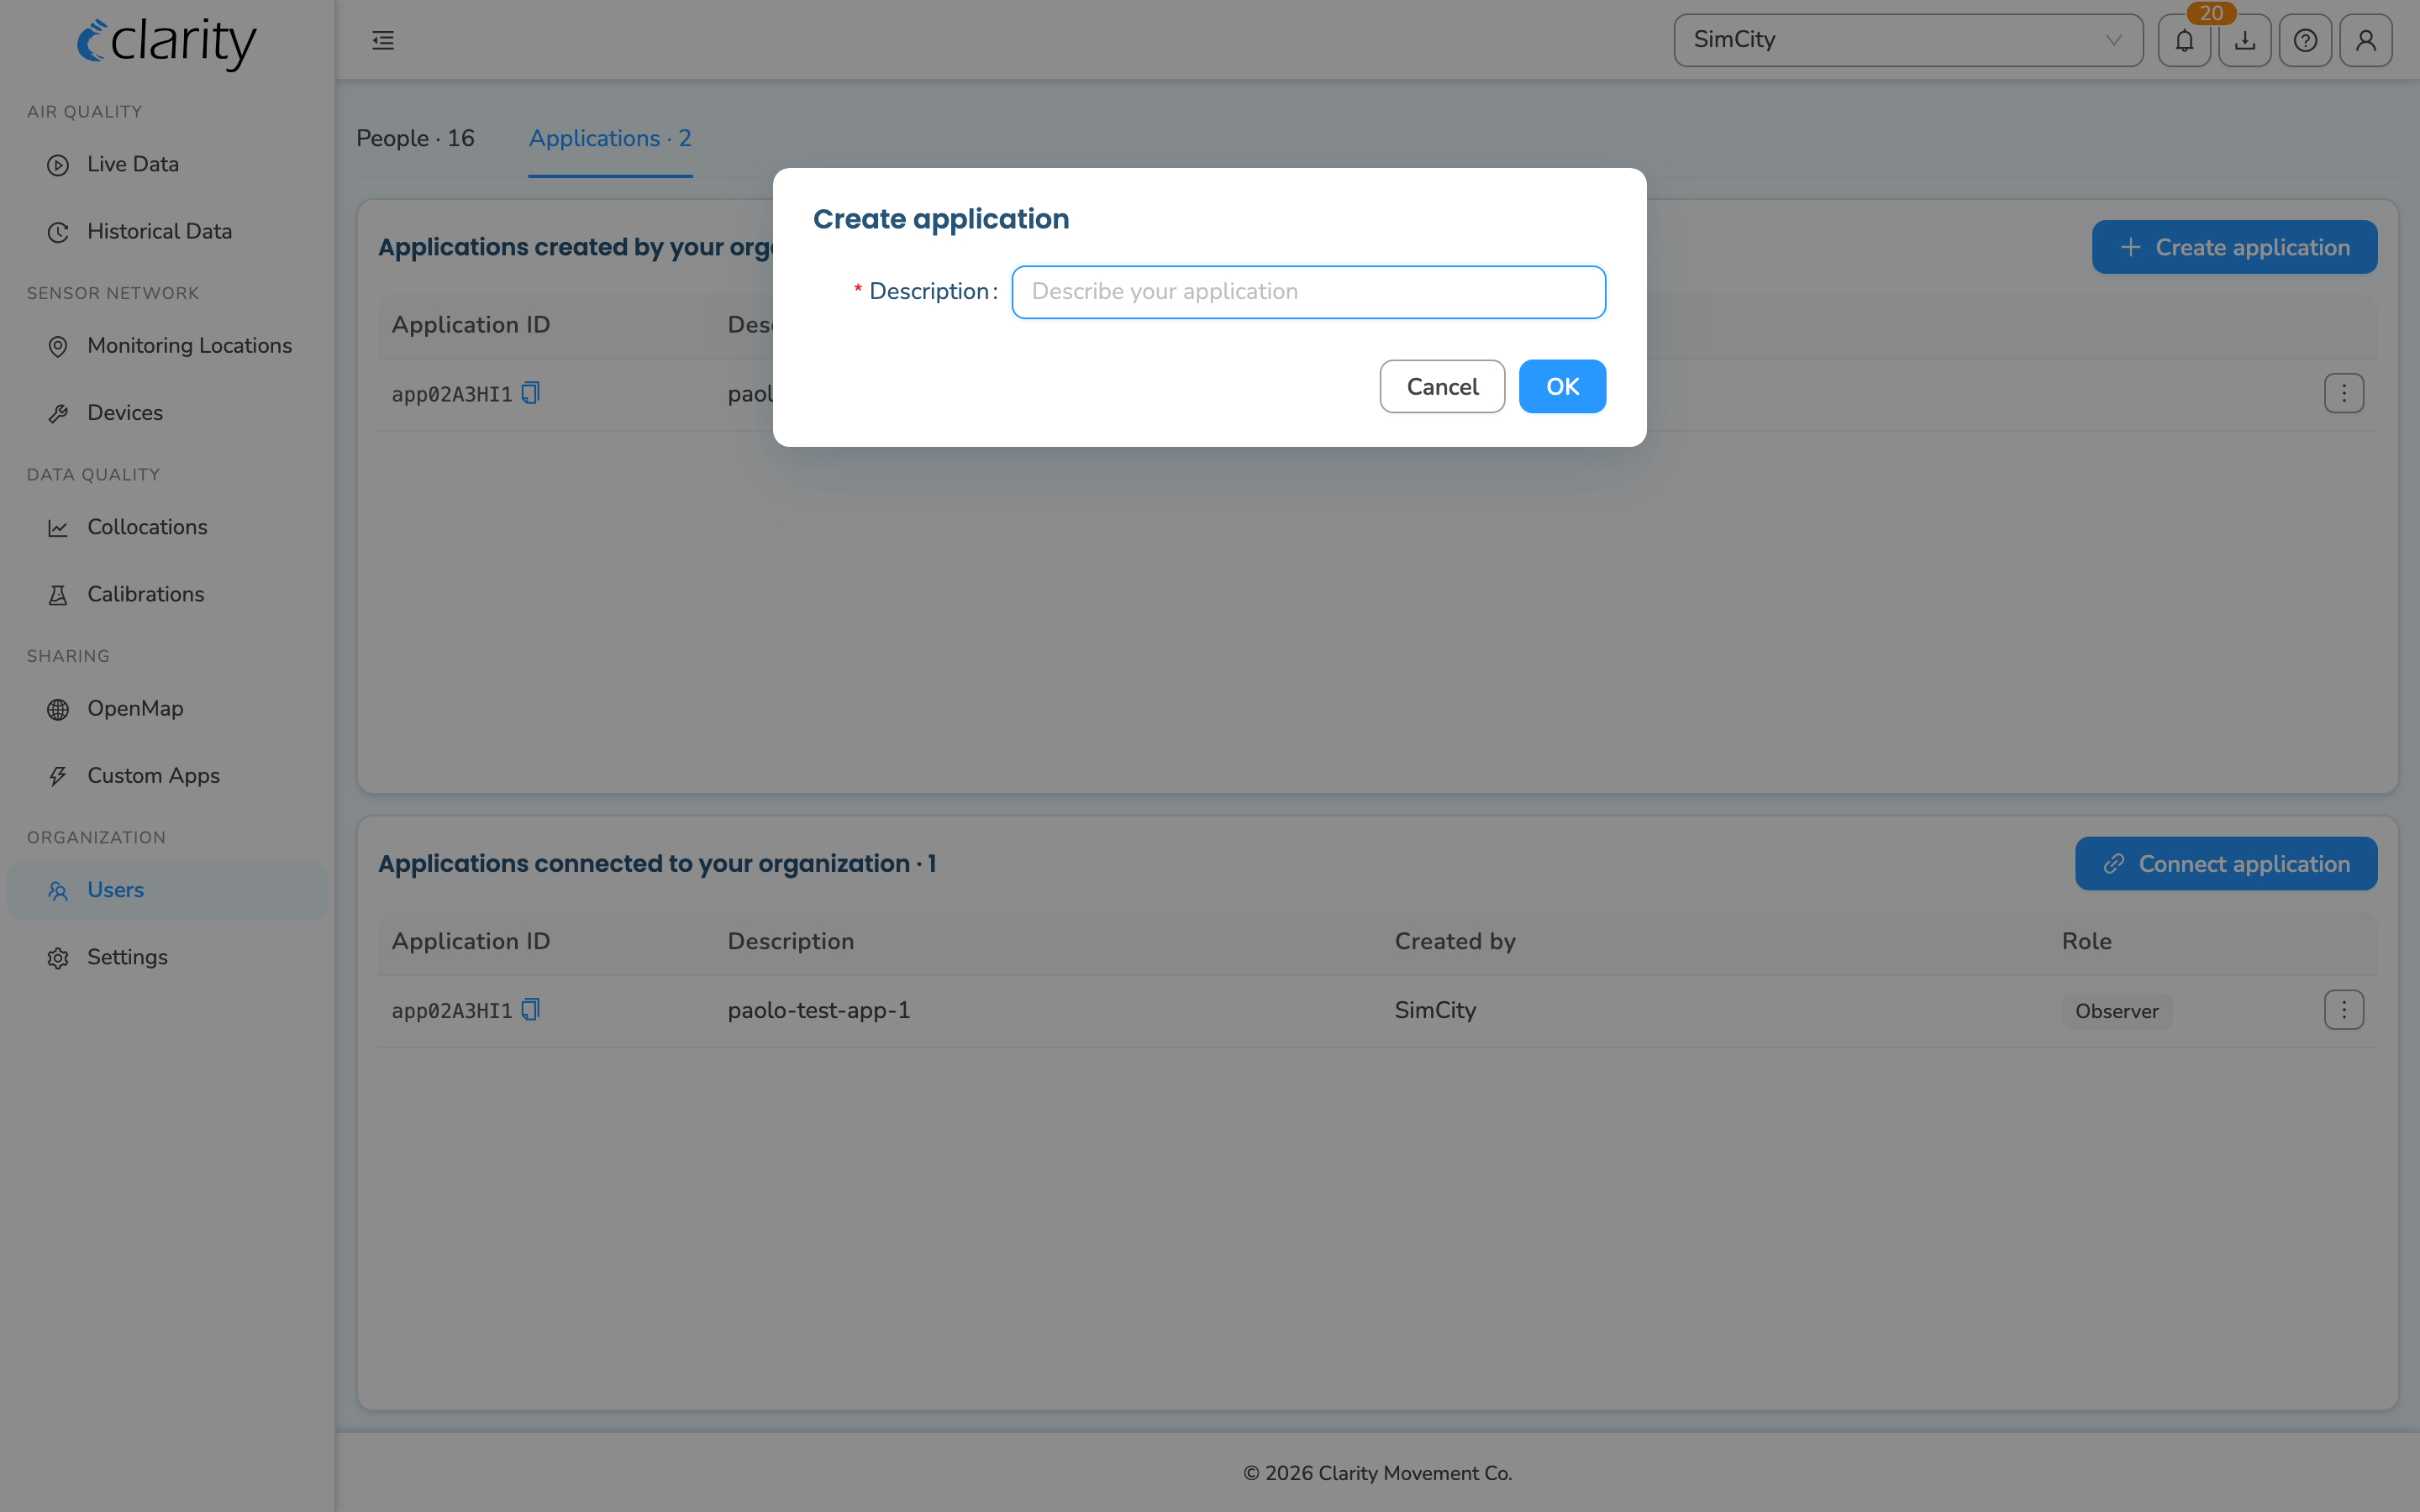
- In the Applications created by your organization card, click Create application (top-right of the card). A dialog appears.
- Enter a Description — a short label so you can recognize the application later (for example, the name of the platform or integration). This field is required.
- Click OK.
An Application ID is generated automatically, and the new application appears in the Applications created by your organization table with its ID and description.
Managing a created application
Each row in the created-applications table has a ⋮ (row actions) menu with:
- Rename application — reopens the dialog so you can change the description.
- View API keys — opens the application's API keys (see the next section).
API keys for a created application
Every application you create has its own API key. To view, copy, enable/disable, or add keys:
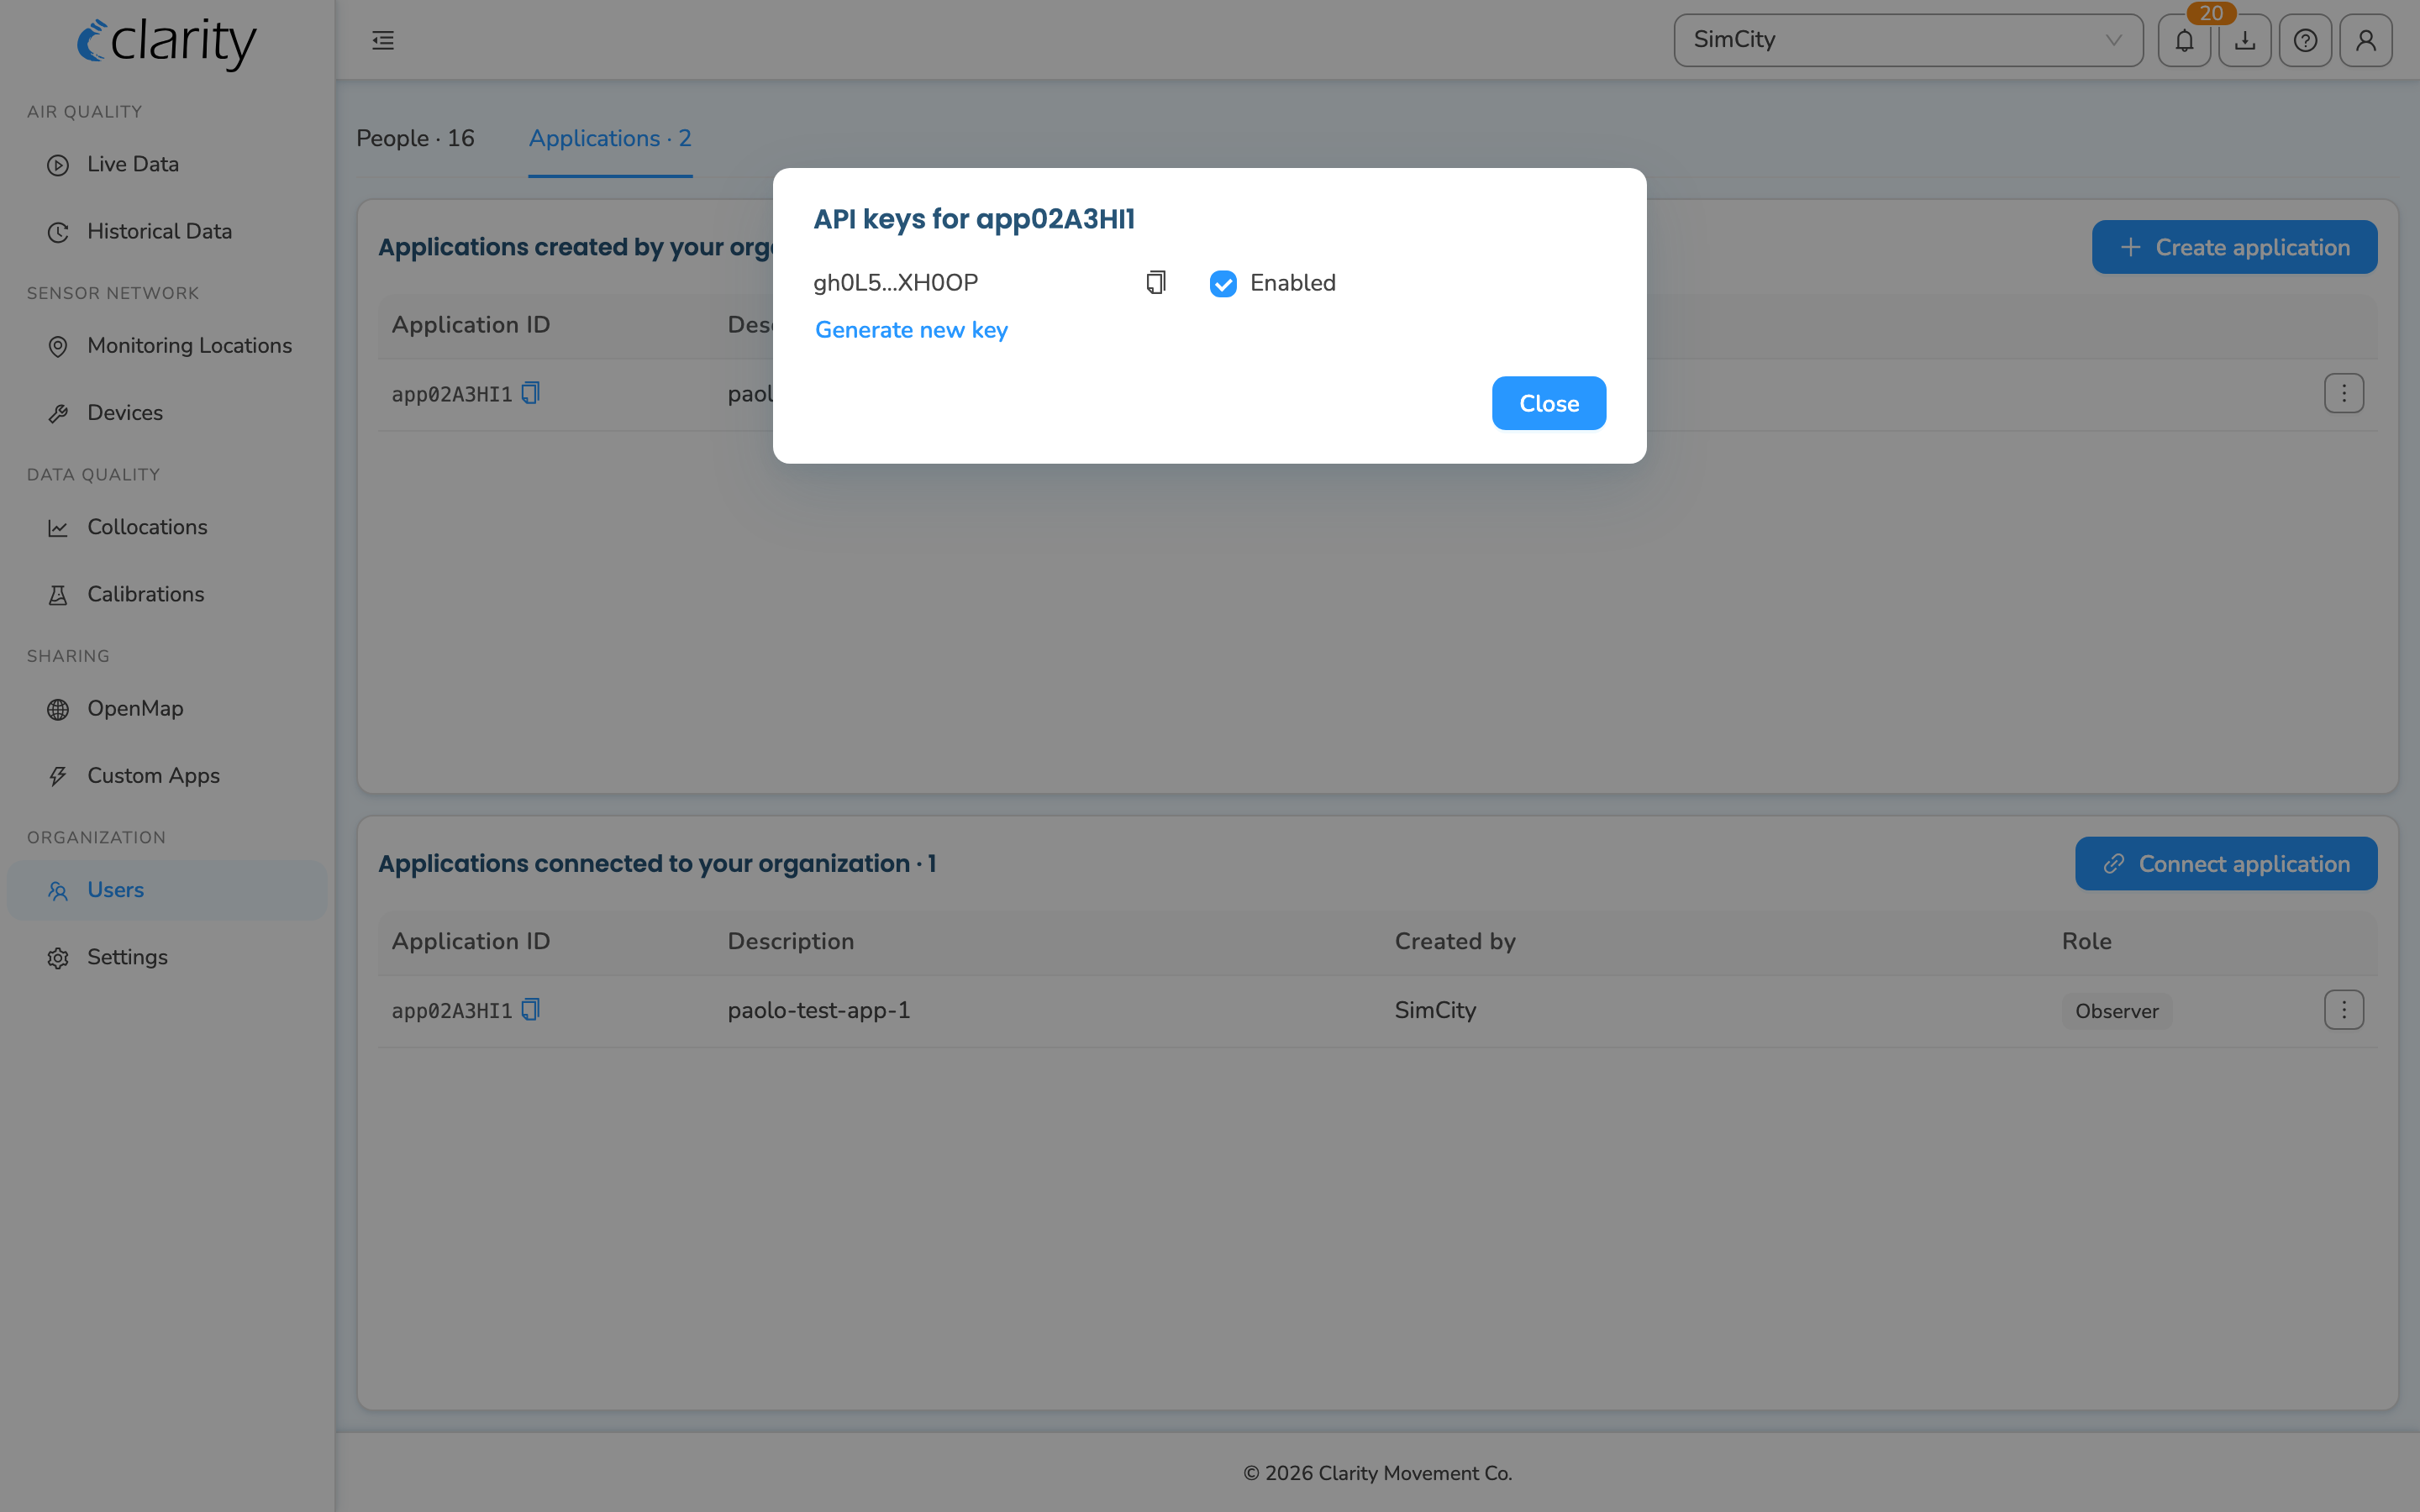
- In the Applications created by your organization table, open the ⋮ menu on the application's row and choose View API keys.
- The API keys for <Application ID> dialog opens, listing each key (shown masked, e.g.
abcde…vwxyz).
In this dialog you can:
- Copy a key — click the copy icon next to it; you'll get a confirmation that the key was copied to your clipboard.
- Enable / disable a key — toggle the Enabled checkbox next to it.
- Generate a new key — click Generate new key at the bottom.
Note: You can generate and enable multiple API keys for the same application as needed.
The Application ID is what you (or another Org Admin) use to connect the application to an Org. See the next section.
Connecting an application to your Org
You can connect an Application ID — one created by your own Org, or one shared with you by another Org — to grant it a role and access to your data.
Note: If you're giving another organization permission to access your data, ask their Org Admin to share their Application ID so you can connect it. Likewise, to share your application with another Org, give them your Application ID and ask them to connect it.
- Go to the Users → Applications tab.
- In the Applications connected to your organization card, click Connect application (top-right of the card). A dialog appears.
- Enter the Application ID.
- Choose a Role to assign to the application.
- Click OK.
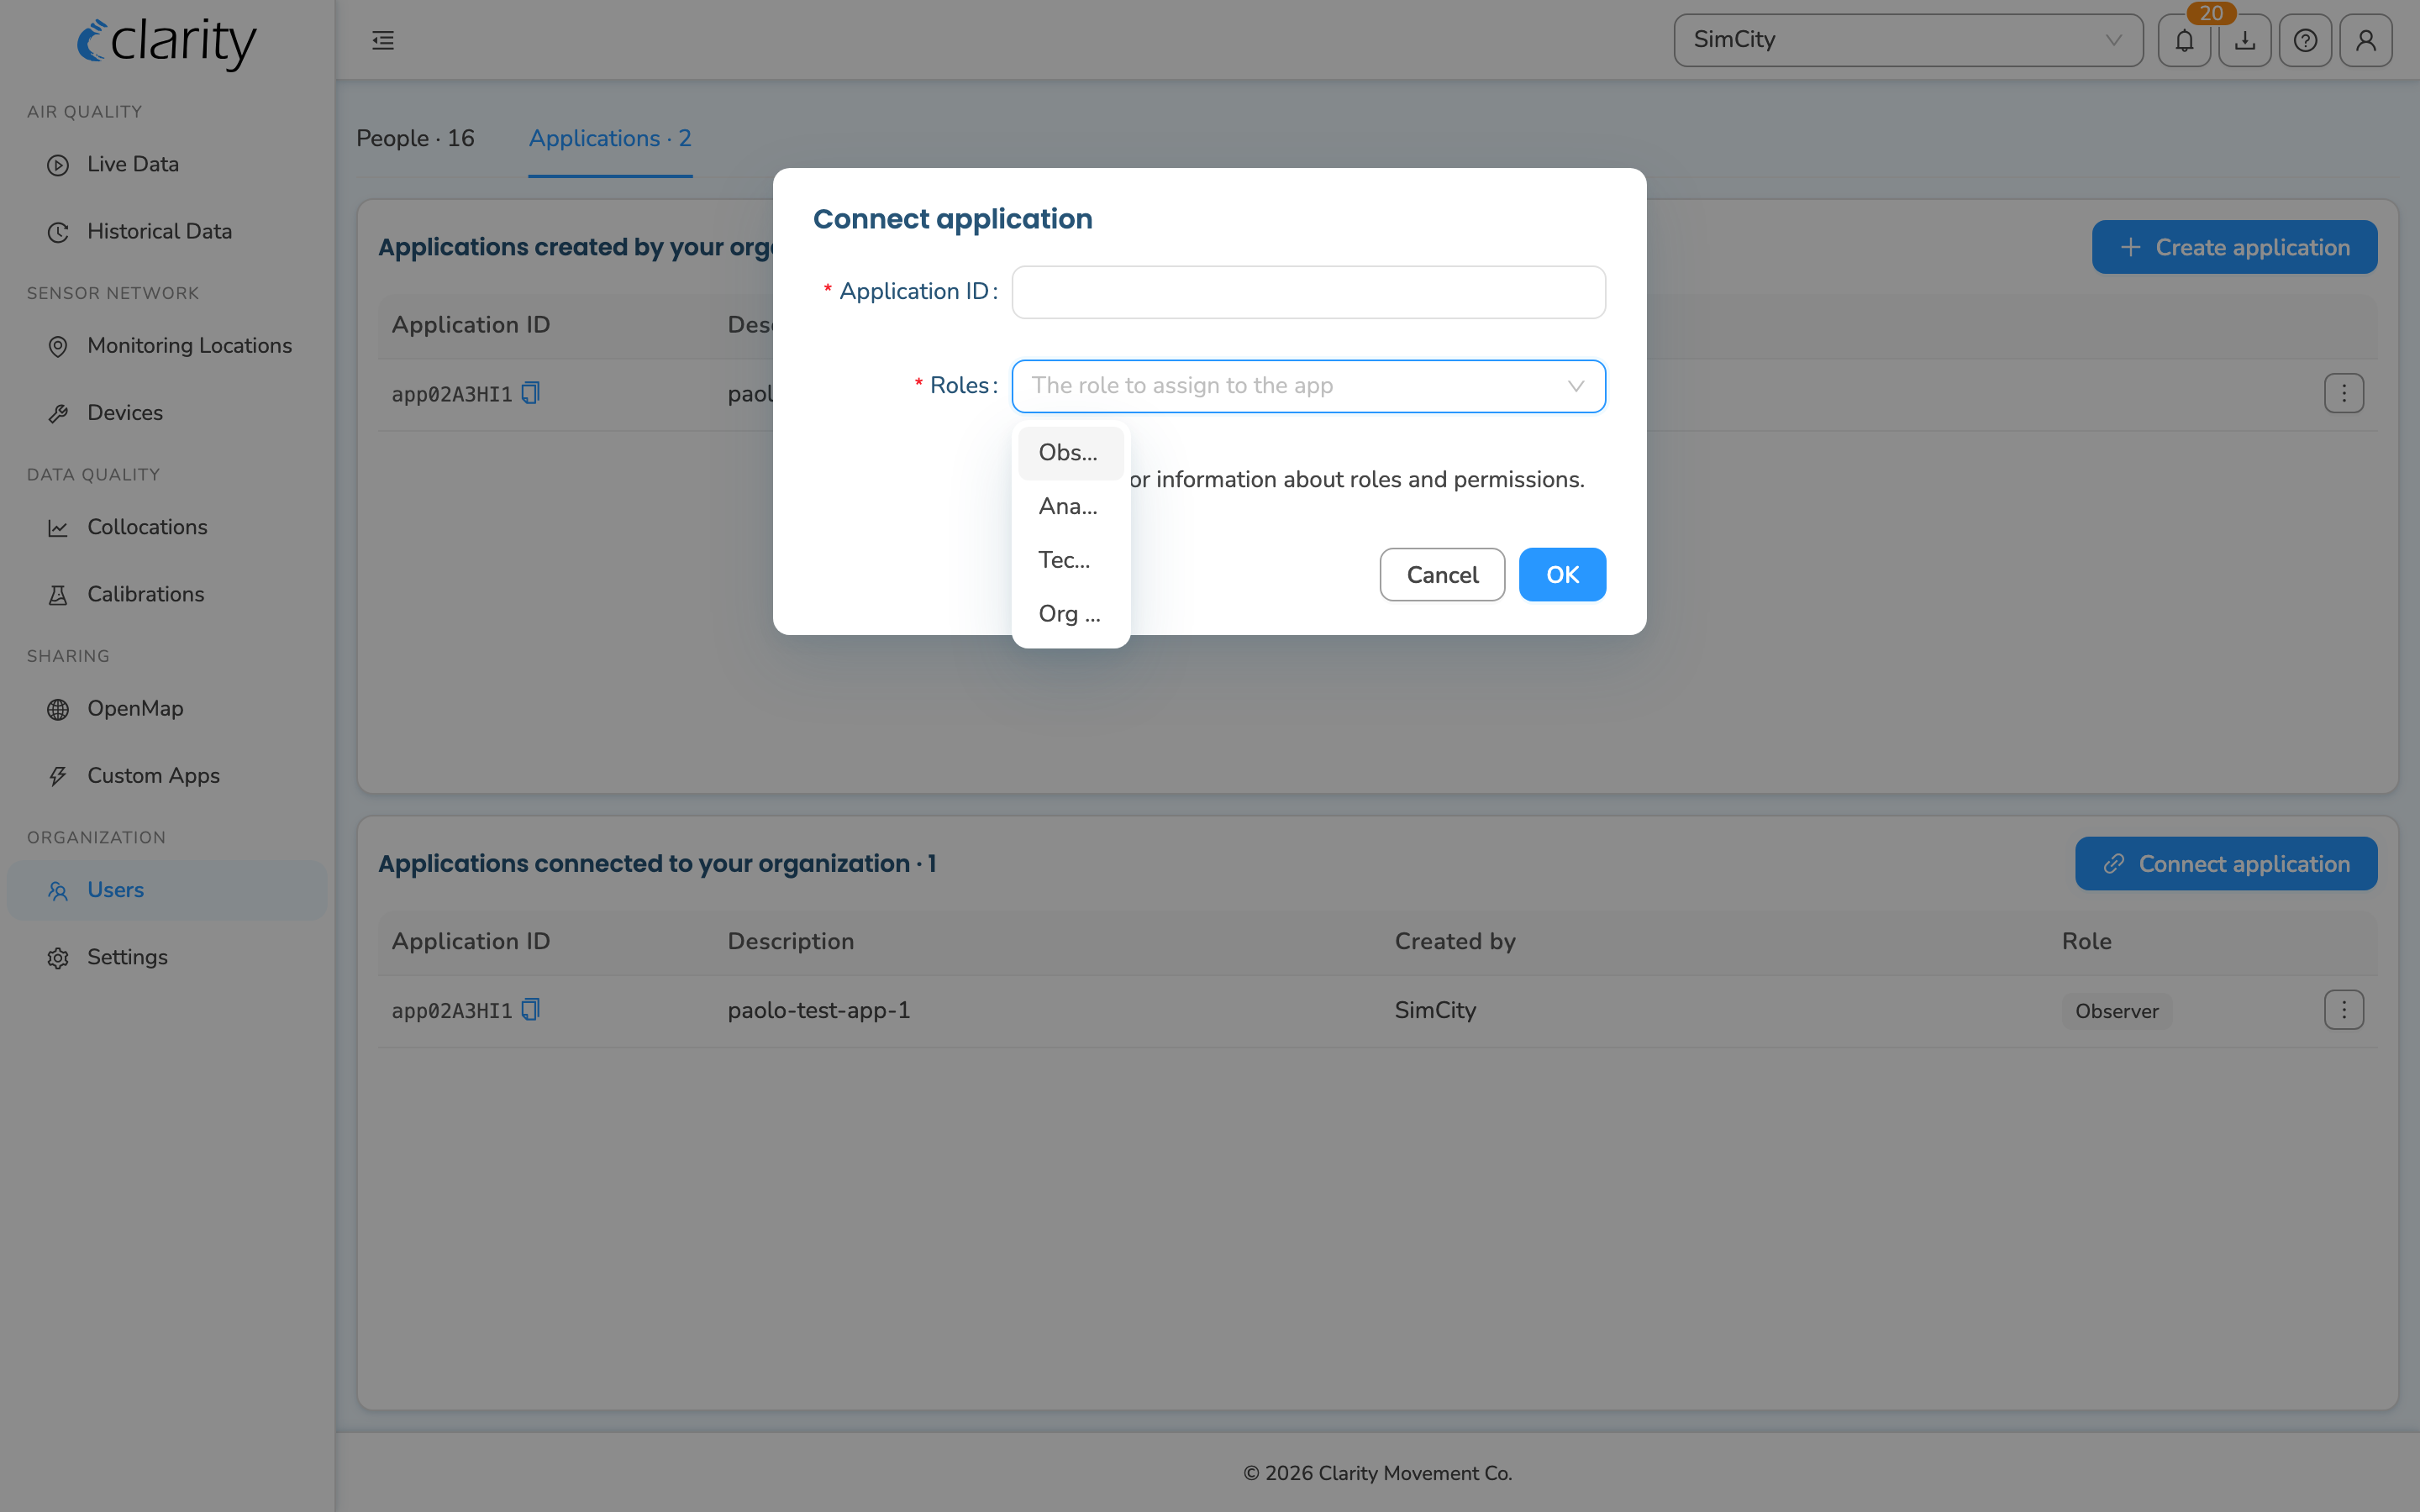
We recommend the Observer role when connecting an application. Observer is read-only access, which is appropriate for the Clarity Public API. The role selector offers Observer, Analyst, Technician, and Org Admin. For a description of each role, click the roles and permissions link in the dialog (it points to Understanding Clarity Dashboard user roles and permissions).
The connected application then appears in the Applications connected to your organization table, showing its Application ID, Description, Created by (the Org that created it), and the Role you assigned.
Managing a connected application
Each row in the connected-applications table has a ⋮ (row actions) menu with:
- Edit role — change the role assigned to the application.
- Disconnect from org — revoke the application's access to your Org. (The Application ID itself isn't deleted — only its connection to your Org is removed.)
What's next
- Find your API key on Dashboard.
- Browse the Clarity API documentation.
- Migrate from API v1 to v2.
- Explore Custom Apps and embedded dashboards.
Was this article helpful?
Yes, thanks! / Not really
Still need a hand? Email us at support@clarity.io or create a support ticket, and our team will get back to you.