Deploying your Clarity Wind Module
IMPORTANT
- You must first charge, assemble, and configure your Clarity Node-S device before connecting the Wind module. If you haven't configured the Node-S yet, follow the Node-S deployment guide first.
- Not all versions of the Clarity Node-S can be paired with the Wind module. If you need device IDs that are compatible, contact Clarity support at support@clarity.io.
- When the module isn't in use, store it in the original manufacturer-provided packaging.
- If you need to return a module to Clarity, ship it in the original manufacturer-provided packaging to prevent damage.
Contents
- In the box
- Pair the module in Dashboard
- Check the module status in Dashboard
- Unpair a module
- Assemble the module
- Connect the module to the Clarity Node-S
- Deploy the Node-S + Wind module in the field
- Wind module maintenance
In the box
| Item | |
|---|---|
| 1 Wind module quick installation manual (provided by ONWA) | |
| 1 Wind module | (hardware photo) |
| 1 cable connecting the Wind module to the Clarity Node-S (1.5 m length) | (hardware photo) |
| 1 mounting pole with 40 mm outer diameter | (hardware photo) |
| Standard accessories pack: 2× M6 U-style screw bolts · 2× dog-tooth mount · 4 butterfly screws · 1 hex-key screwdriver · 2 fuses (not needed with the Clarity Node-S) | (hardware photo) |
For deployment you'll also need (not included):
- A deployment pole (maximum 40 mm outer diameter) or a surface to attach the mounting pole to.
- Additional mounting equipment depending on your surface or pole diameter. The included mount fits poles up to 40 mm; an extension pole may be needed to ensure adequate airflow around the module.
- A compass to determine true north.
Pair the module in Dashboard
To use an accessory module, you "pair" it with a Node-S. Pairing tells the Clarity system that the two are connected and lets the module begin sending data to the Clarity cloud.
Pairing uses the guided Pair module wizard in Dashboard, which works the same way for every accessory module: you open the Devices page, choose the module, pick a compatible node, and pair.
Important: For the full step-by-step — opening the Devices page, choosing the module, picking a compatible node, and pairing — follow Pair a module on Dashboard.
What to confirm for the Wind Module
When the wizard shows the deployment guide cards and the Confirm before you pair checklist, they cover requirements specific to the Wind Module:
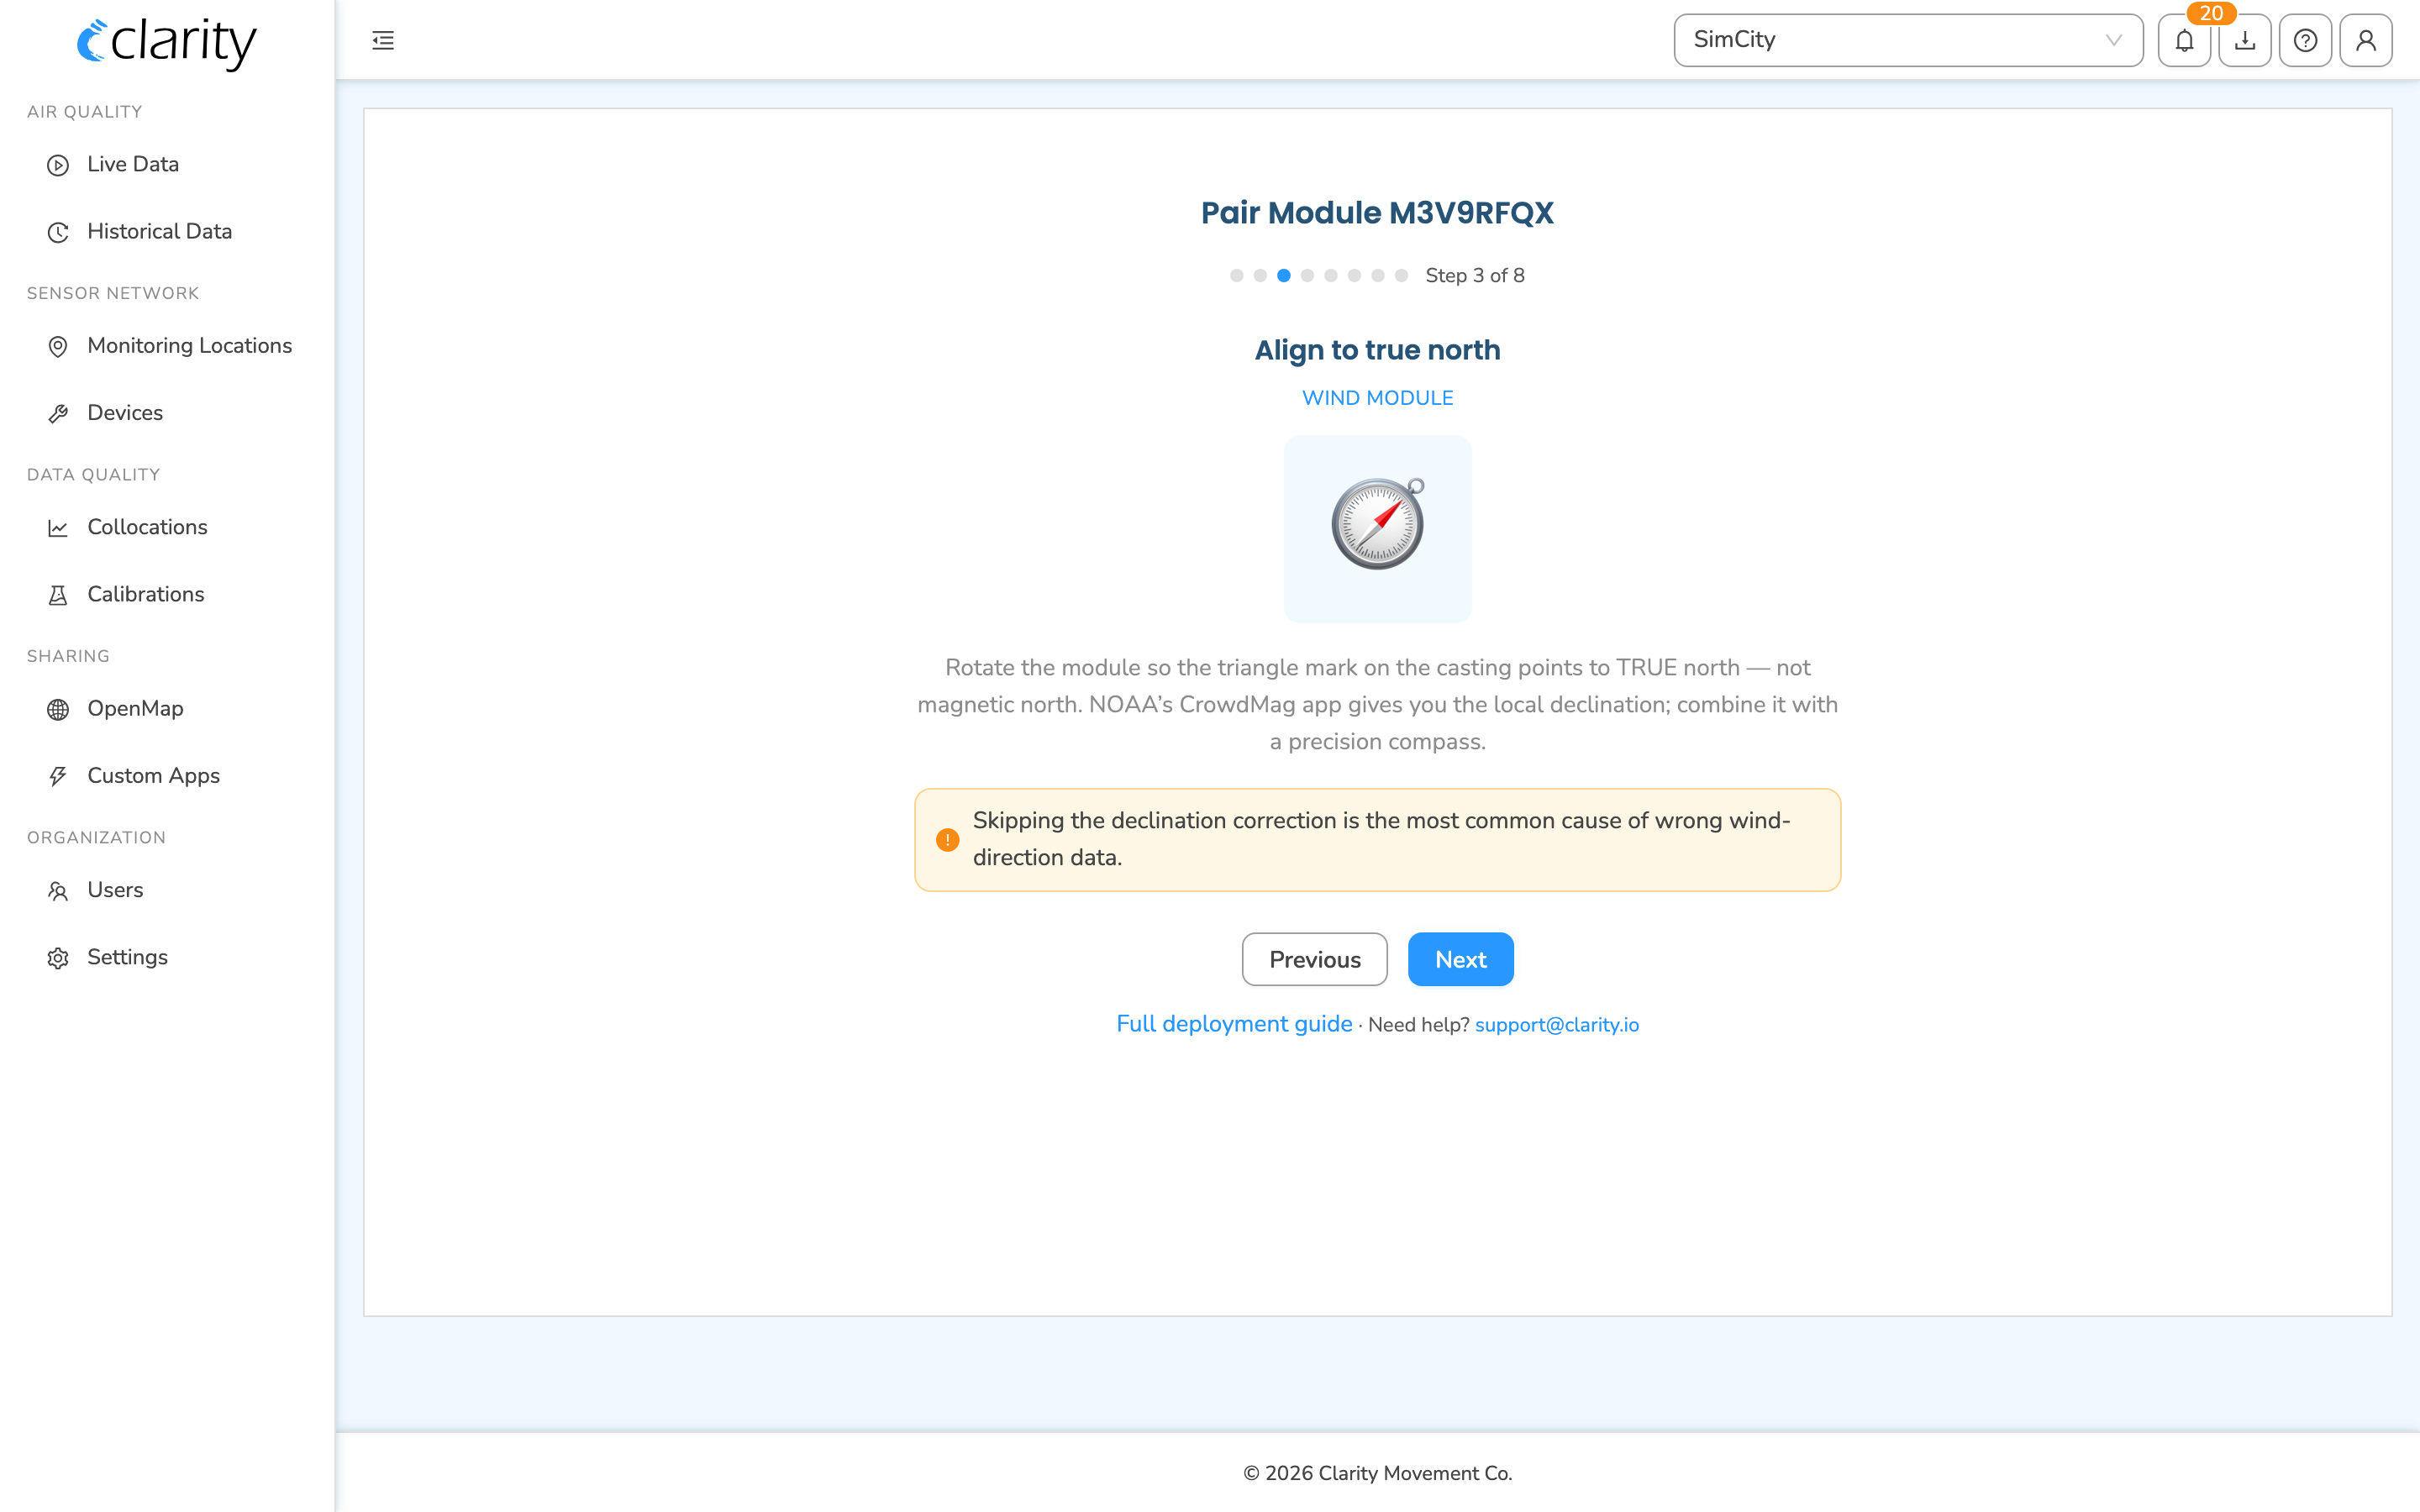
- Align to true north — rotate the module so the triangle mark on the casting points to TRUE north (not magnetic north). Use NOAA's CrowdMag app for your local declination together with a precision compass. (Skipping the declination correction is the most common cause of wrong wind-direction data.)
- Lift it above obstructions — mount to a pole up to 40 mm outer diameter; use an extension pole so the sensor sits clear of buildings, trees, or other obstructions that would distort the airflow.
- Solar is enough — Wind runs on the standard Node-S solar panel; no EPS or mains adapter is needed. Just make sure the Node-S is fully charged before you head to the site.
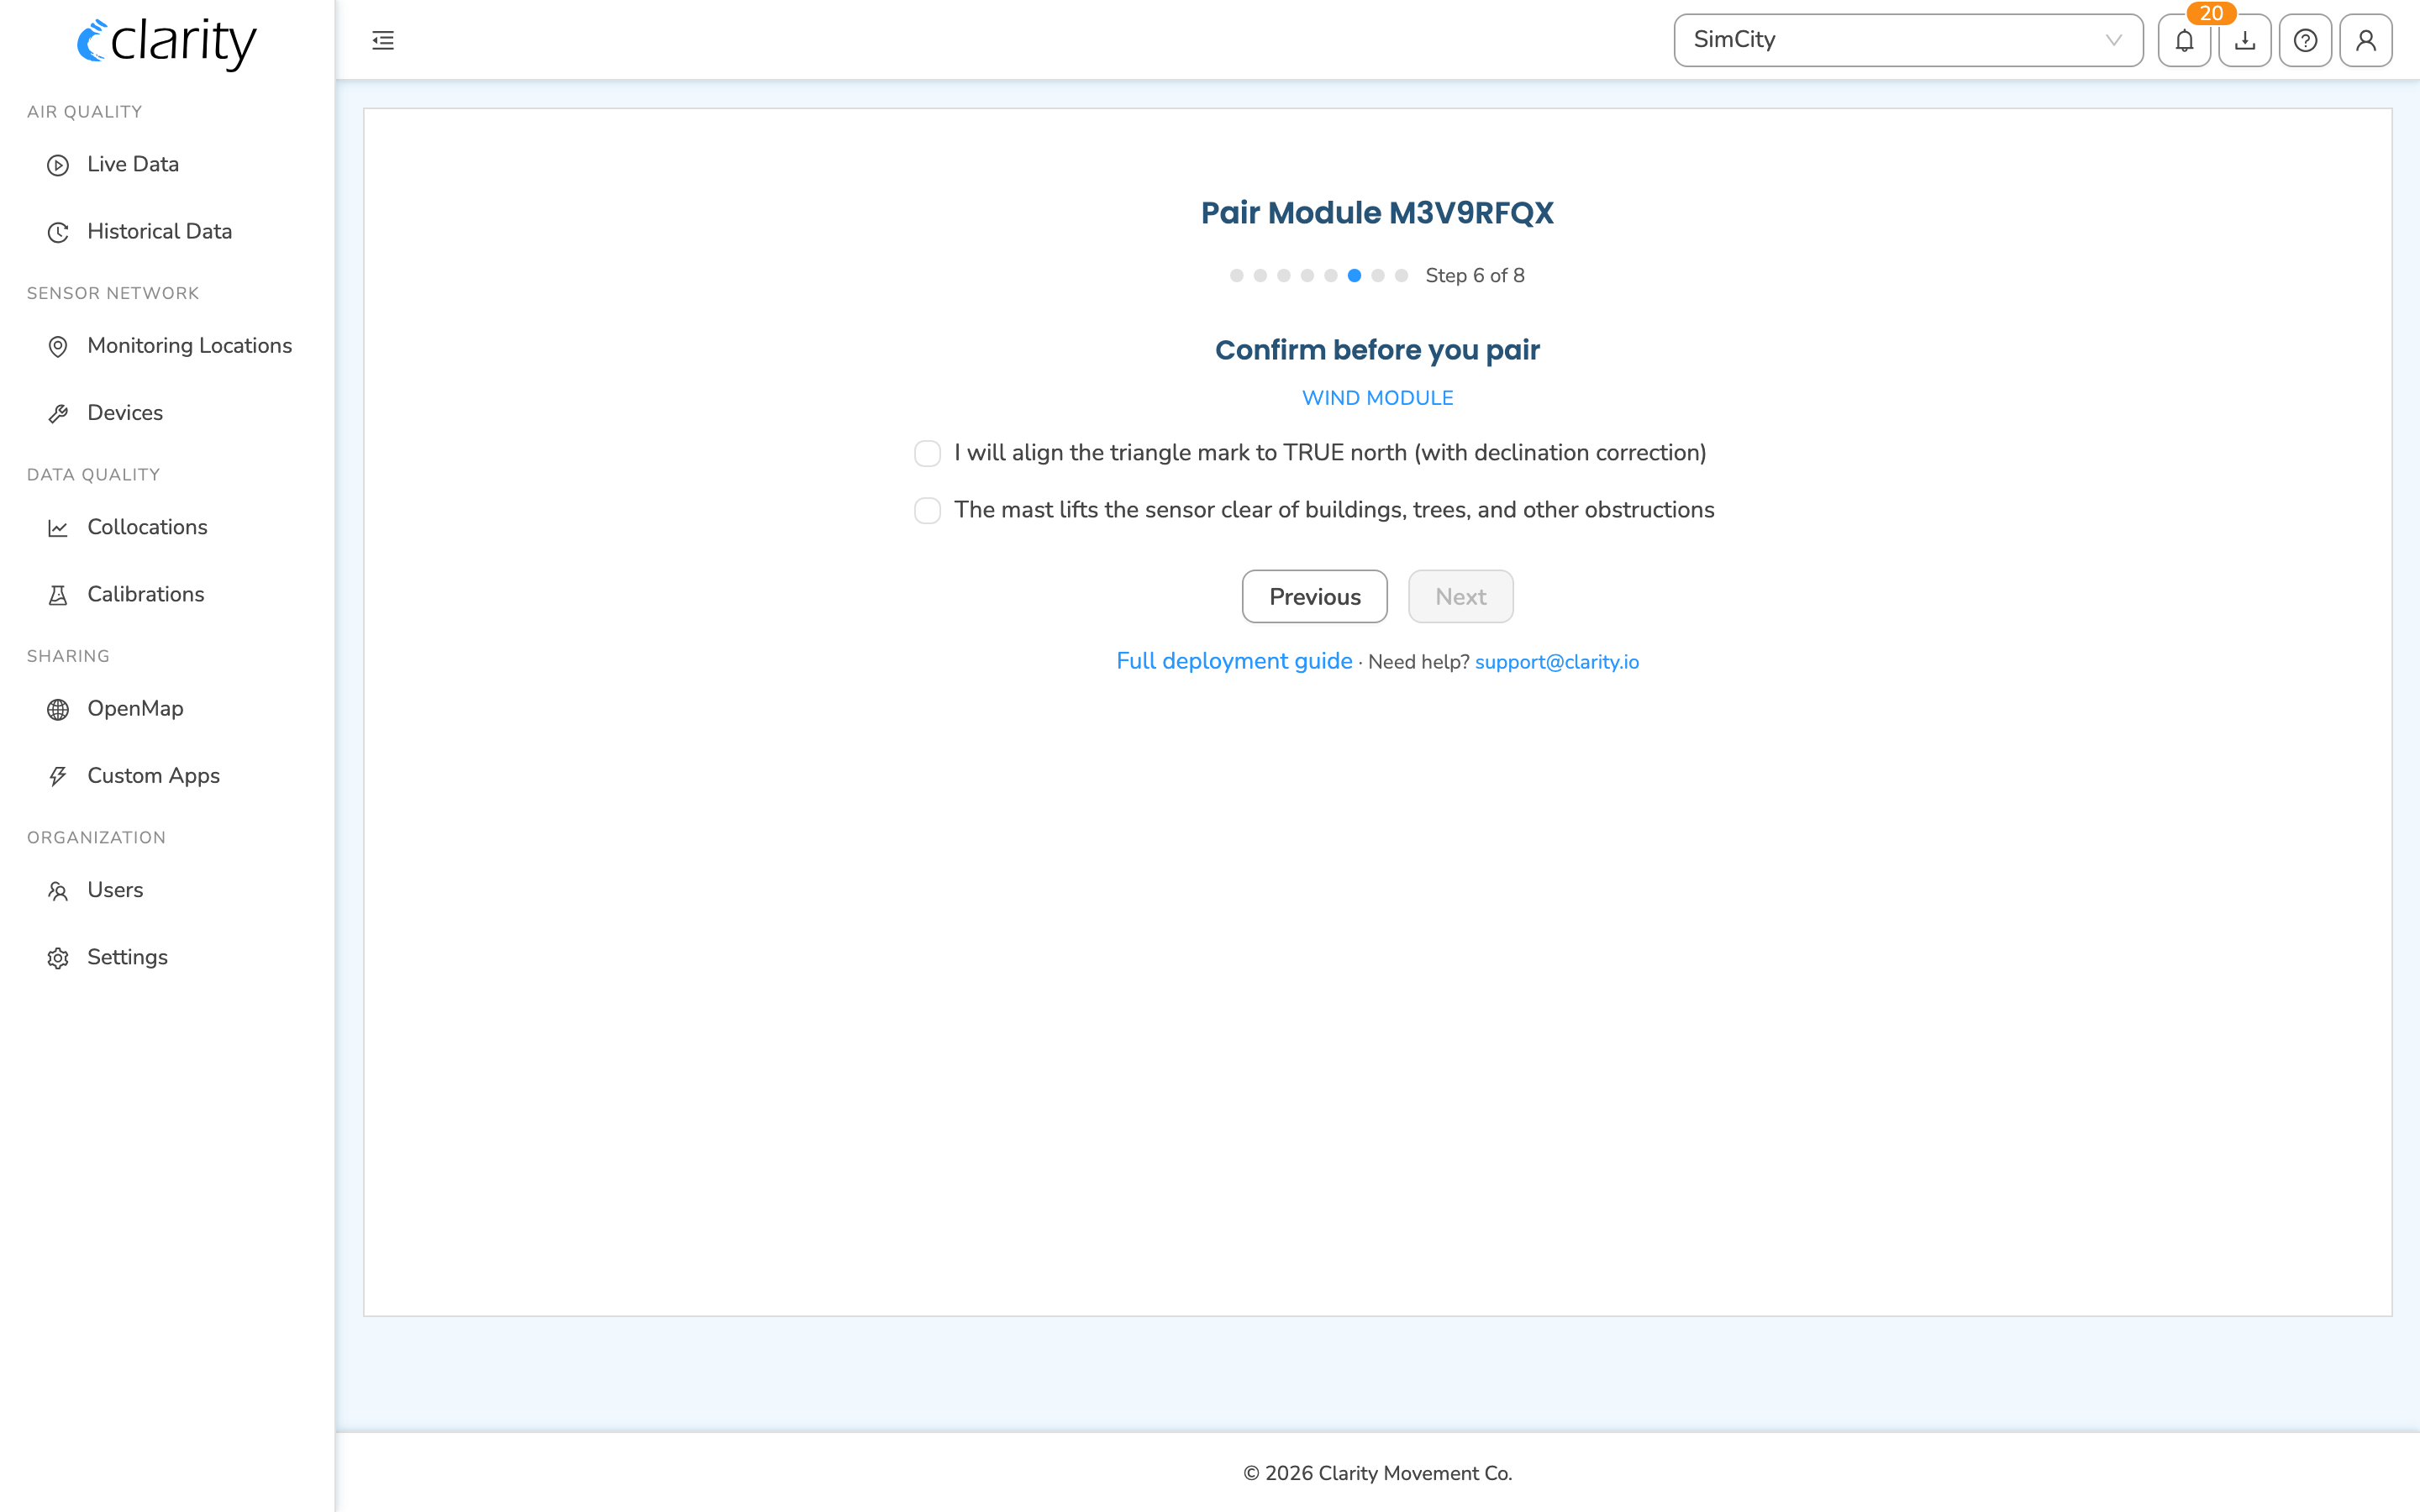
The Confirm before you pair checklist for the Wind Module asks you to acknowledge:
- I will align the triangle mark to TRUE north (with declination correction)
- The mast lifts the sensor clear of buildings, trees, and other obstructions
Check the module status in Dashboard
To see a module and the node it's paired with, open Devices under SENSOR NETWORK in the sidebar and stay on the Deployed devices tab.
The deployed table has a Paired modules column showing each node's paired module(s) by name and module ID. Use the search box at the top of the table ("Search nodes, modules, locations") to find a node by its ID, by a module ID, or by location. There's also a Has modules toggle to list only nodes that have an accessory module paired.
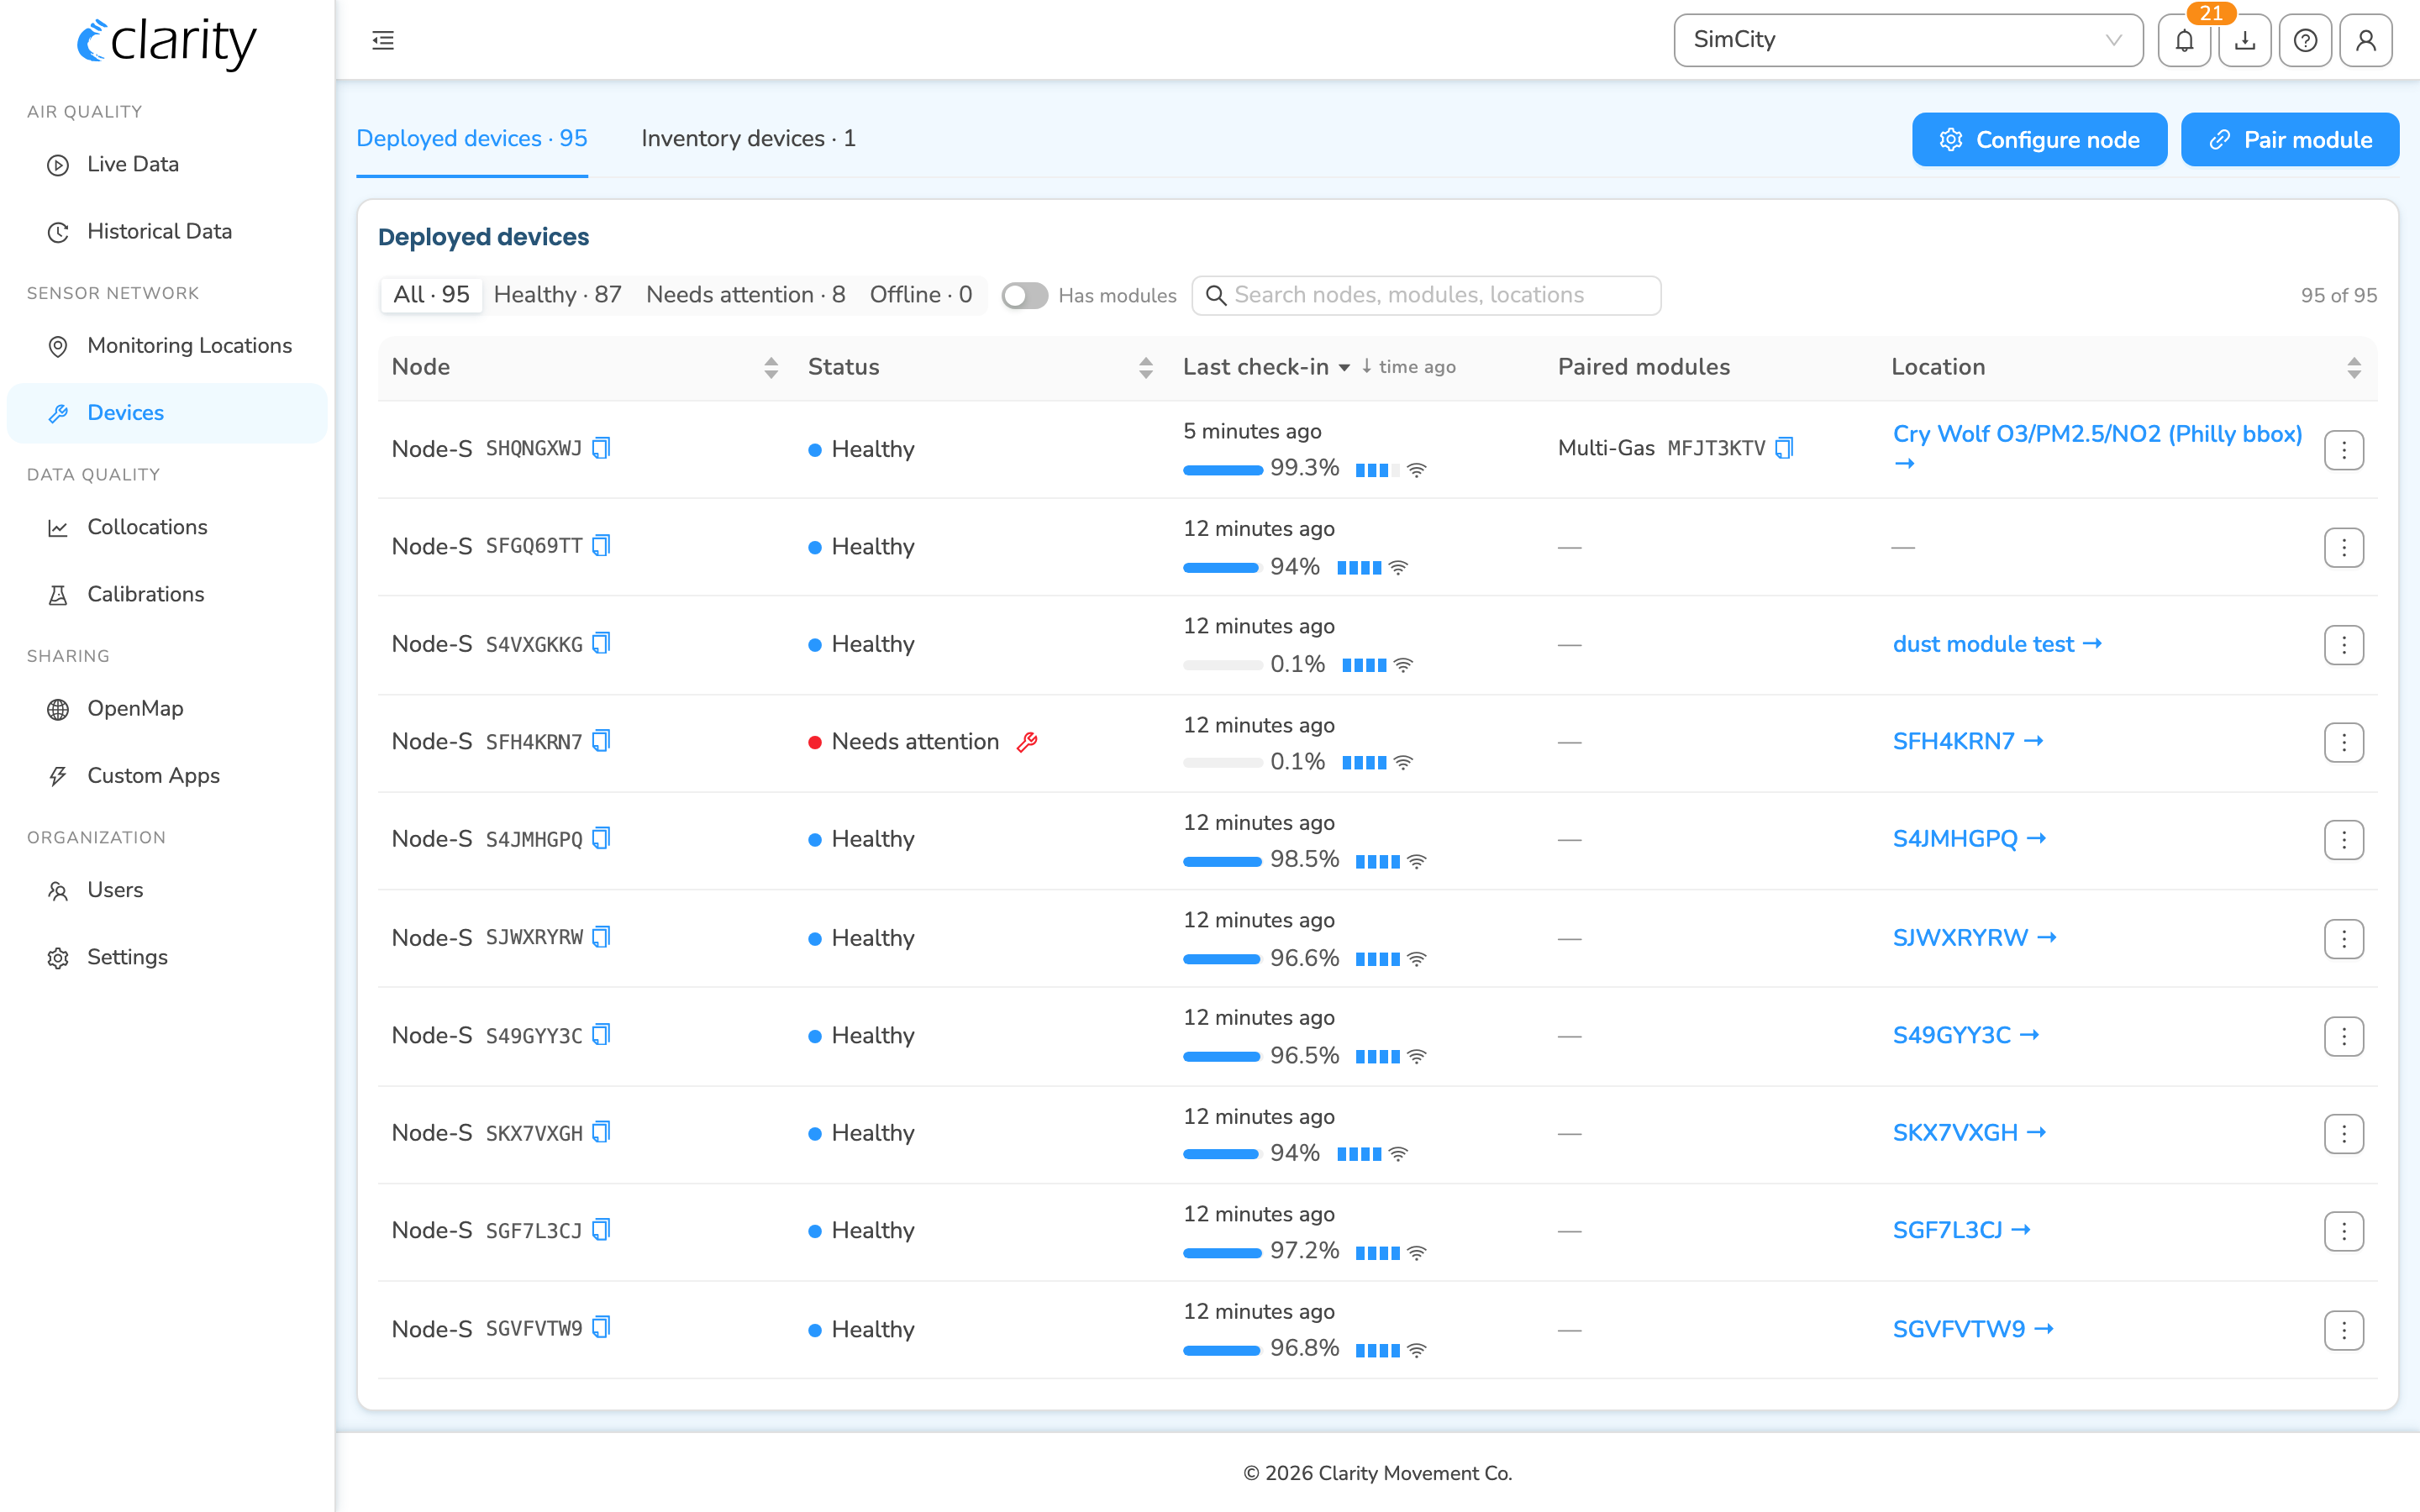
The status pills at the top of the table (All / Healthy / Needs attention / Offline) let you filter the fleet. Each row shows the node's status, last check-in time, battery, and signal. For a deeper look at a single node, open the row's ⋮ menu and choose Diagnostics.
Unpair a module
To unpair the Wind module from its node — or to re-pair it elsewhere — see How to unpair your module.
Assemble the module
-
Make sure the Clarity Node-S is assembled and configured in Dashboard. If not, review the Node-S deployment guide.
-
Attach the mounting pole to the Wind module by screwing it into the module's base.
-
Tighten the two set screws on either side of the mounting pole with the provided hex screwdriver. Don't overtighten.
(See the assembly photo: mounting pole screwed into the module base.)
-
Plug the cable into the Wind module and tighten it using the knob.
(See the assembly photo: cable plugged into the module and tightened.)
Connect the module to the Clarity Node-S
-
Make sure the solar panel cable is plugged into the configured Clarity Node-S body. When you plug it in, the Node-S plays the Node-S Power On sound and tries to connect to the Clarity cloud.
-
Unscrew the cap covering the module port and plug the other end of the Wind module cable into the Node-S body. Align the cable pins and tighten the metal portion of the connector. (See the port photo: cap off vs. cable connected.)
-
When you plug in the Wind module cable, you'll hear the Node-S Power On sound again as the device resets.
-
Wait while the Node-S establishes a cellular connection at your site. This can take 2–10 minutes depending on signal strength.
- If the node fails to connect, you'll hear the Node-S Connection Failure sound. First confirm the device has been configured in Dashboard; if that doesn't resolve it, contact support@clarity.io.
- If you hear the Node-S Low Battery sound, charge the device for at least 24 hours before proceeding.
- If the Node-S Connection Successful sound plays, continue to deployment.
After a successful connection to the cloud, the device tries to communicate with the module. You'll hear one of:
- Successful Module Connection sound — the module is working properly.
- Failed Module Connection sound — check the cable connection between the Node-S and the module.
- Module Configuration Error sound — the Node-S isn't configured properly. Make sure the module and node are paired in Dashboard, then unplug and replug the Node-S solar panel cable. If that doesn't help, contact support@clarity.io.
(See the pitch-vs-time chart for each audio cue.)
Deploy the Node-S + Wind module in the field
- Site the Clarity Node-S + Wind module properly so it provides valid wind data — see the Wind Module Siting Guide.
- After choosing the site, mount the Clarity Node-S to the designated pole, wall, or panel.
- To make installation easier, you can temporarily detach the Wind module cable from the node's module port.
- Use stainless-steel zip ties, hose clamps, or screws (not provided).
- Make sure the inlet and outlet face downward and are unobstructed.
- Make sure the cable can reach the Wind module once it's installed.
- Mount the Wind module to the designated pole or boom.
- If using the provided accessories, align the pole with the module's mounting pole.
- Attach the two U-style screw bolts and secure each with the provided butterfly screws. (See the mounting photo.)
- If you can't mount to the top of a pole, additional materials such as an extension pole may be needed for unobstructed airflow. (See the alternative-mount field examples.)
- IMPORTANT: Rotate the Wind module so the triangle mark on its casting aligns to TRUE north.
- The triangle is on the module's side. (See the close-up of the alignment triangle.)
- The NOAA CrowdMag app (Google Play / App Store) gives location-specific declination. We recommend using the app only to obtain the declination (via the Compass or WMM tabs) and applying it with a high-precision compass.
- Reattach the Wind module cable to the Clarity Node-S body once both devices are securely installed.
- Listen for these sounds in succession:
The first reading typically lands in Dashboard 2–20 minutes after the node uplinks. You can confirm data is flowing on the node's location card in Monitoring Locations, or in Live Data.
Wind module maintenance
Maintenance for Clarity Wind modules is minimal because they have no moving parts. For details, see the Wind Module maintenance guide.
What's next
- Site your Wind Module correctly.
- Find true north to align the Wind Module.
- Confirm data is uploading after deployment.
- Interpret Wind and Pollution Roses.
Was this article helpful?
Yes, thanks! / Not really
Still need a hand? Email us at support@clarity.io or create a support ticket, and our team will get back to you.