Deploying your Clarity Multi-Gas Module
How to pair and set up a Clarity Multi-Gas Module with a Node-S in the field.
IMPORTANT
- You must first charge, assemble, and configure the Clarity Node-S device before connecting the Multi-Gas Module. If you haven't configured the Node-S yet, follow the Node-S deployment guide first.
- Not all versions of the Clarity Node-S can pair with the Multi-Gas Module. See how to check Node-S and Module compatibility. The Dashboard also checks compatibility for you during pairing — incompatible nodes are greyed out.
- The Multi-Gas Module must be oriented correctly to be weatherproof. The metallic mesh should point straight down to the ground. Incorrect deployment may allow moisture to enter the device and void the warranty.
- When not in use, store the Multi-Gas Module in its original packaging.
- If a return to Clarity is needed, return the module in its original packaging to prevent damage to the units.
Contents
- In the box
- Pair the module in Dashboard
- Check module status in Dashboard
- Unpair a module (if you need to)
- Assemble the module
- Connect the module to the Clarity Node-S
- Deploy the Node-S + Multi-Gas Module in the field
In the box
| Item | |
|---|---|
| 1 Multi-Gas Module | 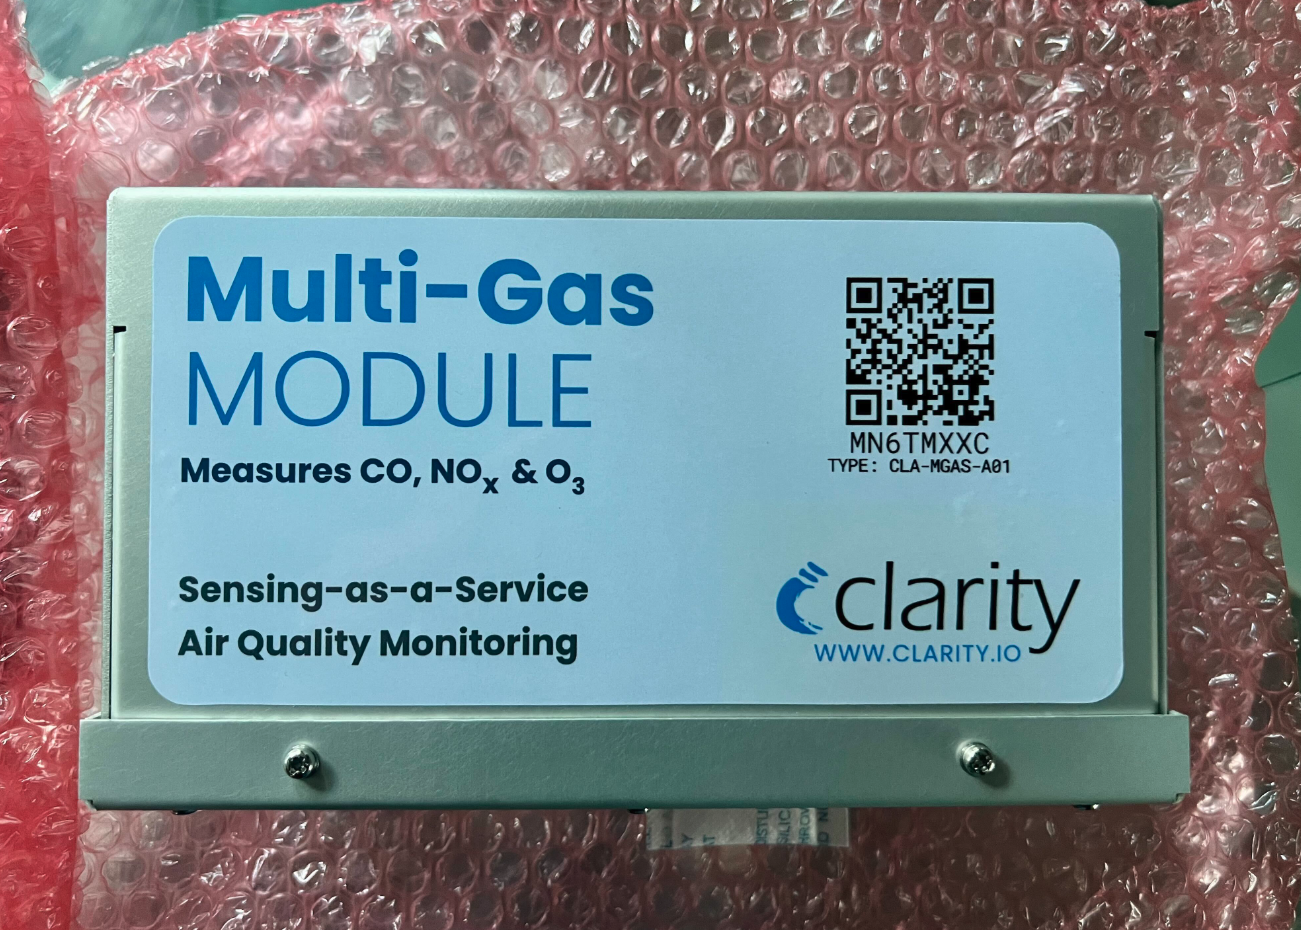 |
| 1 cable connecting the Multi-Gas Module to the Clarity Node-S (1.5 m length) | 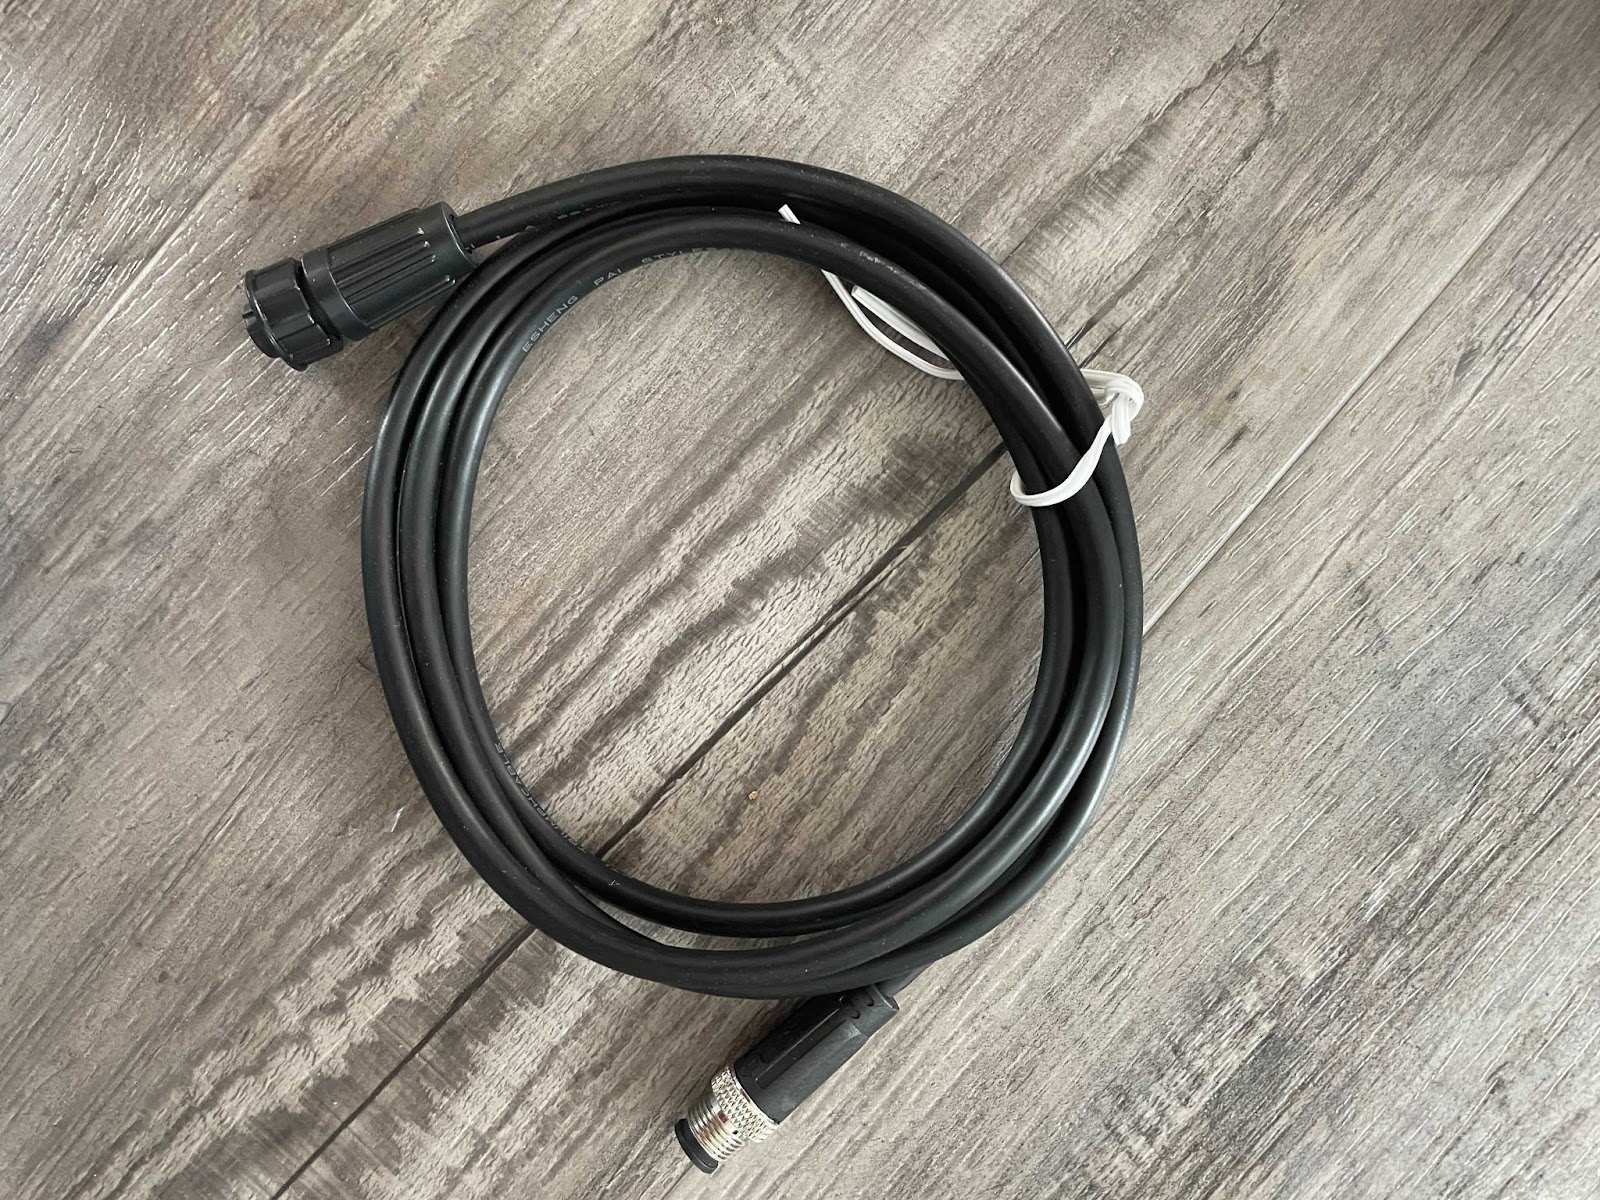 |
| 1 mounting bracket | 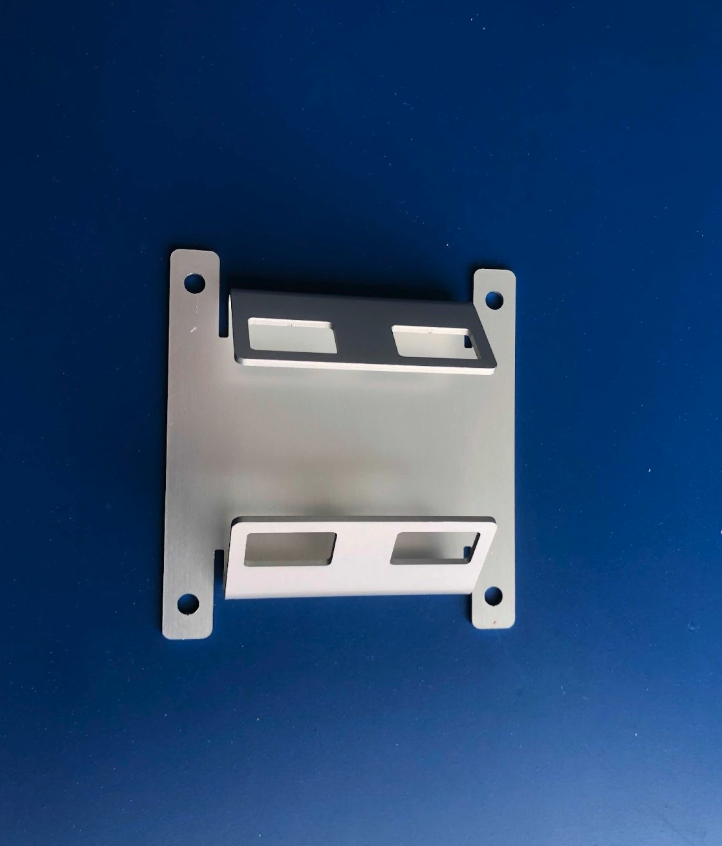 |
| 4 screws with washers for the mounting bracket | 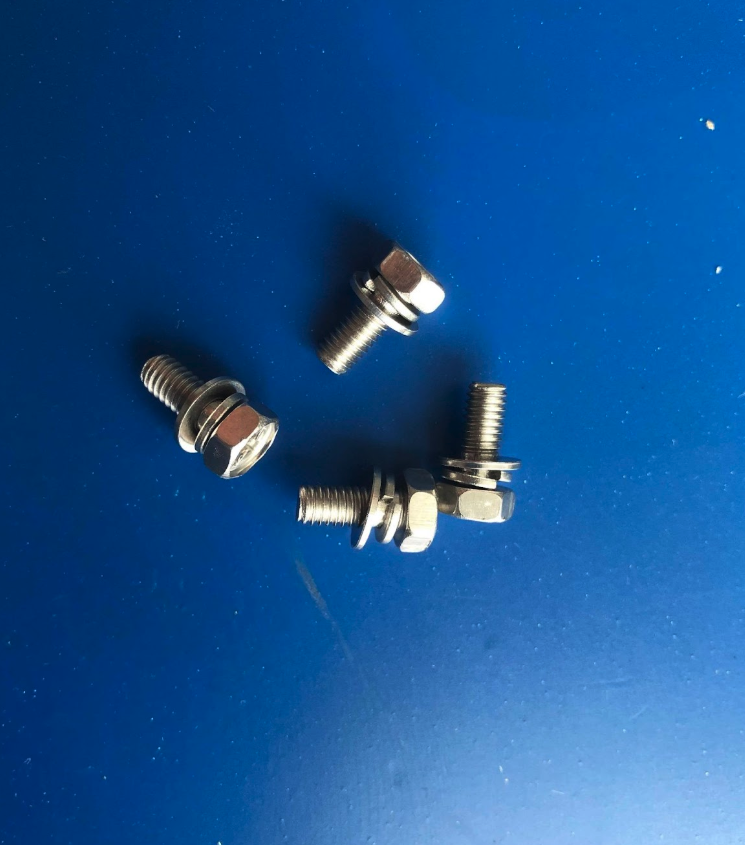 |
For deployment, you'll also need (not included):
- A Phillips-head screwdriver
- Stainless steel zip ties, hose clamps, binding straps, or screws for mounting that are appropriate for your site(s)
Pair the module in Dashboard
To use an accessory module it needs to be paired with a Node-S. Pairing tells the Clarity system the two are connected so the module can begin sending data to the cloud. Make sure your Node-S is already configured first — if not, follow the Node-S deployment guide.
Pairing uses the guided Pair module wizard, which works the same way for every Clarity module.
Important: For the full step-by-step — opening the Devices page, choosing the module, picking a compatible node, and pairing — follow Pair a module on Dashboard.
What to confirm for the Multi-Gas Module
When the wizard shows the deployment guide cards and the Confirm before you pair checklist, they cover requirements specific to the Multi-Gas Module:
- Mesh faces down — the metallic mesh on the front points straight down. Mount the bracket on the back (rotatable for poles or rails); the side flaps work for wall mounting. Wrong orientation lets moisture into the sensor and voids the warranty.
- Hang it 50 cm below the Node-S — so air flows freely between the two enclosures. The supplied cable is 1.5 m, so plan your spacing.
- Away from heat & exhaust sources — keep it clear of HVAC condensers, vehicle exhaust, smokestacks, and other point sources.
- Solar is enough — Multi-Gas runs on the standard Node-S solar panel; no EPS or mains adapter is required. Just make sure the Node-S itself is fully charged first.
The Confirm before you pair checklist asks you to confirm you'll mount the module with the metallic mesh pointing down, hang it about 50 cm below the Node-S, and keep any HVAC, vehicle exhaust, or smokestack out of direct line of the inlet. You can't continue until every box is ticked.
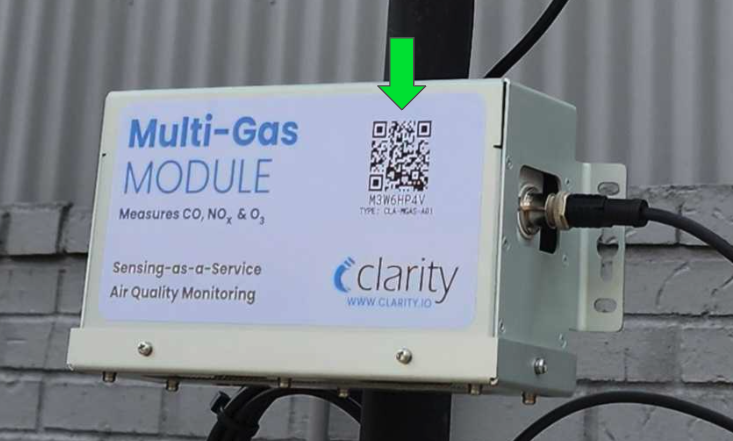
The Multi-Gas Module ID starts with M — find it on the module's ID sticker.
Check module status in Dashboard
To see the module and the node it's paired with, open Devices under SENSOR NETWORK and stay on the Deployed devices tab.
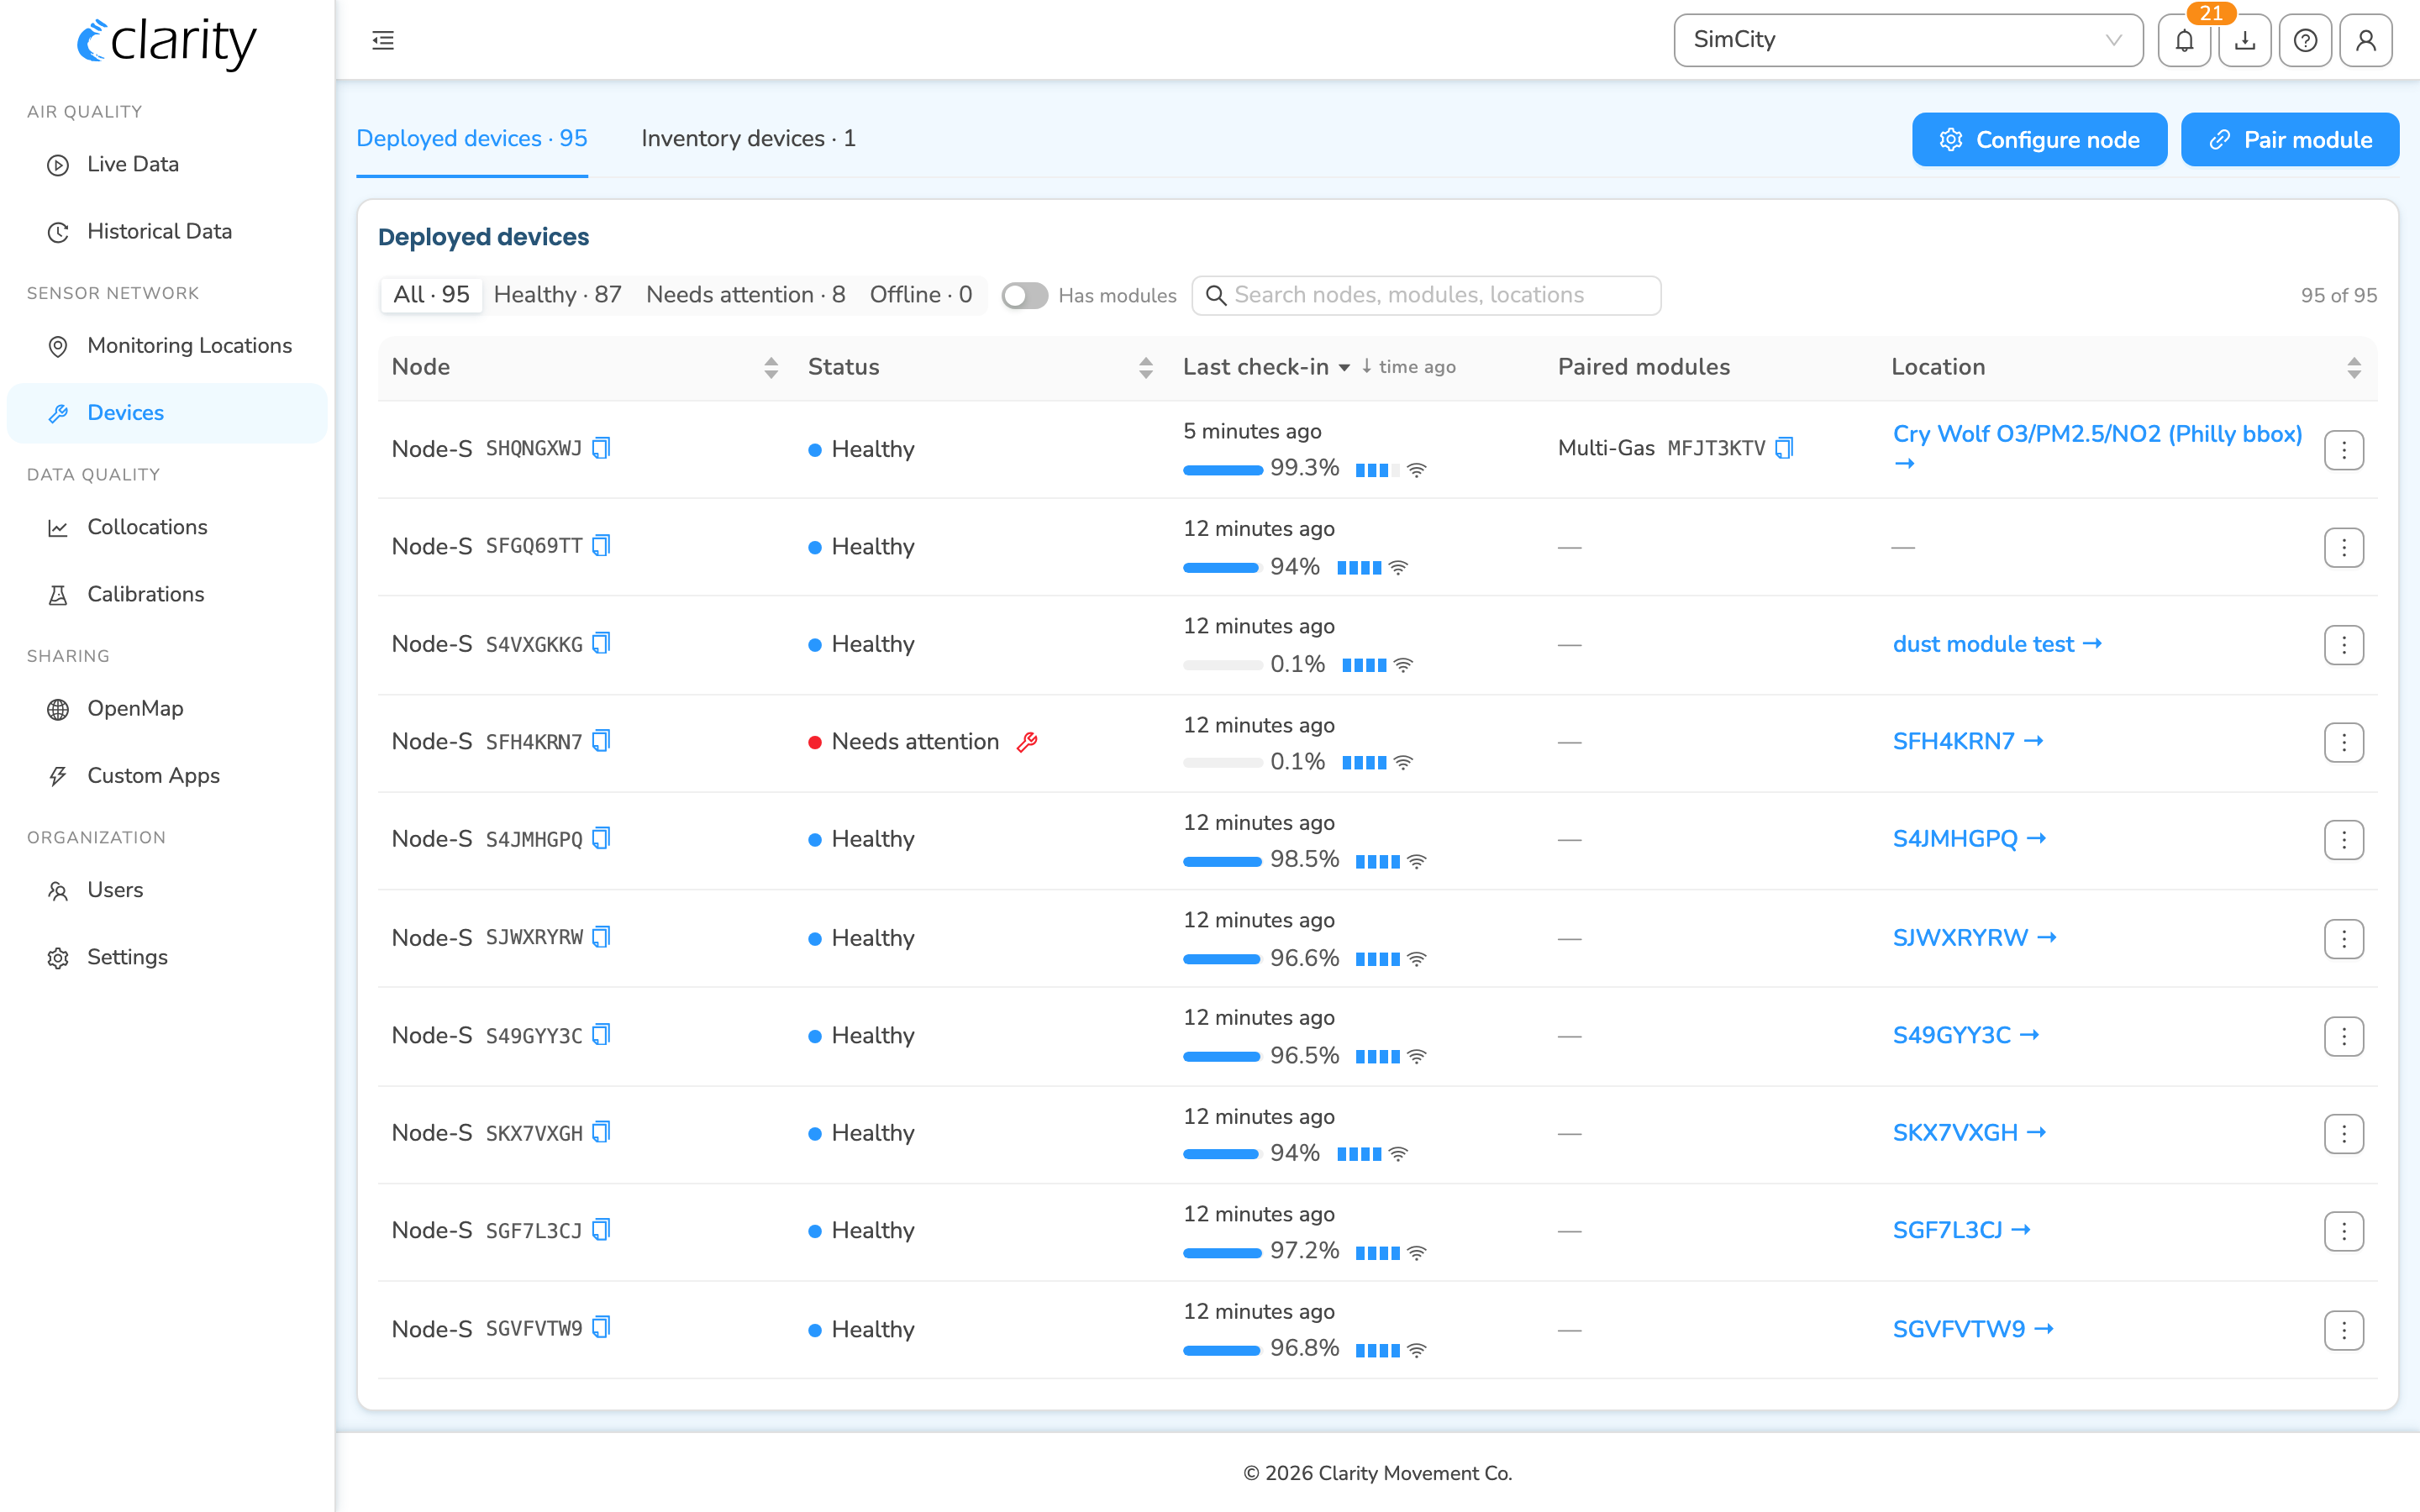
- The Paired modules column lists every module on each node (e.g. Multi-Gas with its
M…ID). - Flip the Has modules toggle to show only nodes that have at least one paired module.
- Use the search box (top right of the table) to find a node, module, or location by ID or name.
- Each row shows health, last check-in time, battery, and signal inline; the ⋮ menu on the right opens Diagnostics, Manage monitoring location, Open in Live Data, and Load historical data.
Unpair a module (if you need to)
Need to unpair or re-pair this module from its node? Follow How to unpair your module.
Assemble the module
-
Make sure the Clarity Node-S is assembled and configured in Dashboard. If not, follow the Node-S deployment guide.
-
Attach the mounting bracket to the back of the Multi-Gas Module.
-
The included bracket and four screws let you use hose clamps to secure the module to railings or poles.
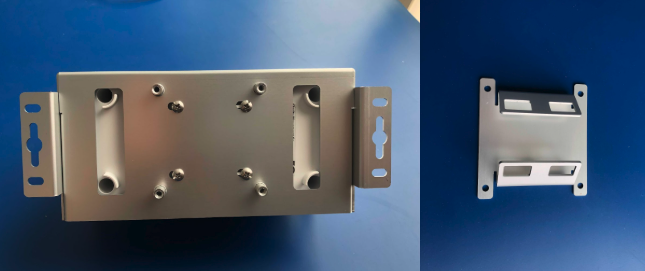
-
The bracket can be rotated and secured to the module body with the screws, depending on the direction of the railing or pole.
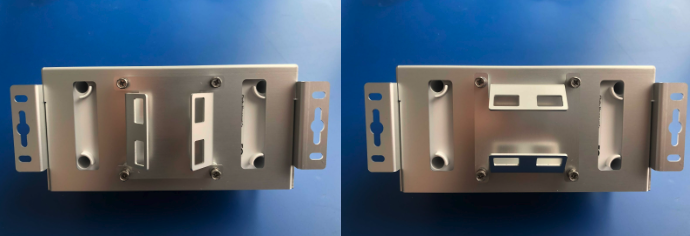
-
If you're mounting to a wall or panel, don't use the additional bracket — rely on the flaps on the sides of the shield instead.
-
-
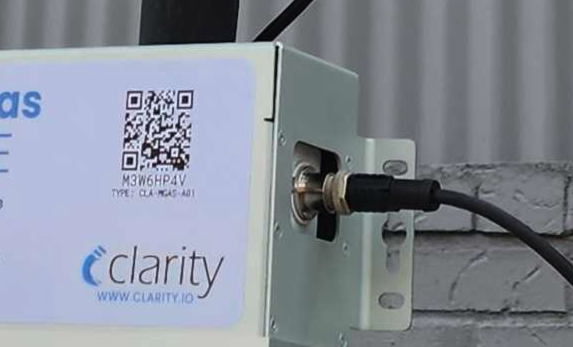
Plug the cable into the Multi-Gas Module and tighten using the knob.
Connect the module to the Clarity Node-S
-
Make sure the solar panel cable is plugged into the configured Clarity Node-S body. When you plug it in, the Node-S plays the Node-S Power On sound and tries to connect to the Clarity Cloud.

-
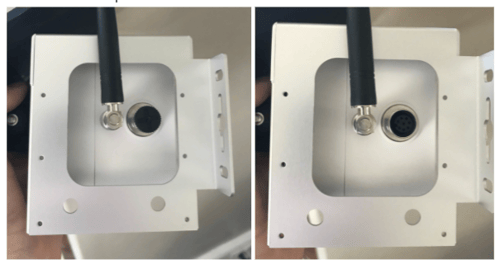
Unscrew the cap covering the module port and plug the other end of the Multi-Gas Module cable into the Node-S body — align the cable pins and tighten the metal portion of the connector.
-
Once the module cable is connected, you'll hear the Node-S Power On sound again as the device resets.
-
Wait while the Node-S establishes a cellular connection. This can take 2–10 minutes depending on signal strength.
-
If the node fails to connect, you'll hear the Node-S Connection Failure sound. Confirm the device is configured in Dashboard; if that doesn't help, contact support@clarity.io.

-
If you hear the Node-S Low Battery sound, charge the device for at least 24 hours before proceeding.

-
If the Node-S Connection Successful sound plays, proceed to deploy the device.

-
-
After a successful connection, the device communicates with the module. You'll hear one of:
- Successful Module Connection sound — the module is working properly.
- Failed Module Connection sound — check the cable connection between the Node-S and the module.
- Module Configuration Error sound — the Node-S isn't configured properly. Make sure the module and node are paired in Dashboard, then unplug and re-plug the Node-S solar panel cable. If that doesn't help, contact support@clarity.io.
Deploy the Node-S + Multi-Gas Module in the field
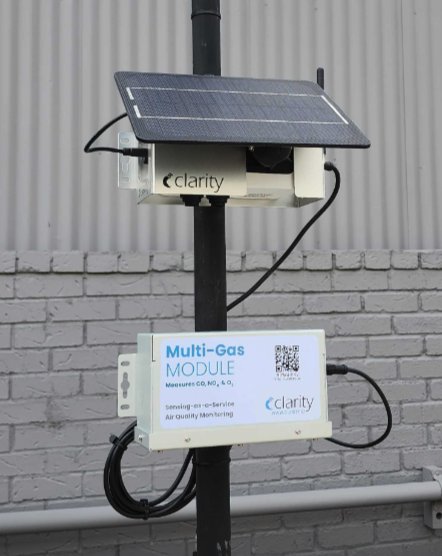
The Clarity Node-S + Multi-Gas Module must be sited properly to provide valid data:
- Make sure the module is correctly oriented: the text should be legible when viewed from the front, and the metallic mesh should point directly toward the floor. Failure to do so may cause water damage.
- Keep the module far from known sources of heat and moisture (e.g. an external HVAC unit) and from direct pollution sources (e.g. a restaurant's exhaust vent).
- Maintain a vertical gap of at least 50 cm (20 in) between the Node-S and the module for unobstructed airflow and to prevent water splashing between the devices in heavy rain.
After choosing the site:
-
Mount the Clarity Node-S to the designated pole, wall, or panel.
- To make installation easier, you can temporarily detach the module cable from the Node-S port.
- Use stainless steel zip ties, hose clamps, or screws (not provided).
- Make sure the cable can reach the module once installed.
- More on deploying the Node-S here.
-
Mount the Multi-Gas Module to the designated pole or wall.
-
Reattach the module cable to the Node-S body after both devices are securely installed.

-
Listen for these sounds in succession:
Congratulations! Your Multi-Gas Module and Node-S are online and uploading data.
To access the data, see "How to access the data from your Clarity devices." The first reading typically lands in Dashboard within 2–20 minutes once the node uplinks; you'll find it on the location's card under Monitoring Locations or in Live Data.
What's next
- Deploy your Clarity Node-S.
- Confirm data is uploading after deployment.
- Check Node-S and module compatibility.
- Troubleshoot Accessory Module alarms.
Was this article helpful?
Yes, thanks! / Not really
Still need a hand? Email us at support@clarity.io or create a support ticket, and our team will get back to you.