Deploying the Clarity Ozone Module
Important — read before you start
- You must configure your Clarity Node-S before connecting the Ozone Module. If you haven't configured the Node-S yet, follow Configure your Clarity Node-S first.
- The Ozone Module requires the Node-S to run on external power (mains, or a Clarity External Power System / EPS). Because of this, the solar panel can be removed when running the Node-S with the Ozone Module.
- Please read this entire guide — the deployment steps below are specific to running the Ozone Module with the Clarity Node-S.
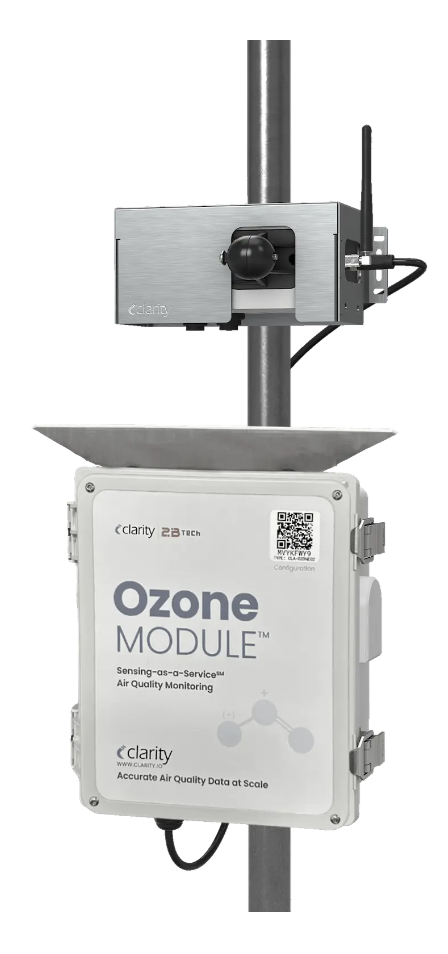
Below is an example of what your assembled Node-S + Ozone Module will look like after you finish:
In the box
| Item | |
|---|---|
| 1 document package, containing the calibration certificate, post-calibration data, the module birth certificate, and a flash drive with the manual. | |
| 1 ozone module with mounting hardware: sun shield, 2 pole-mounting brackets, 8× Phillips pan screws (#6-32, ¼"), and 8× #6 split washers. | 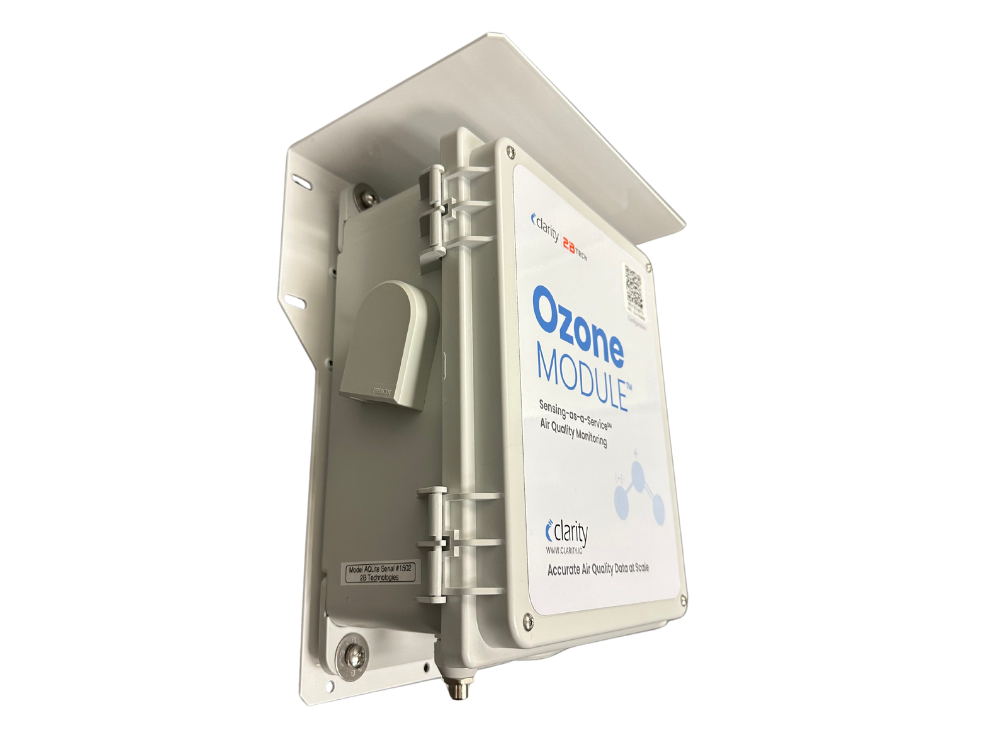 |
| 1 zero scrubber | 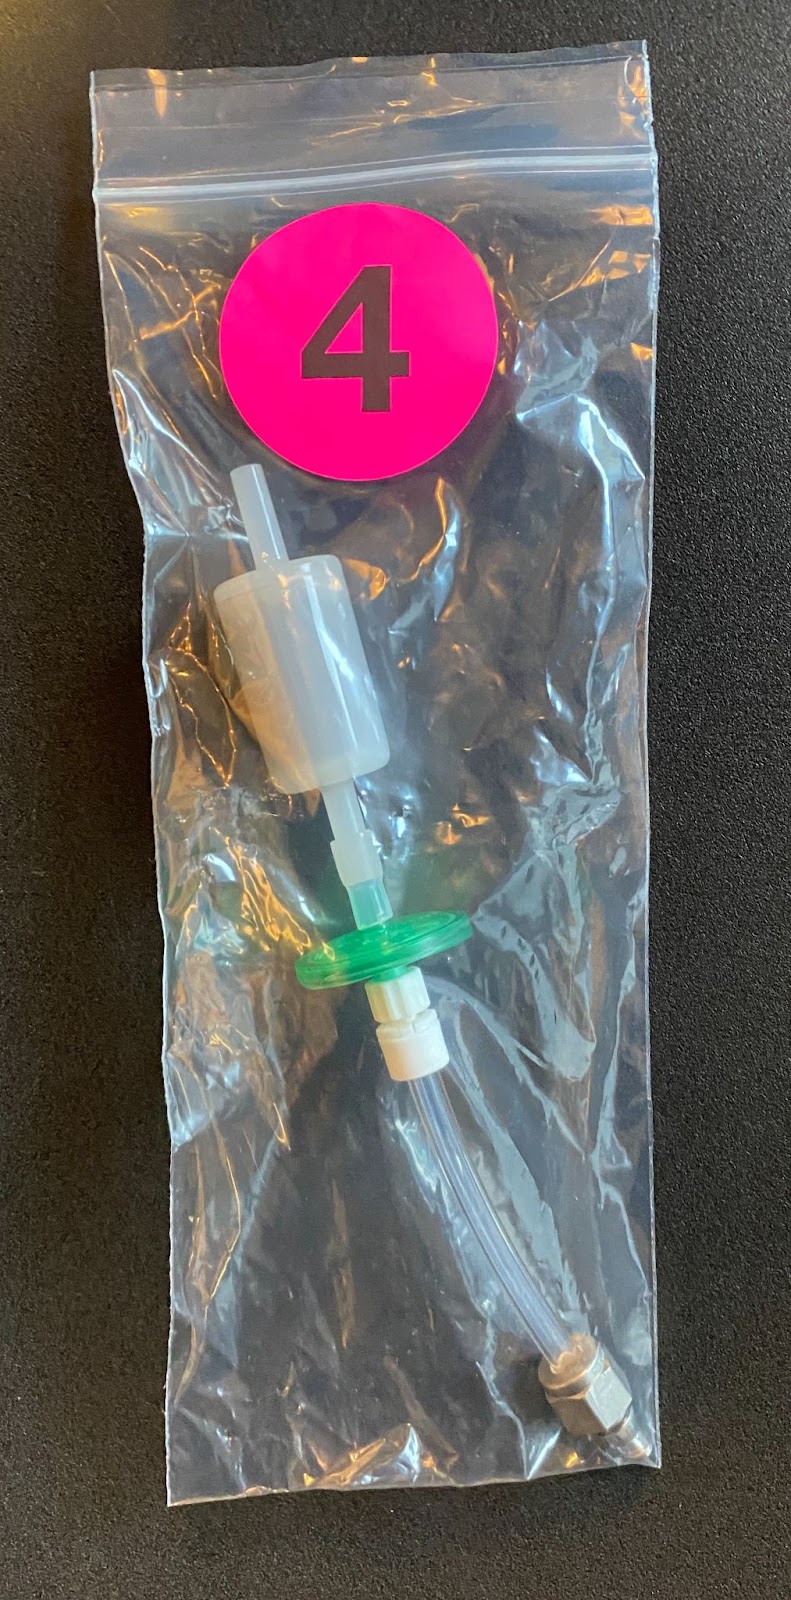 |
| 10× 47 mm Teflon™ filters (5–6 micron pore size) | 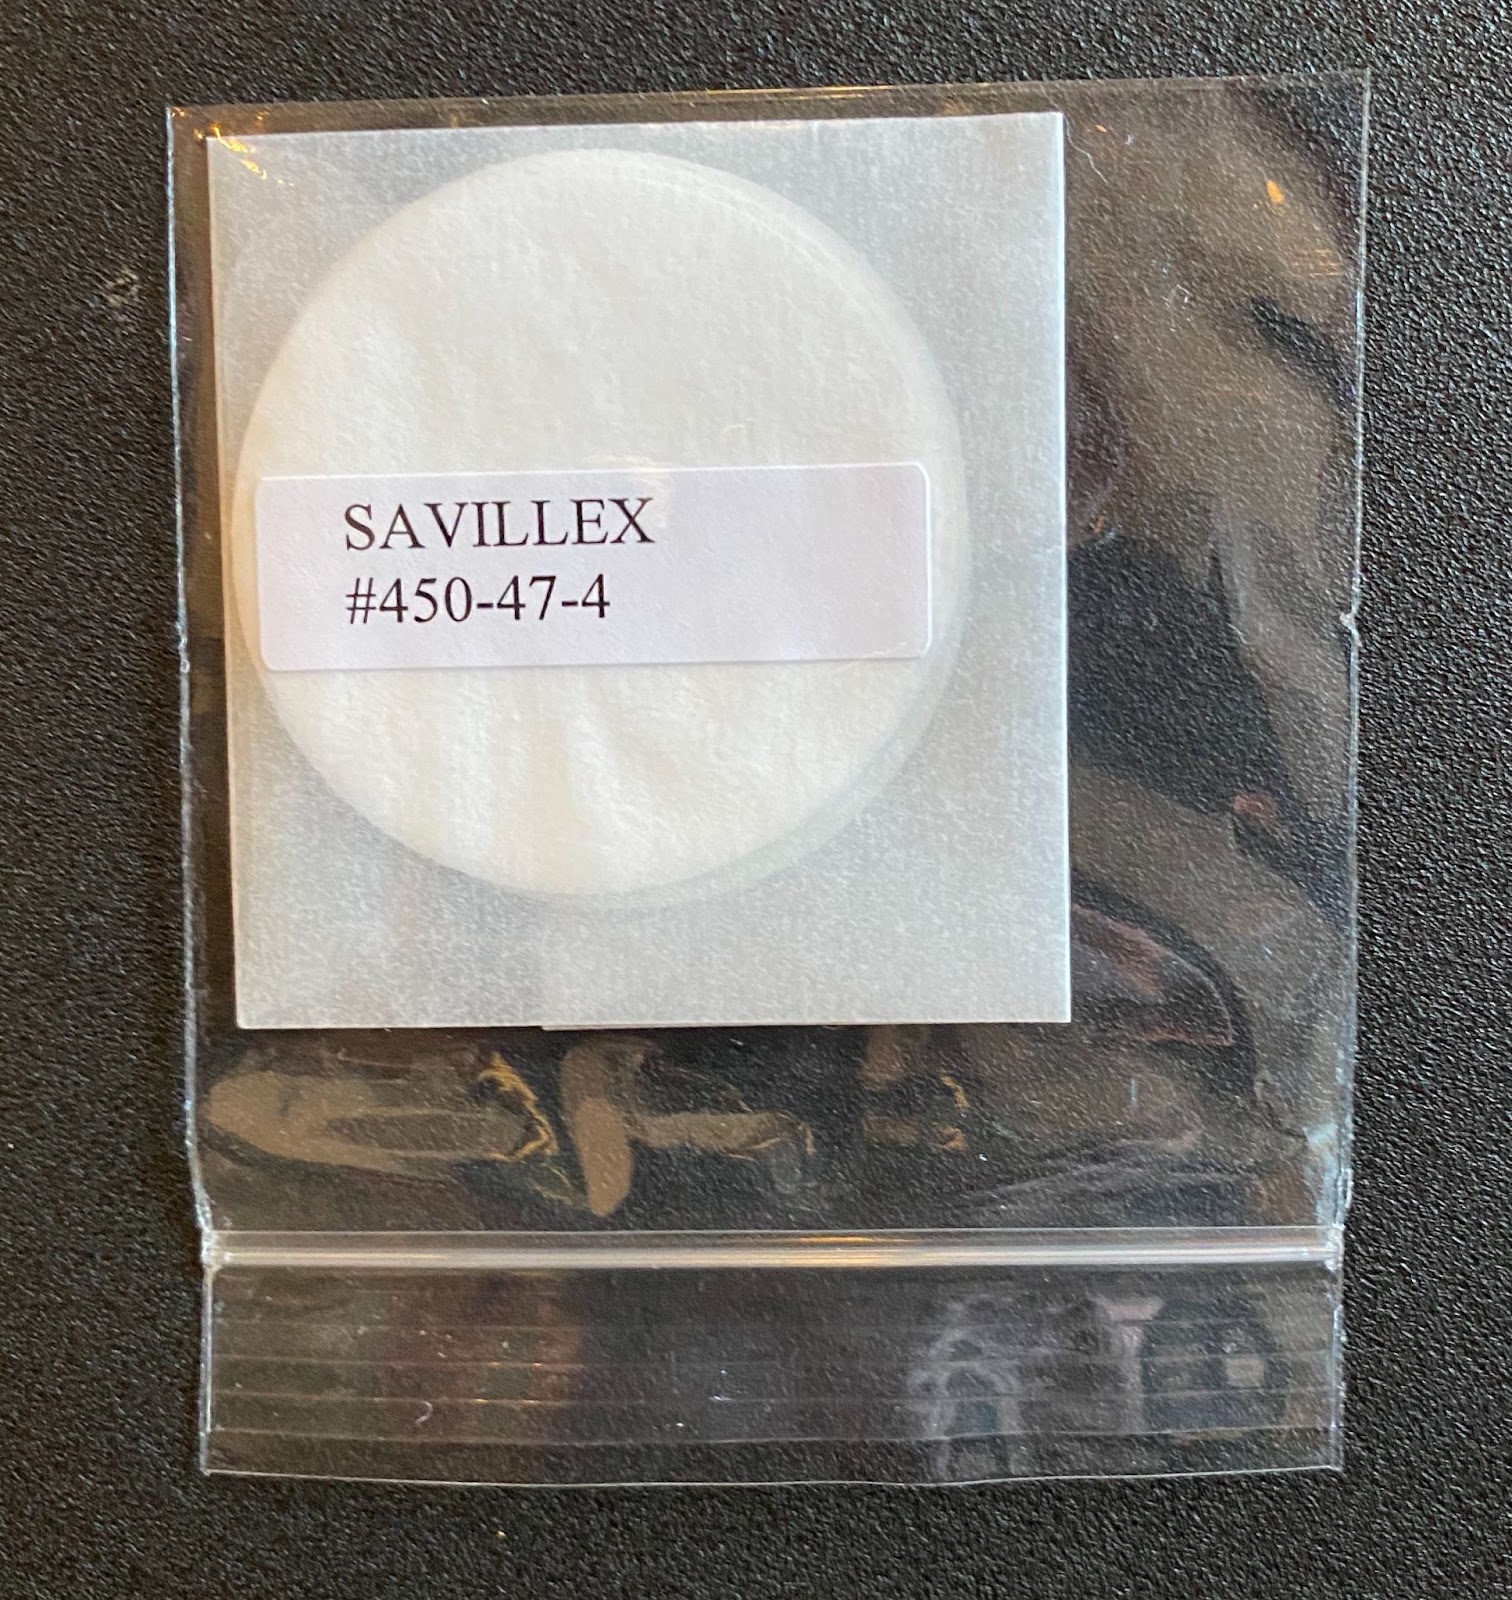 |
| 1 accessory cable — 8-conductor, M12, male-to-male, 6 ft | 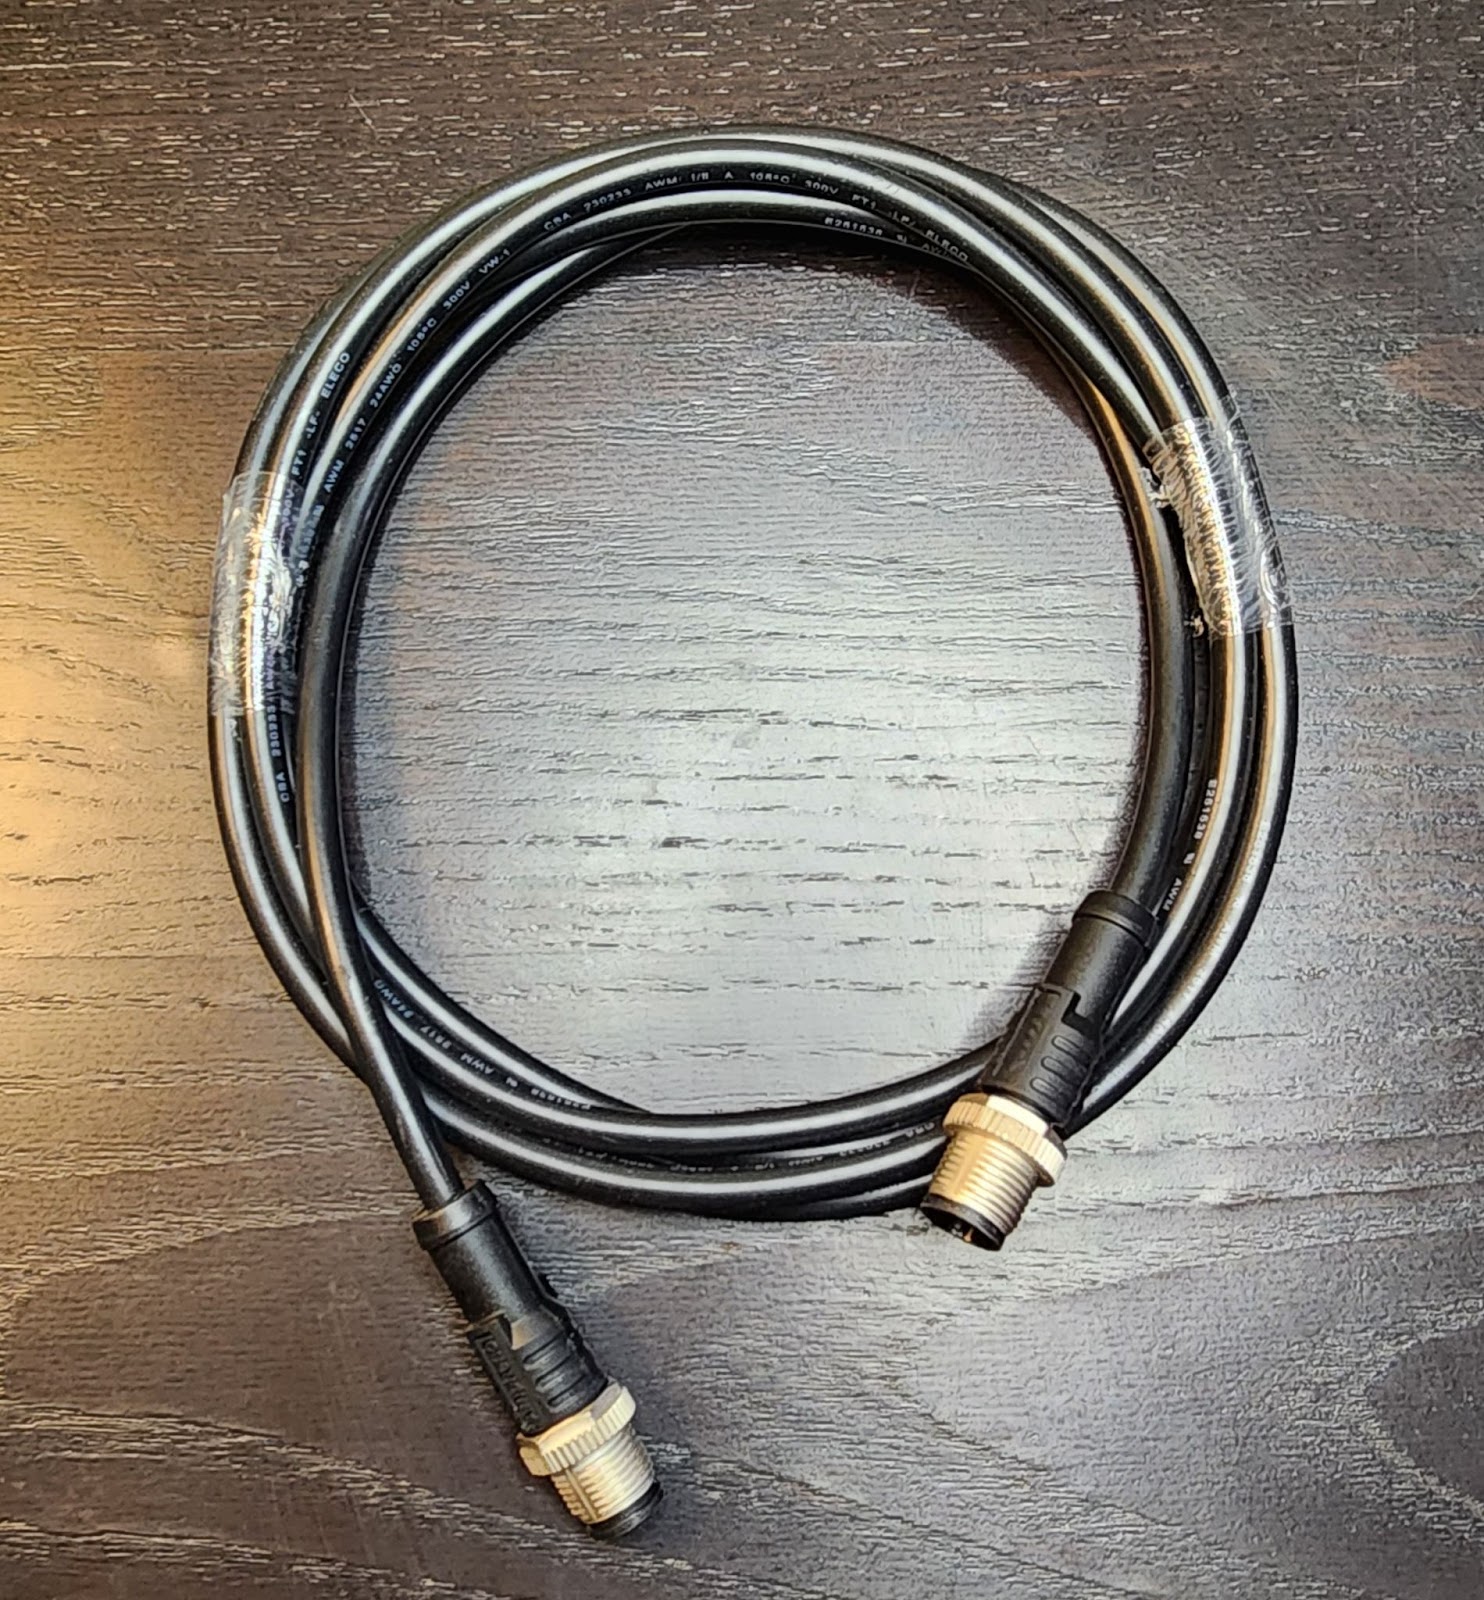 |
You'll also need (not included):
- A medium Phillips-head screwdriver
- Stainless-steel zip ties, hose clamps, or screws appropriate for your mounting site
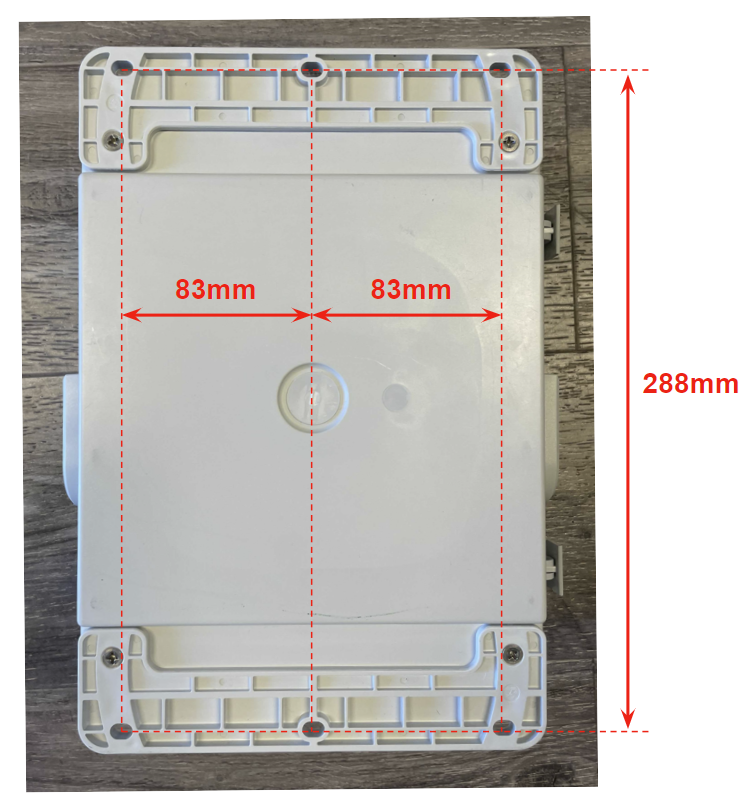
When you prep your mounting hardware, refer to the module mounting-interface dimensions in the Deploy in the field section below.
Pair the module to a compatible Node-S
To use an accessory module, it needs to be paired with a Node-S. Pairing tells the Clarity system the two are connected, configures the node to accept the module, and lets the module start sending data to the Clarity Cloud. Pairing happens in the guided Pair module wizard on the Dashboard, which works the same way for every module — open the Devices page, choose the module, pick a compatible node, and pair.
Important: For the full step-by-step — opening the Devices page, choosing the module, picking a compatible node, and pairing — follow Pair a module on Dashboard.
Before you start, make sure the Node-S you want to pair with is already configured. If it isn't, follow Configure your Clarity Node-S first — the wizard only lets you pair with nodes that are compatible and available, so an unconfigured node won't be selectable. To re-pair a module that's already on another node, unpair it first (see How to unpair your module).
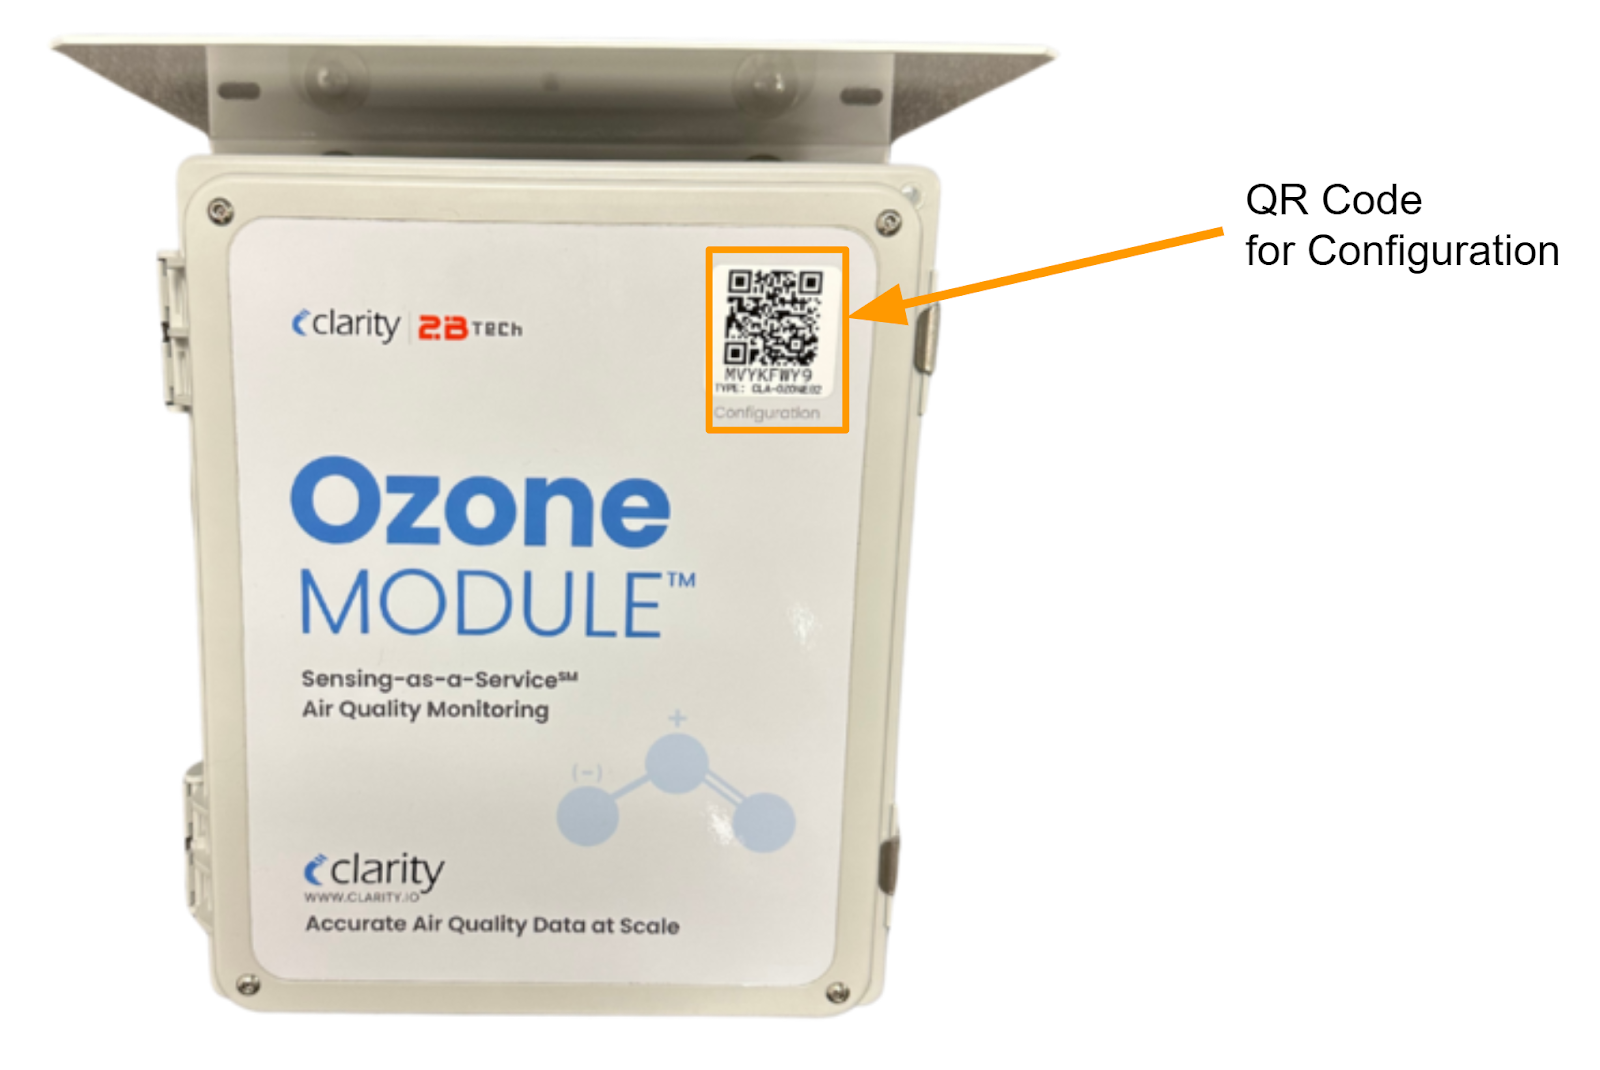
If you scanned the module's QR code: scanning lands you directly on the wizard with the Ozone Module already filled in, so you can skip the module-pick step. The QR-for-configuration sticker is on the module enclosure:
What to confirm for the Ozone Module
When the wizard shows the deployment guide cards and the Confirm before you pair checklist, they cover requirements specific to the Ozone Module:
- External power required — Ozone needs the Node-S on external power; battery alone won't sustain it. Plug into mains, a 50 W EPS, or a 100 W EPS in low-solar sites. The solar panel can be removed. If the node you select is still configured for (or detected on) the standard solar panel, the wizard shows a This module needs external power warning with an Update power source button so you can fix the node's power configuration without leaving the wizard.
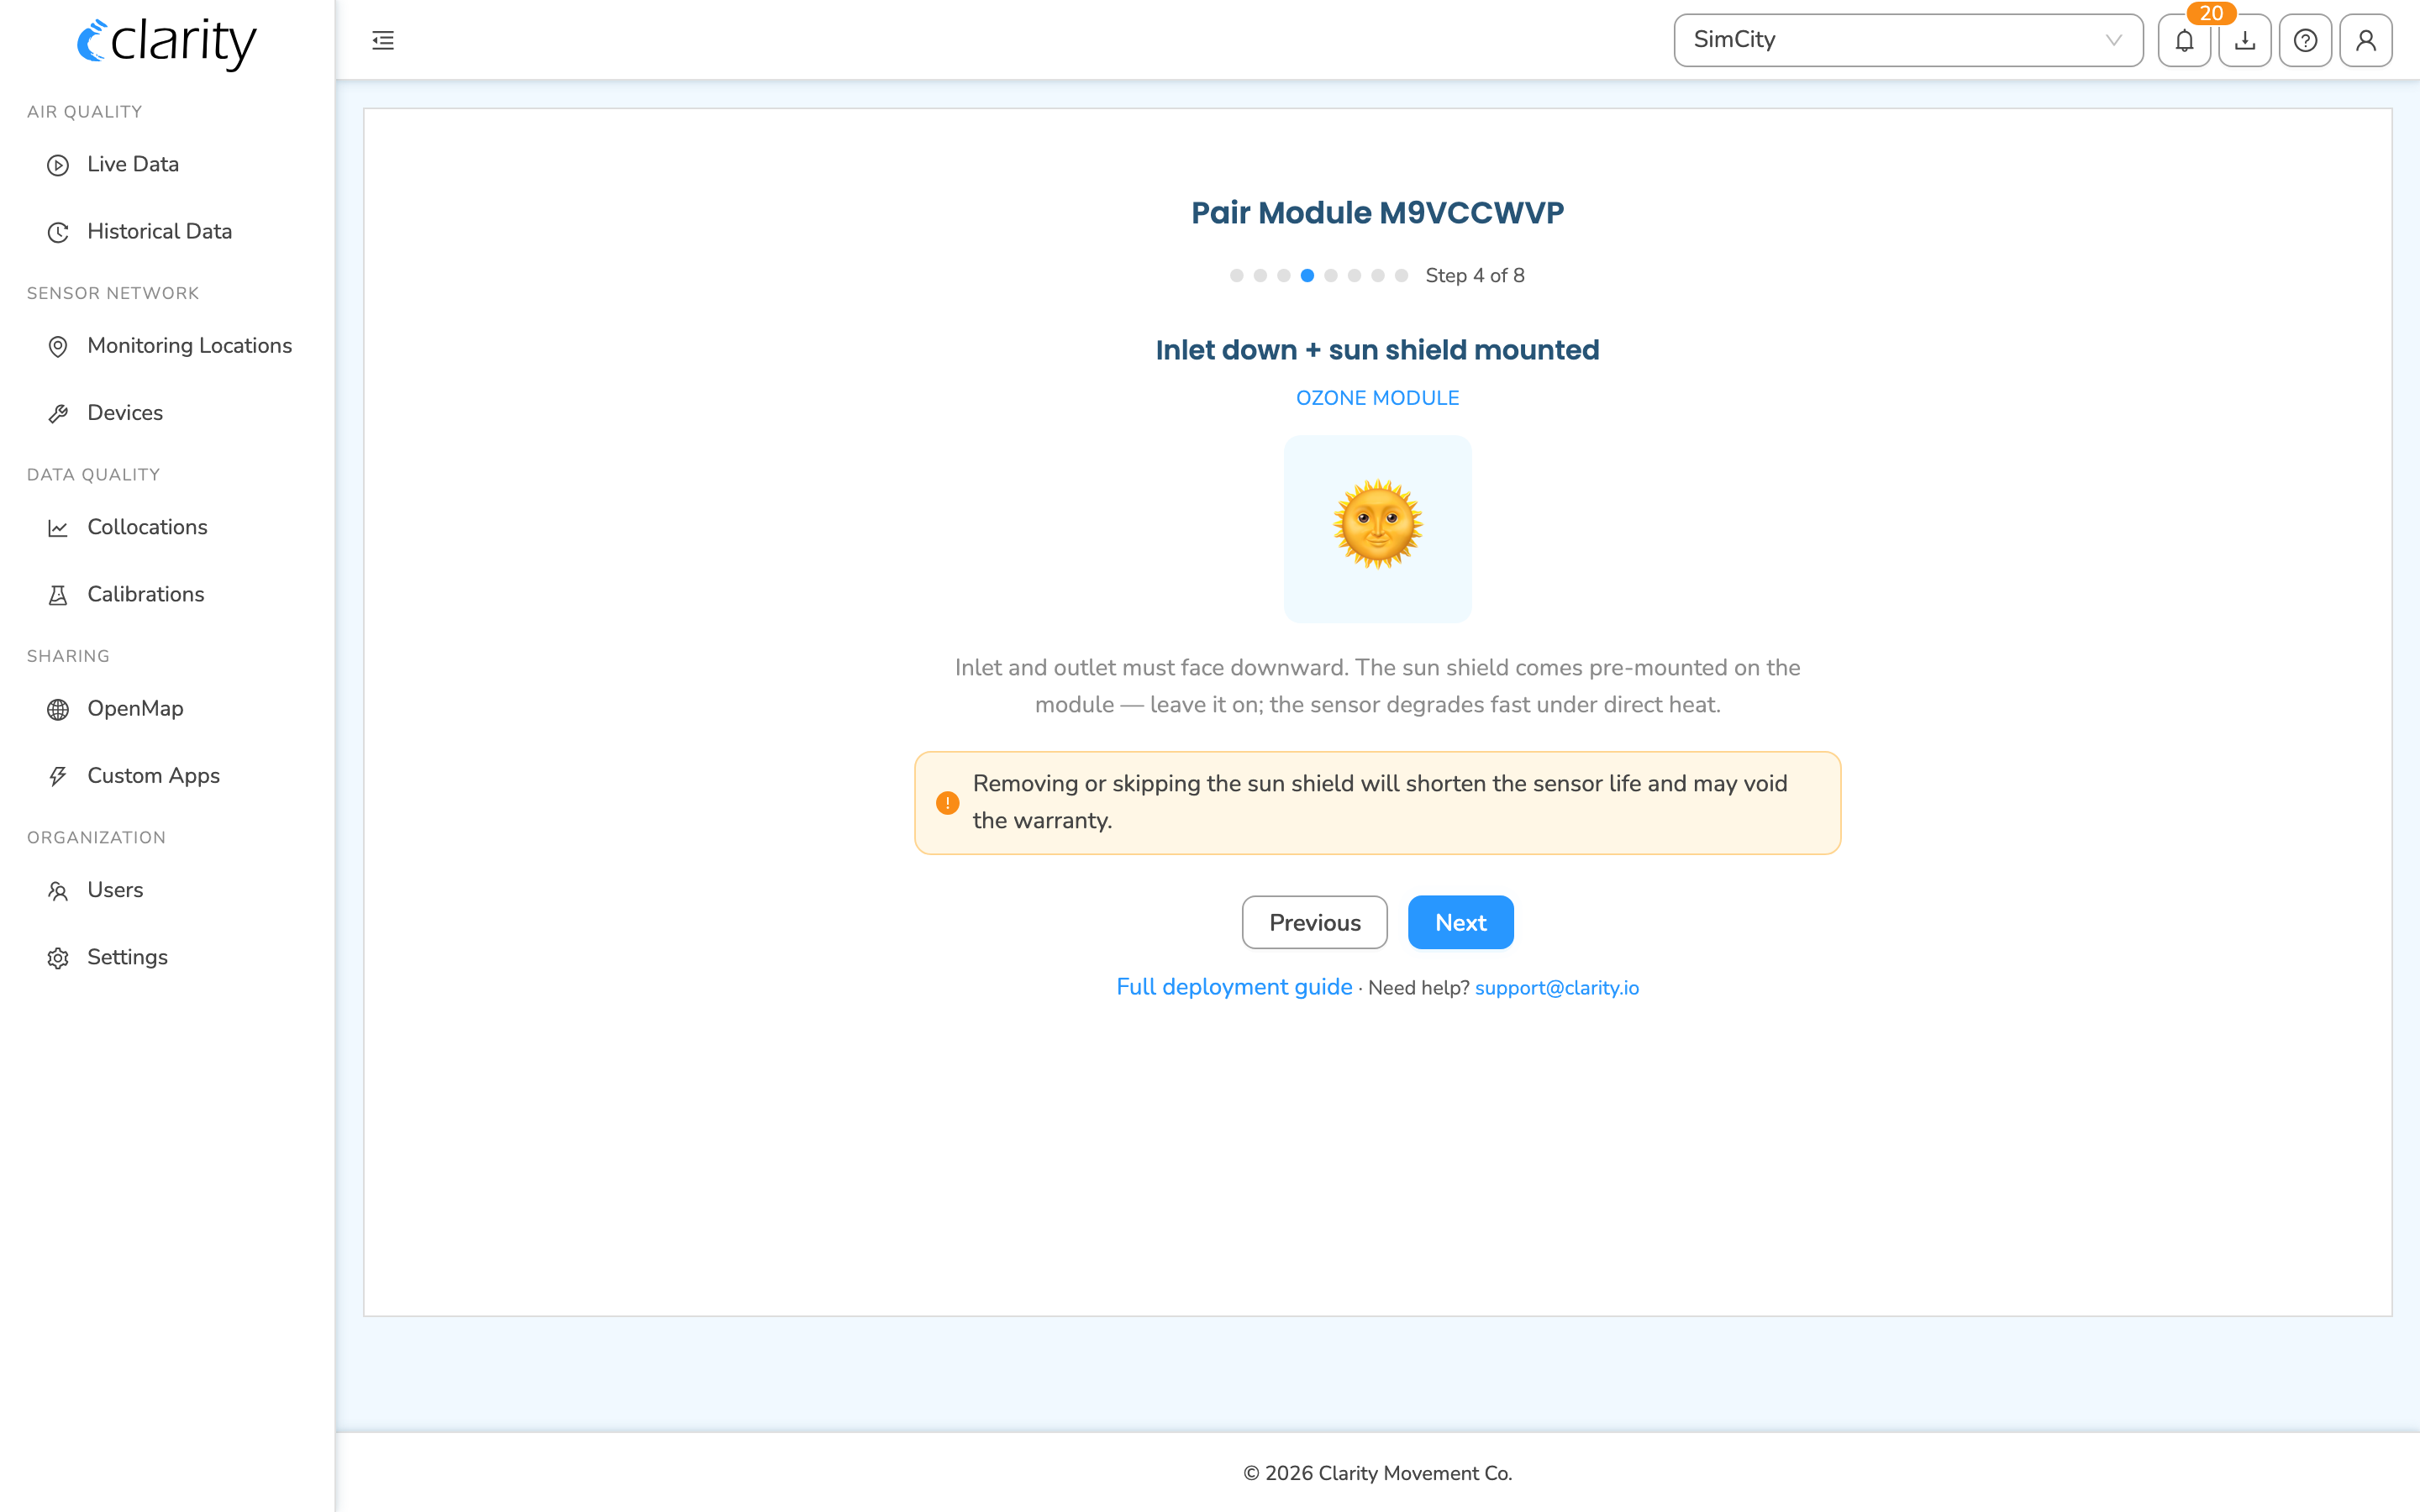
- Inlet down + sun shield mounted — the inlet and outlet must face downward, and the sun shield (pre-mounted on the module) must stay on. Removing the sun shield shortens sensor life and may void the warranty.
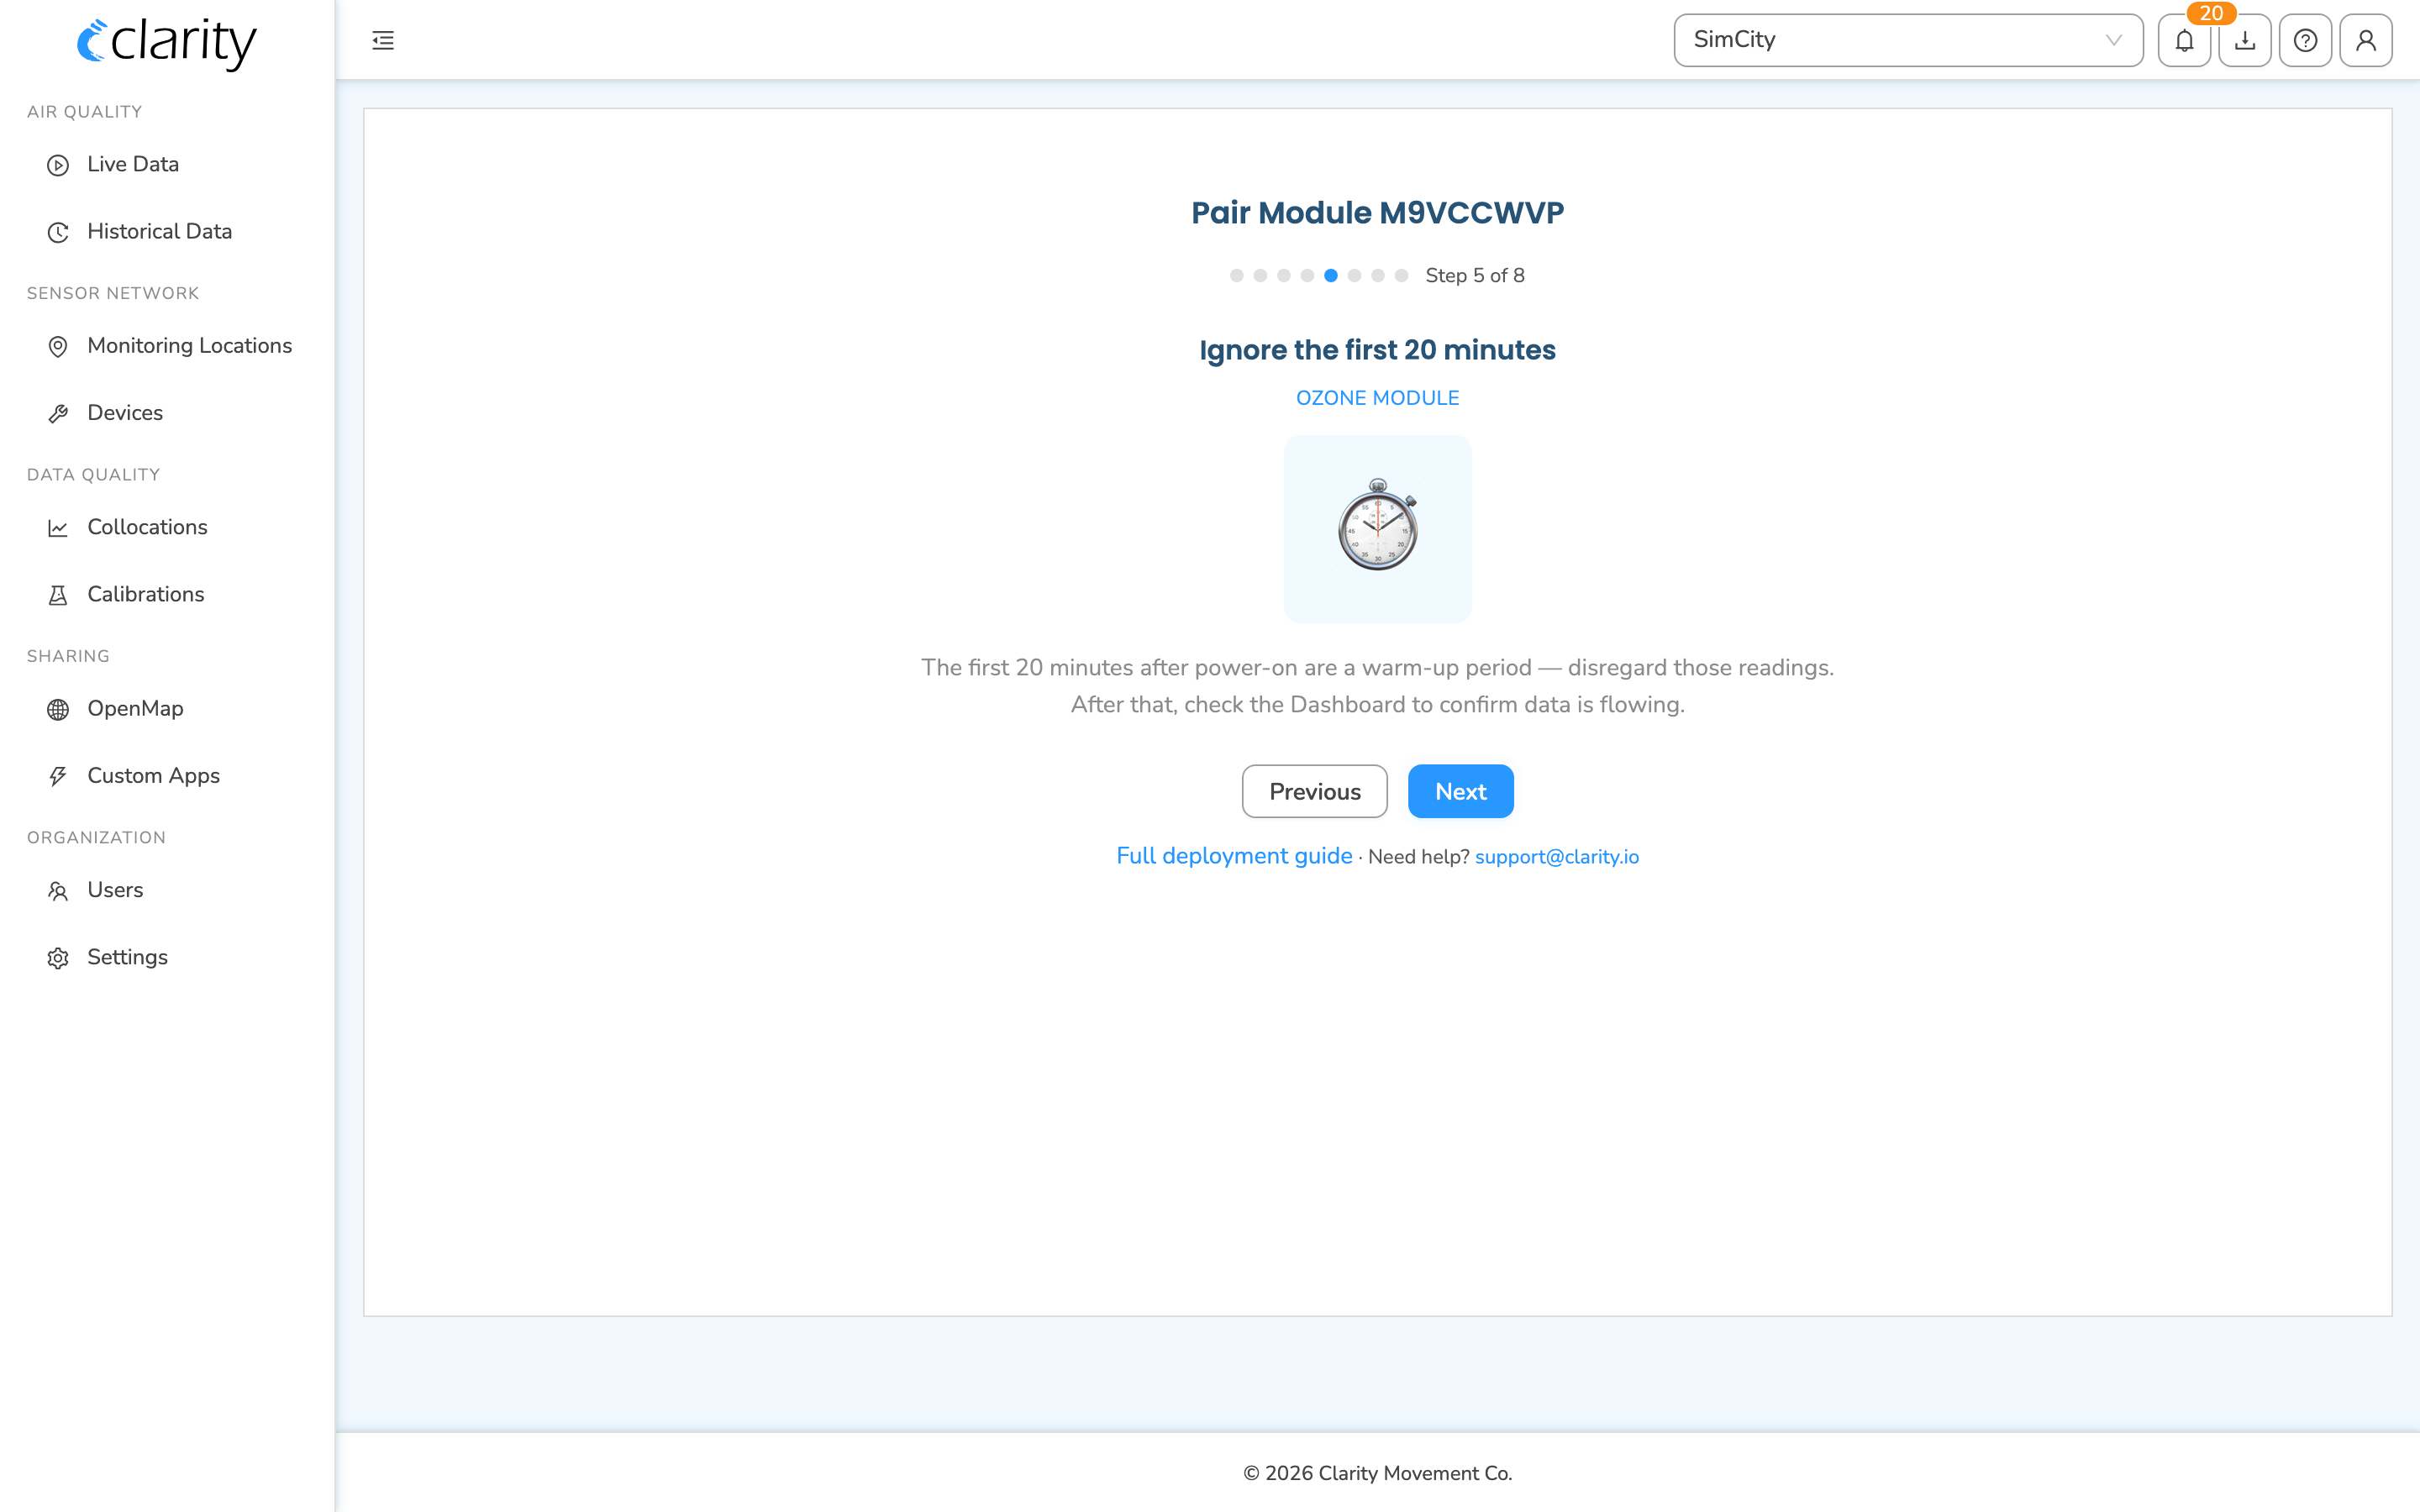
- Ignore the first 20 minutes — the first 20 minutes after power-on are a warm-up period; disregard those readings.
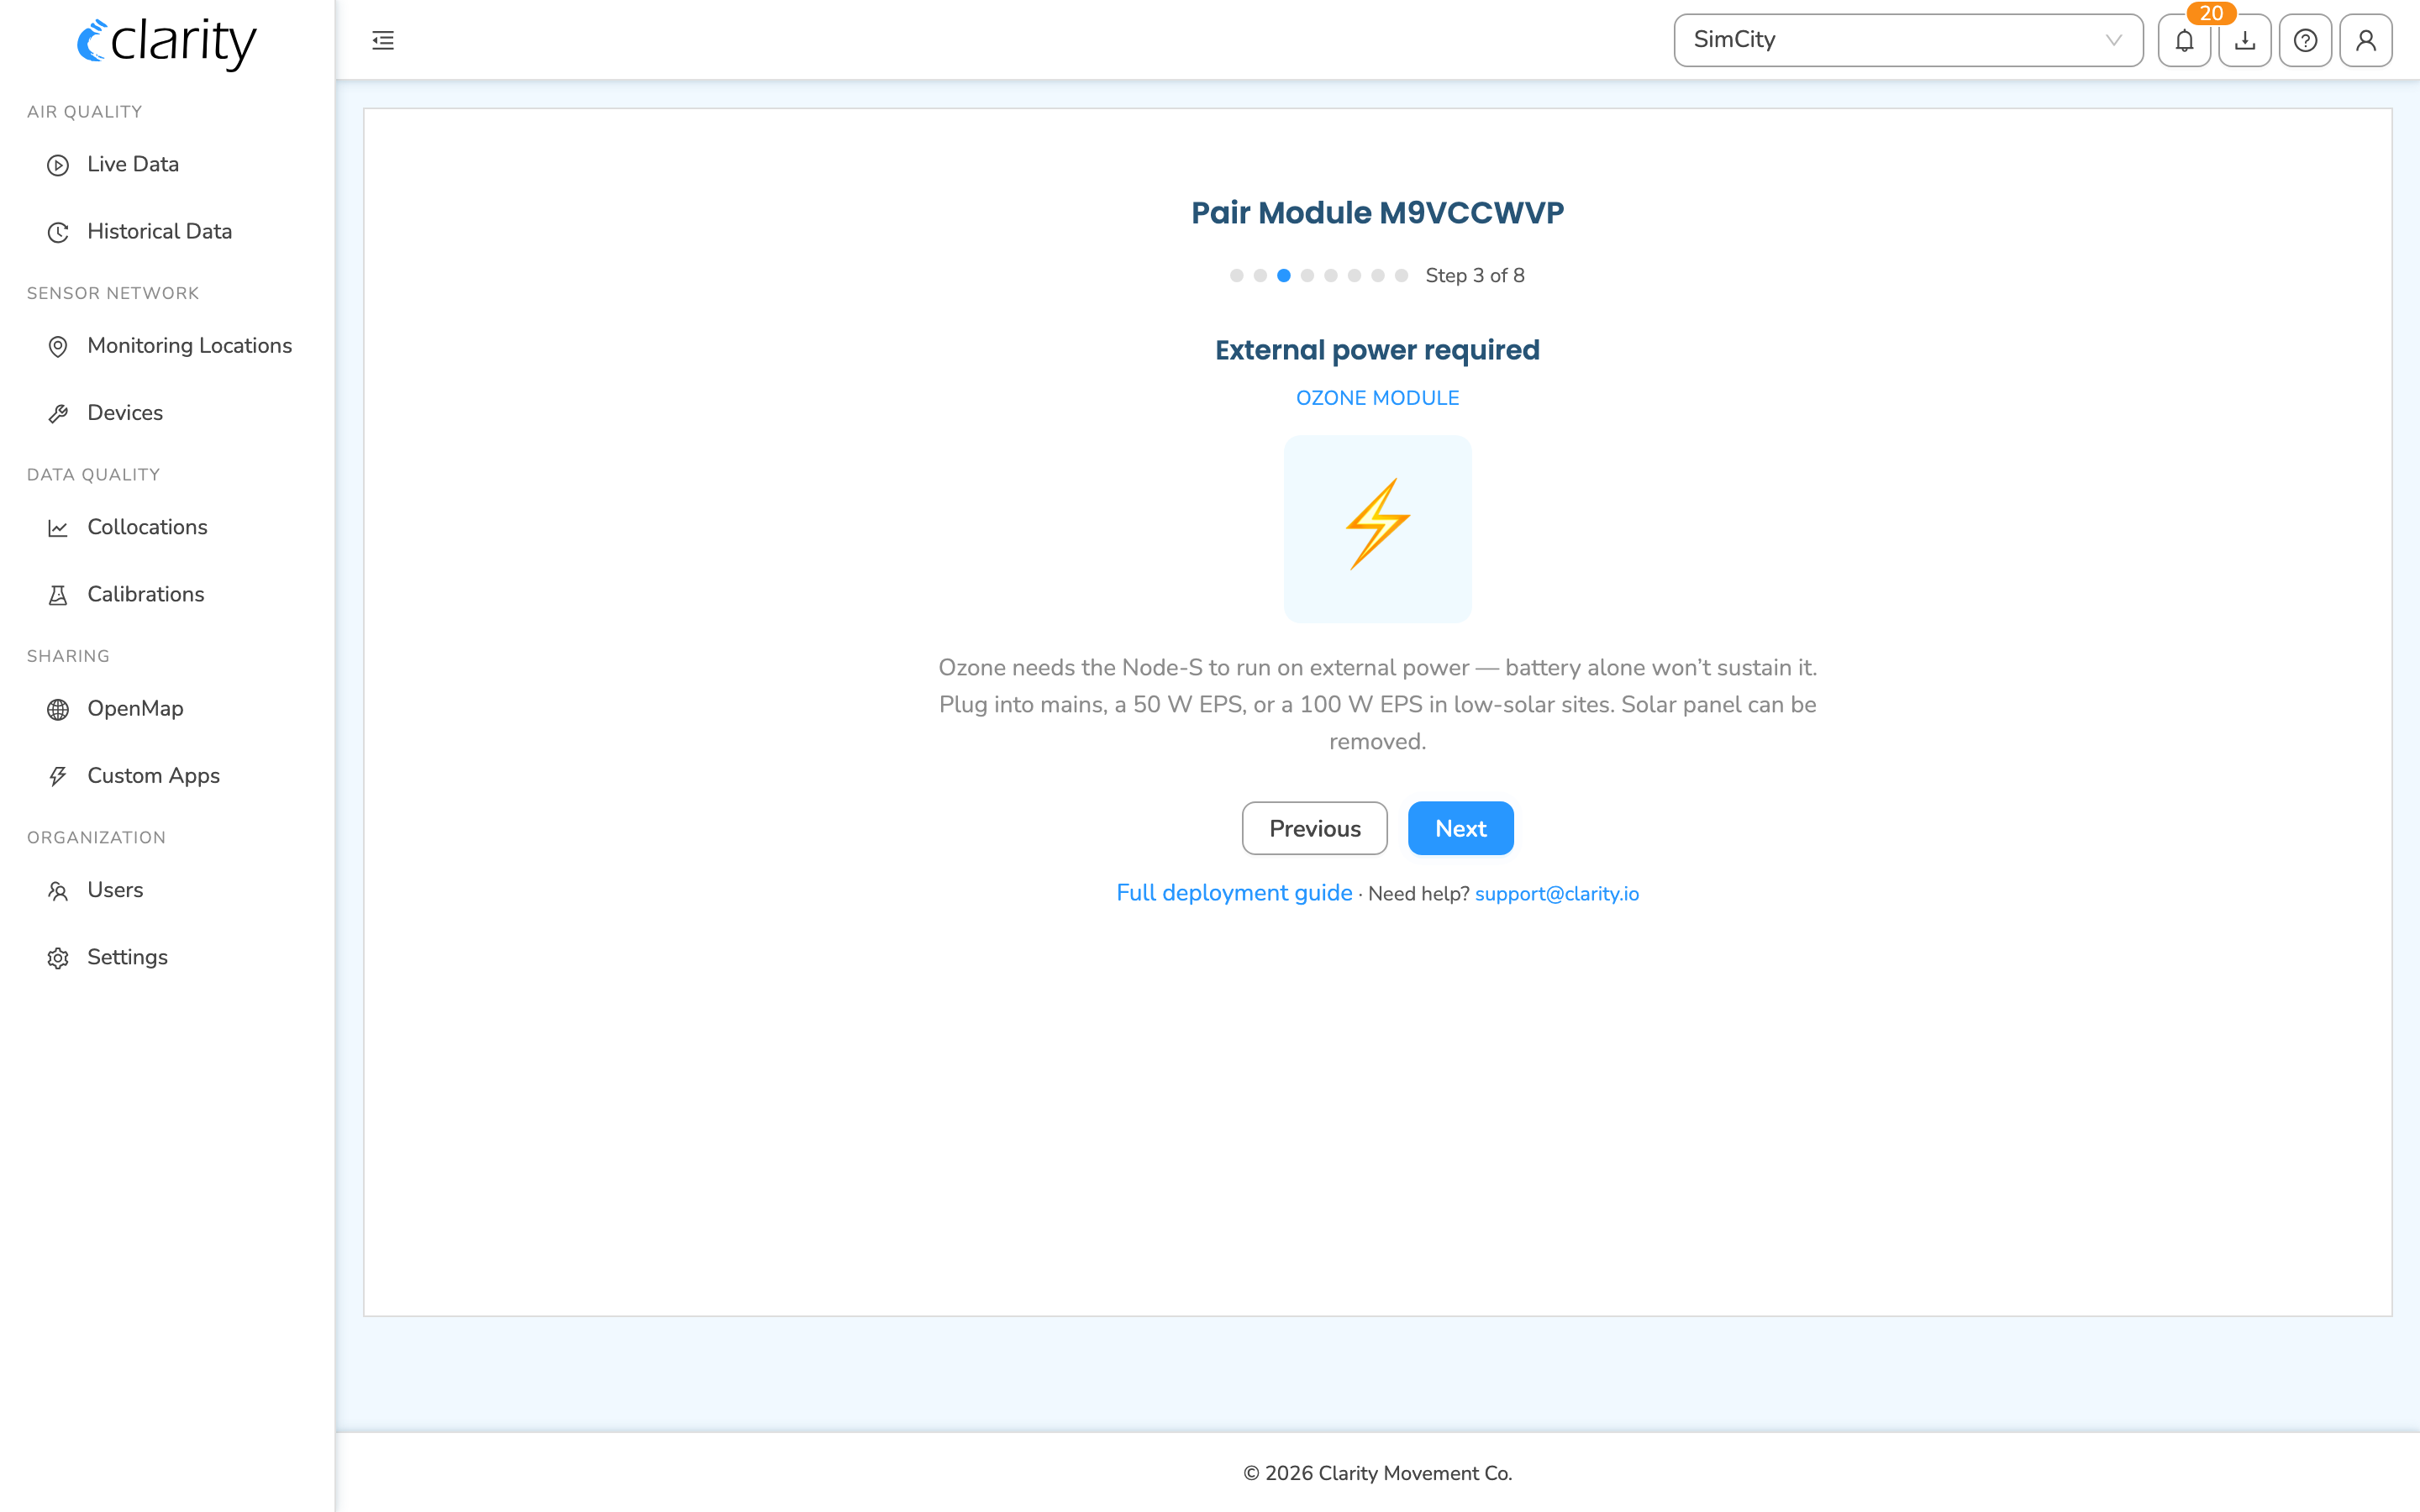
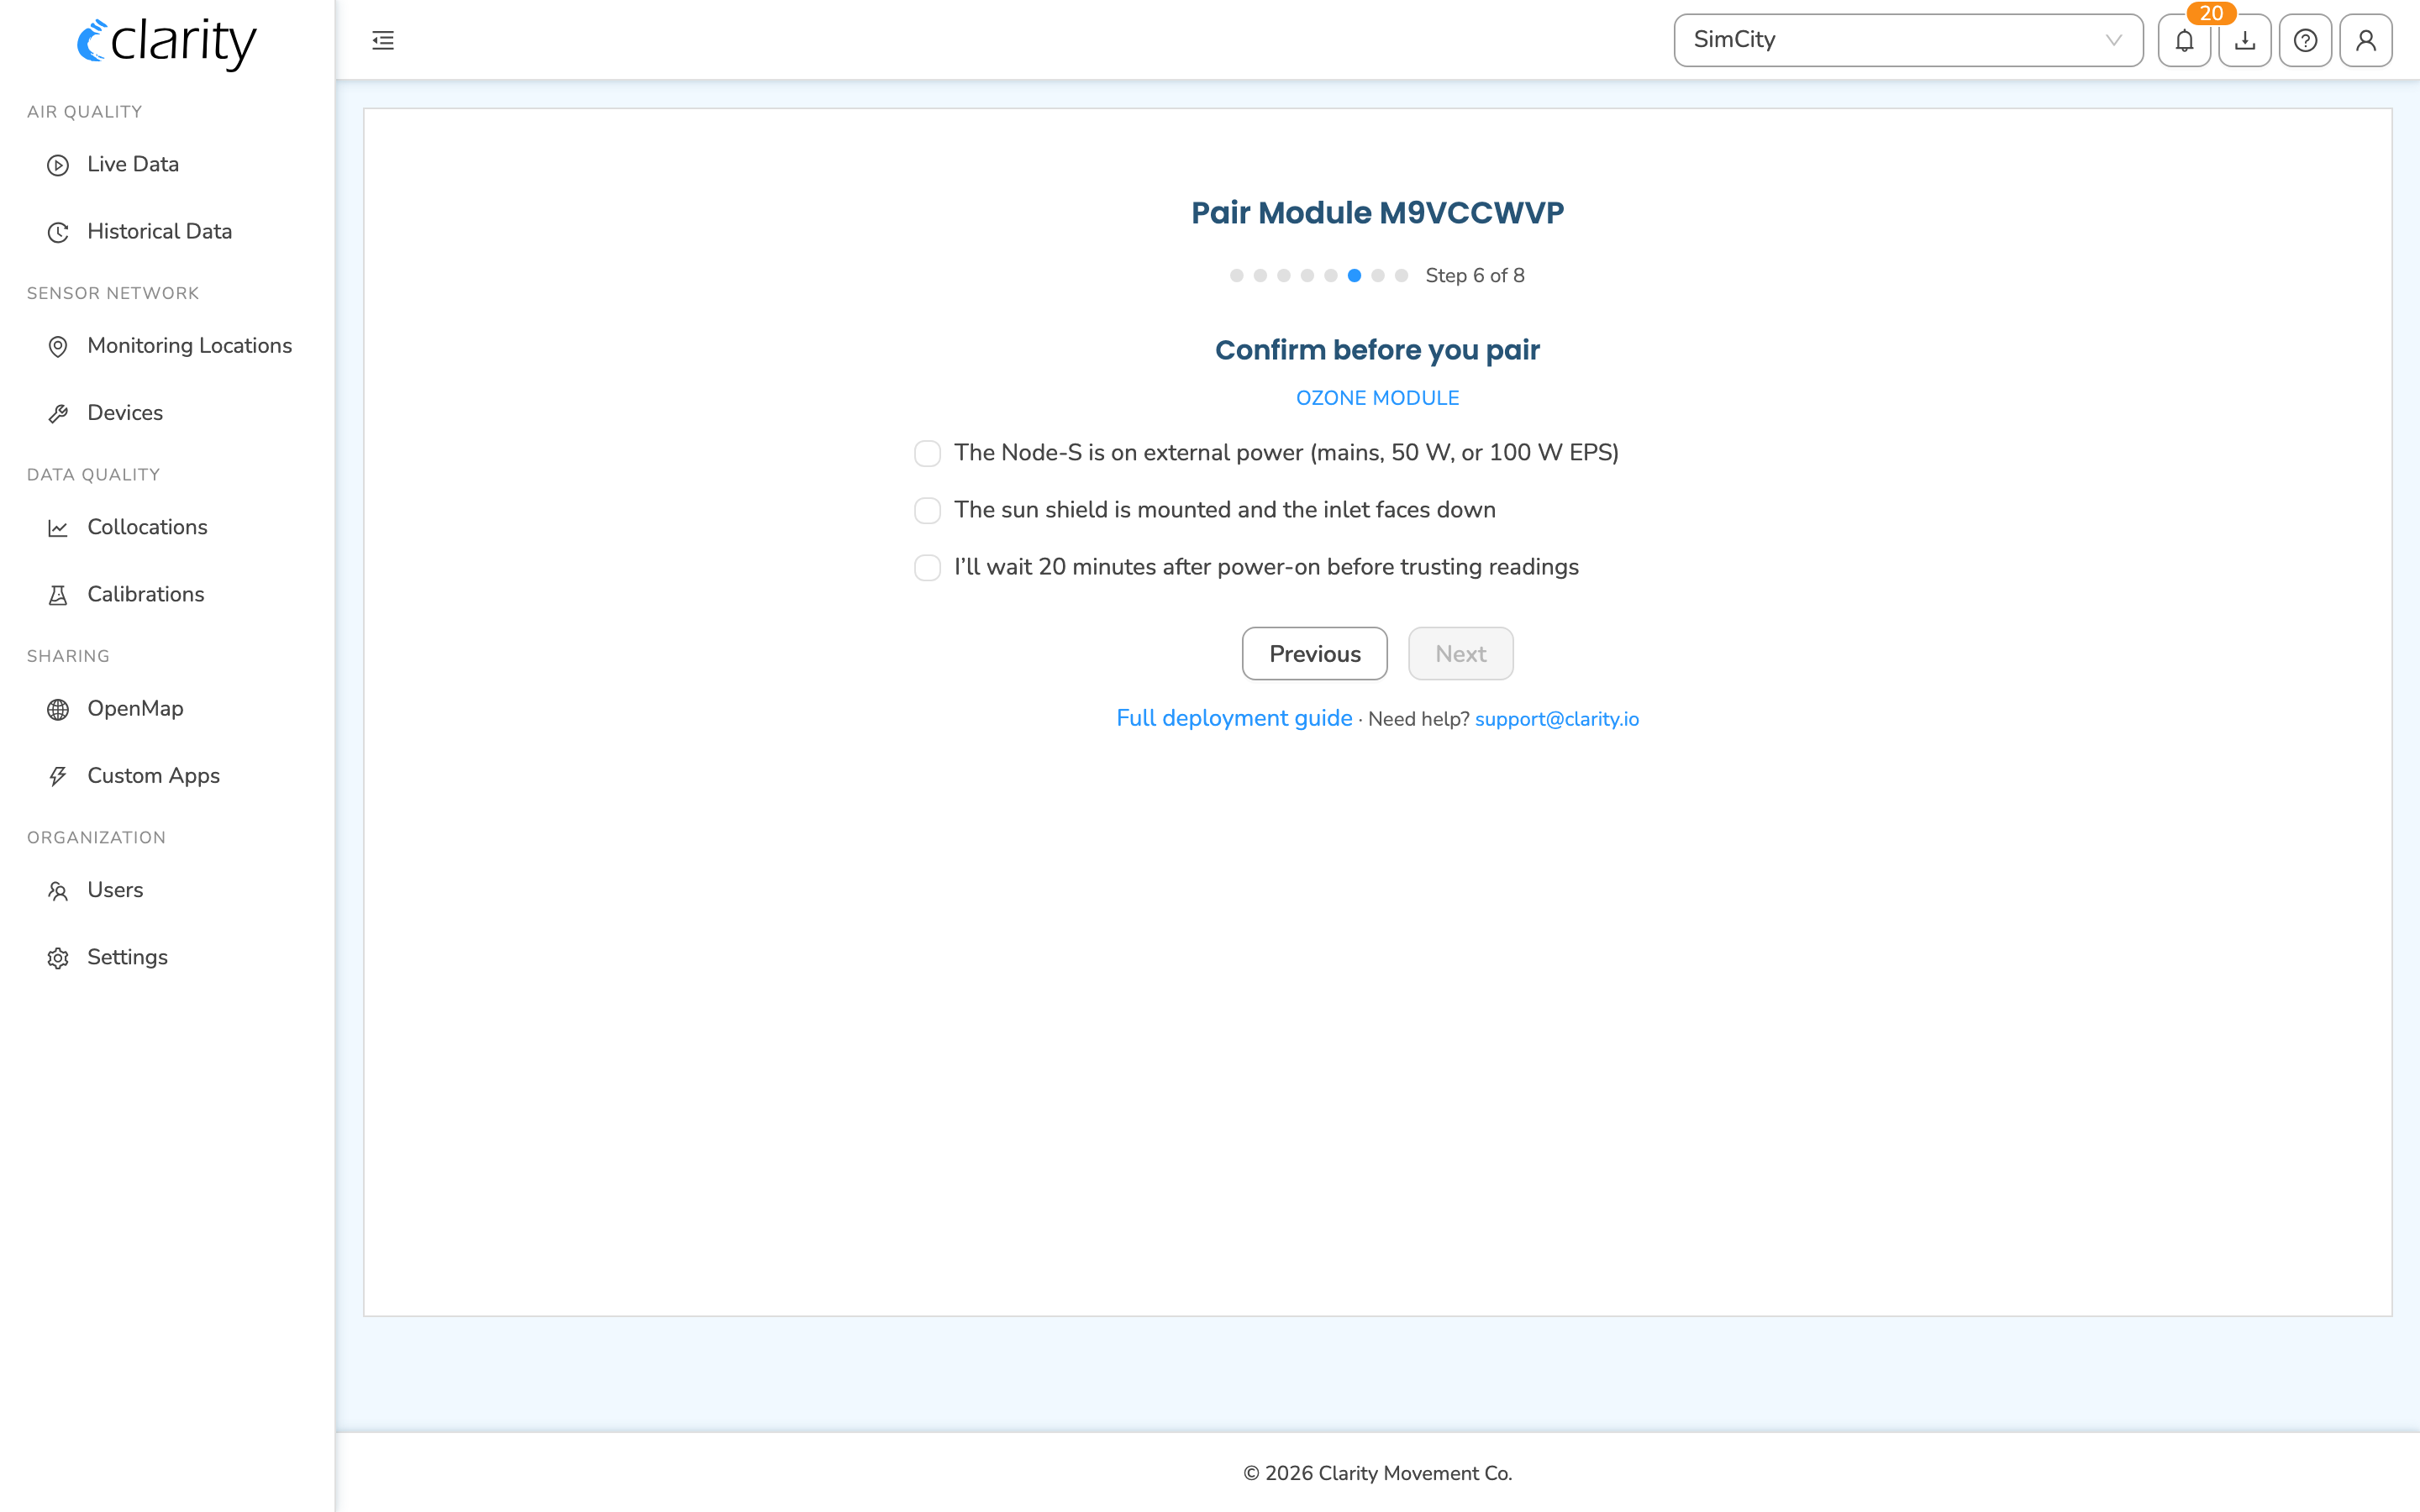
On the Confirm before you pair step, you tick each item to confirm your deployment plan — that the Node-S is on external power (mains, 50 W, or 100 W EPS), the sun shield is mounted and the inlet faces down, and you'll wait 20 minutes after power-on before trusting readings. You can't advance until all boxes are checked.
Connect the module to the Clarity Node-S
Tip: We recommend a connection test before deploying in the field, to confirm data is uploading to the Clarity Dashboard.
-
Assemble and configure the Node-S that will host the Ozone Module first. See the Clarity Node-S deployment guide.
Note: The Ozone Module requires the Node-S on external power, so the solar panel isn't needed.
-
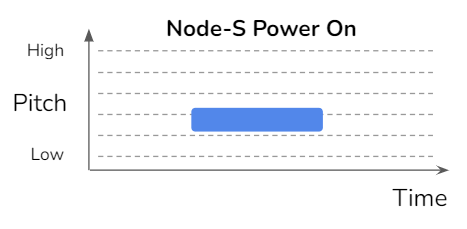
Power on the Node-S. Plug the external power adapter into the Node-S body, then plug the adapter into your external power source. The Node-S plays the Power On sound (a single beep).
-
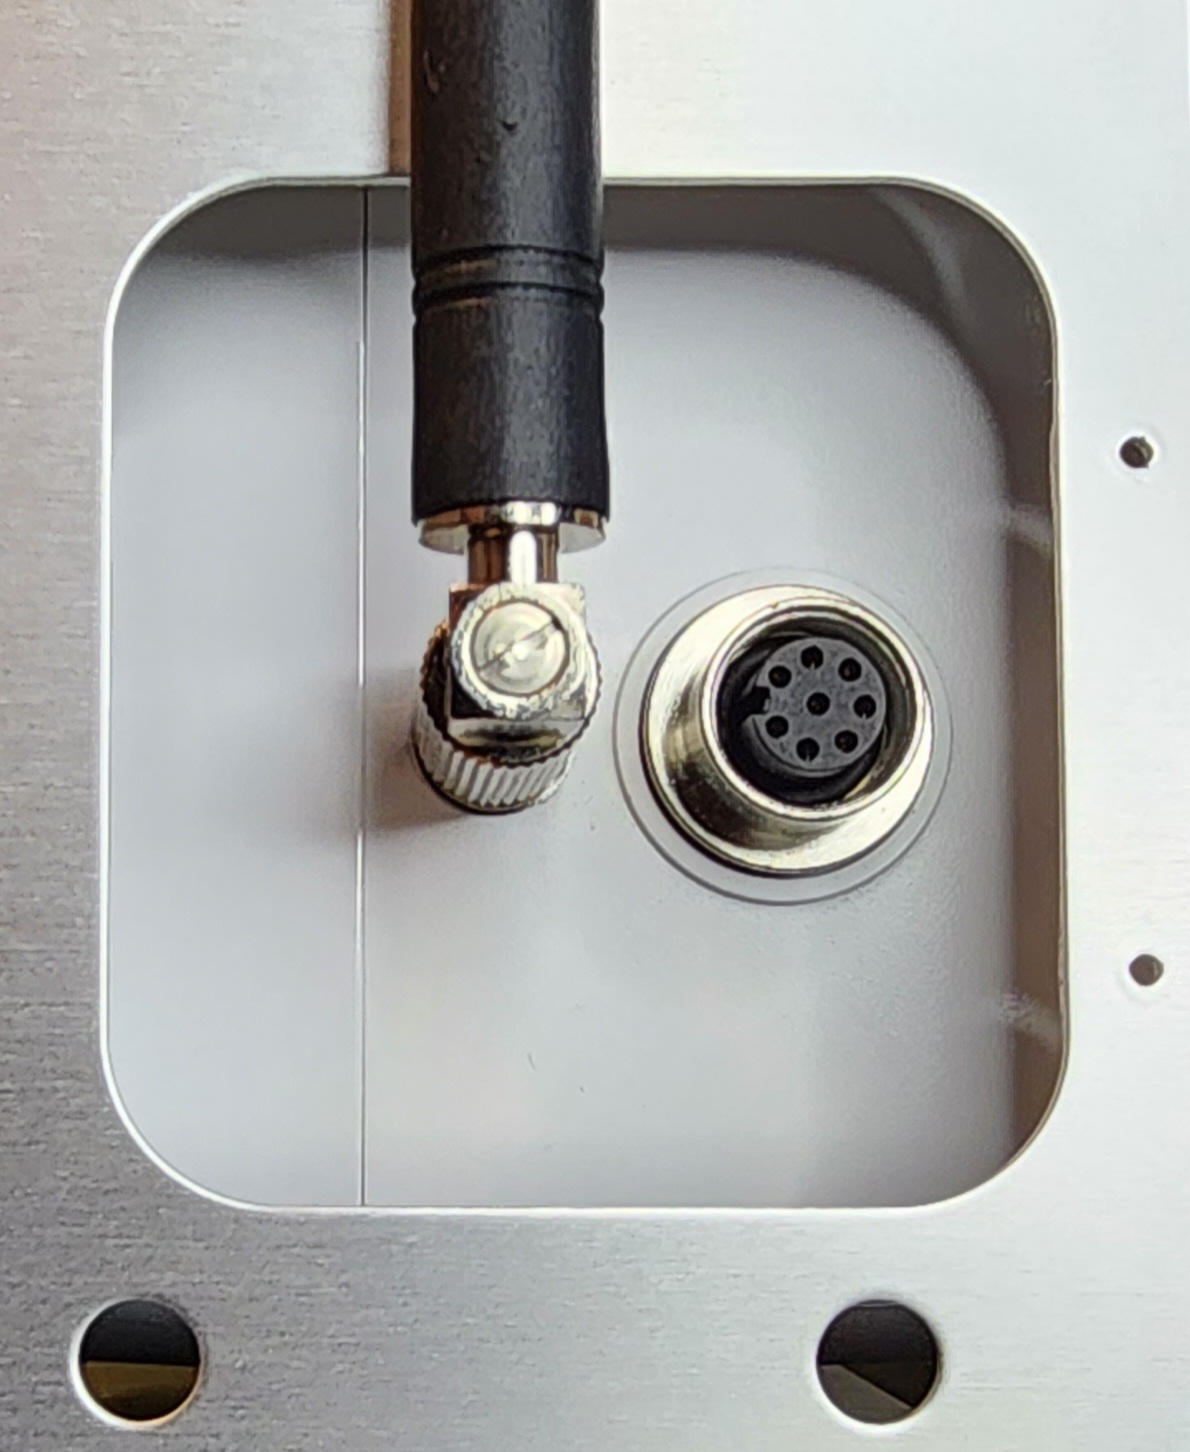
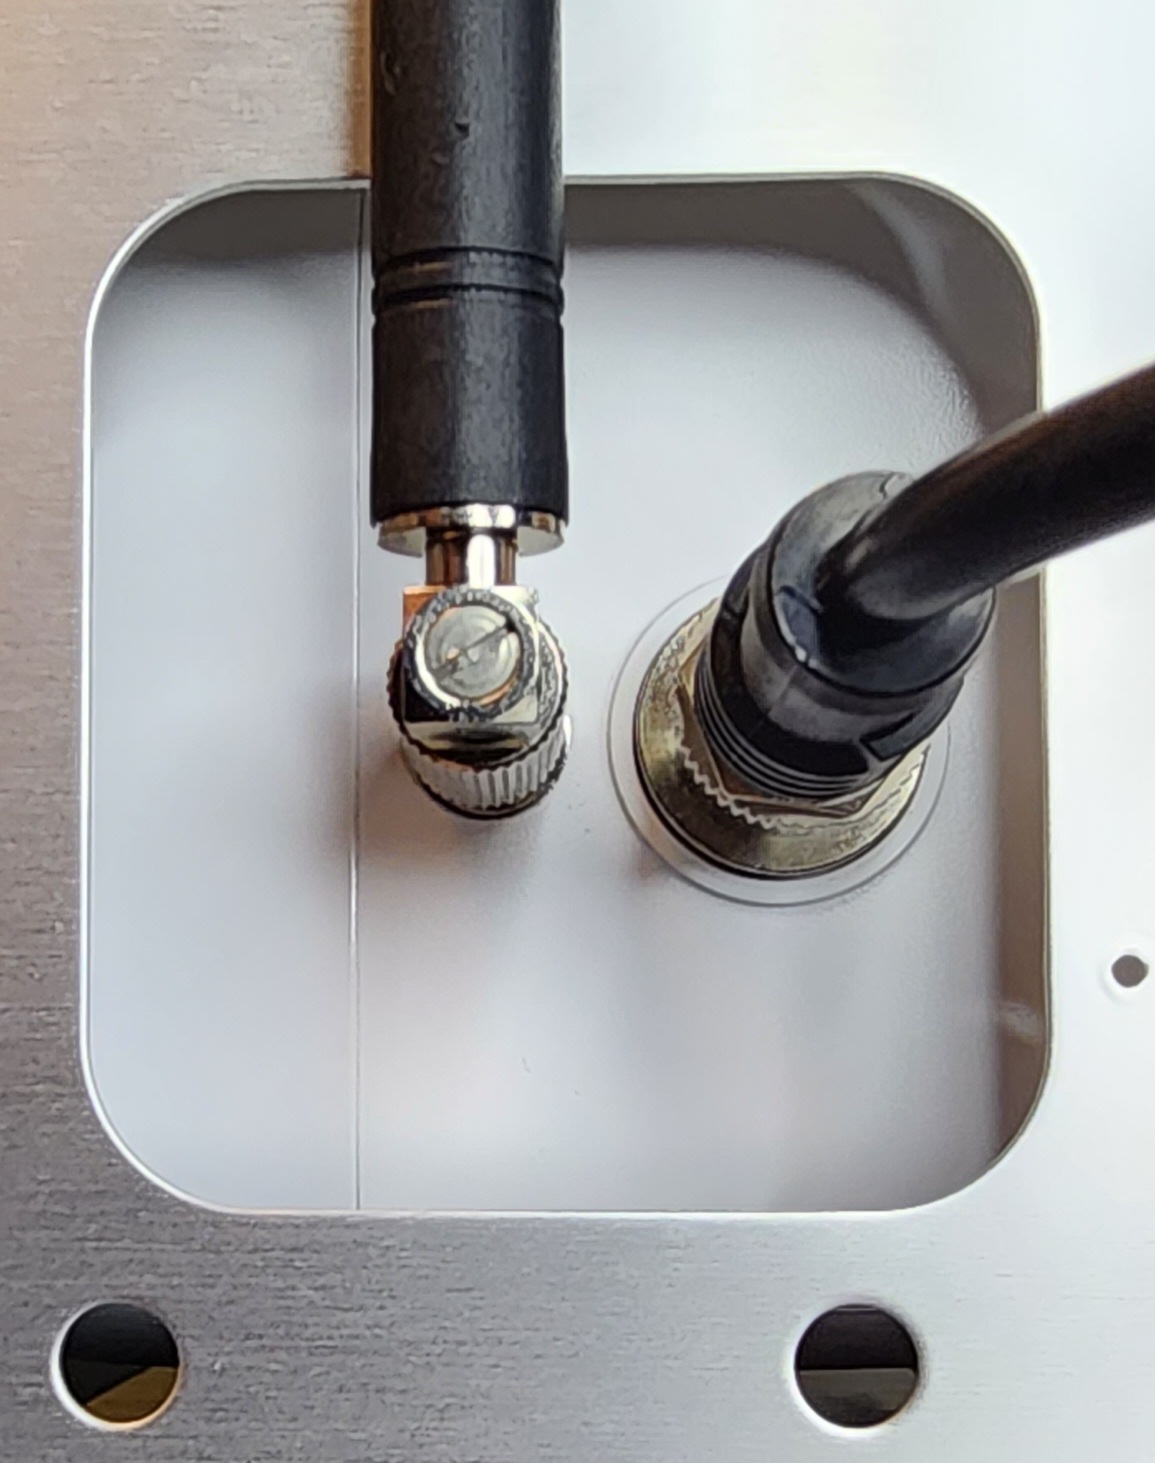
Connect the module. Plug the accessory cable into the Clarity accessory port. Twist the cable connector bushing clockwise into the threaded node connector several turns until finger-tight — do not use a wrench. While you're there, make sure the adjacent antenna connector is also finger-tight and the antenna points vertically.
-
Once the module cable is connected, the Node-S plays the Power On sound and restarts its connection to the Clarity Cloud. You'll hear the Ozone Module pump turn on and start running.
-
Wait for cellular connection. This can take 2–10 minutes depending on signal strength.
-
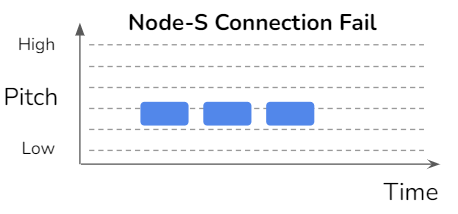
If the Node-S Connection Failure sound plays, confirm the device was configured on the Dashboard first.
-
If no sound plays, the node can't reach the cellular network — make sure you're in an area with coverage.
-
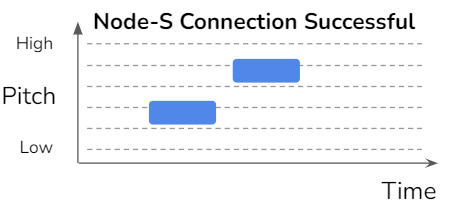
If the Connection Successful sound plays, continue.
-
-
The node then connects to the module.
- A successful module connection plays the Module Connection Successful sound.
- A failed connection plays the Module Connection Failed sound — if you hear it, check the cable connection between the Node-S and the module.
- The Module Configuration Error sound means the Node-S isn't configured to accept modules — re-check the pairing steps above.
-
Confirm data is uploading. After the module connects, check that both the Node-S and the Ozone Module are sending data. You can confirm directly in the Dashboard: open Monitoring Locations, select the node's location, and check the Devices section for a recent Last reading (a freshly paired node shows a Waiting for first reading pill until its first reading arrives). See also Confirm device data are uploading after deployment.
Note: During the first 20 minutes after starting the Ozone Module, it's warming up — disregard data from that window.
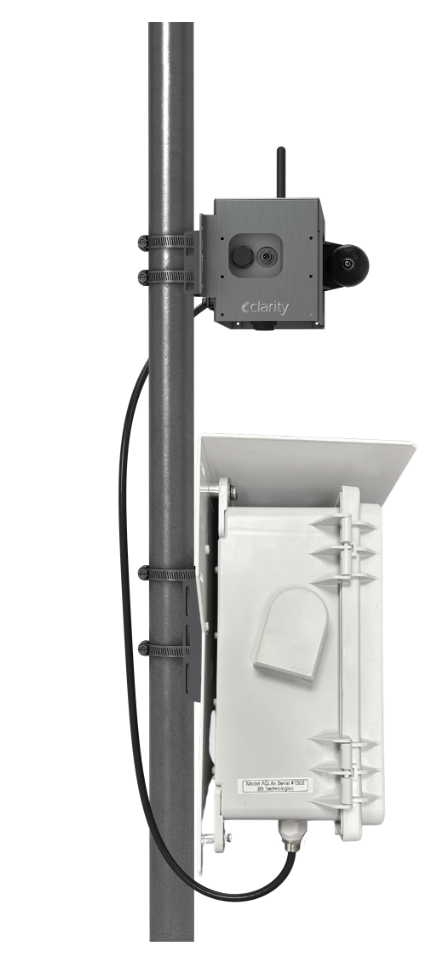
Deploy the Node-S + Ozone Module in the field
Tip: Review the Ozone Module siting tips before you choose a location.
-
After selecting your site, mount the Node-S to the pole, wall, or panel. See Deploying the Clarity Node-S.
- To make installation easier, you can temporarily detach the ozone module cable from the node's accessory port.
- Use stainless-steel zip ties, hose clamps, or screws (not provided).
- Ensure the inlet and outlet face downward and are unobstructed.
- Make sure the cable can reach the Ozone Module once it's mounted.
-
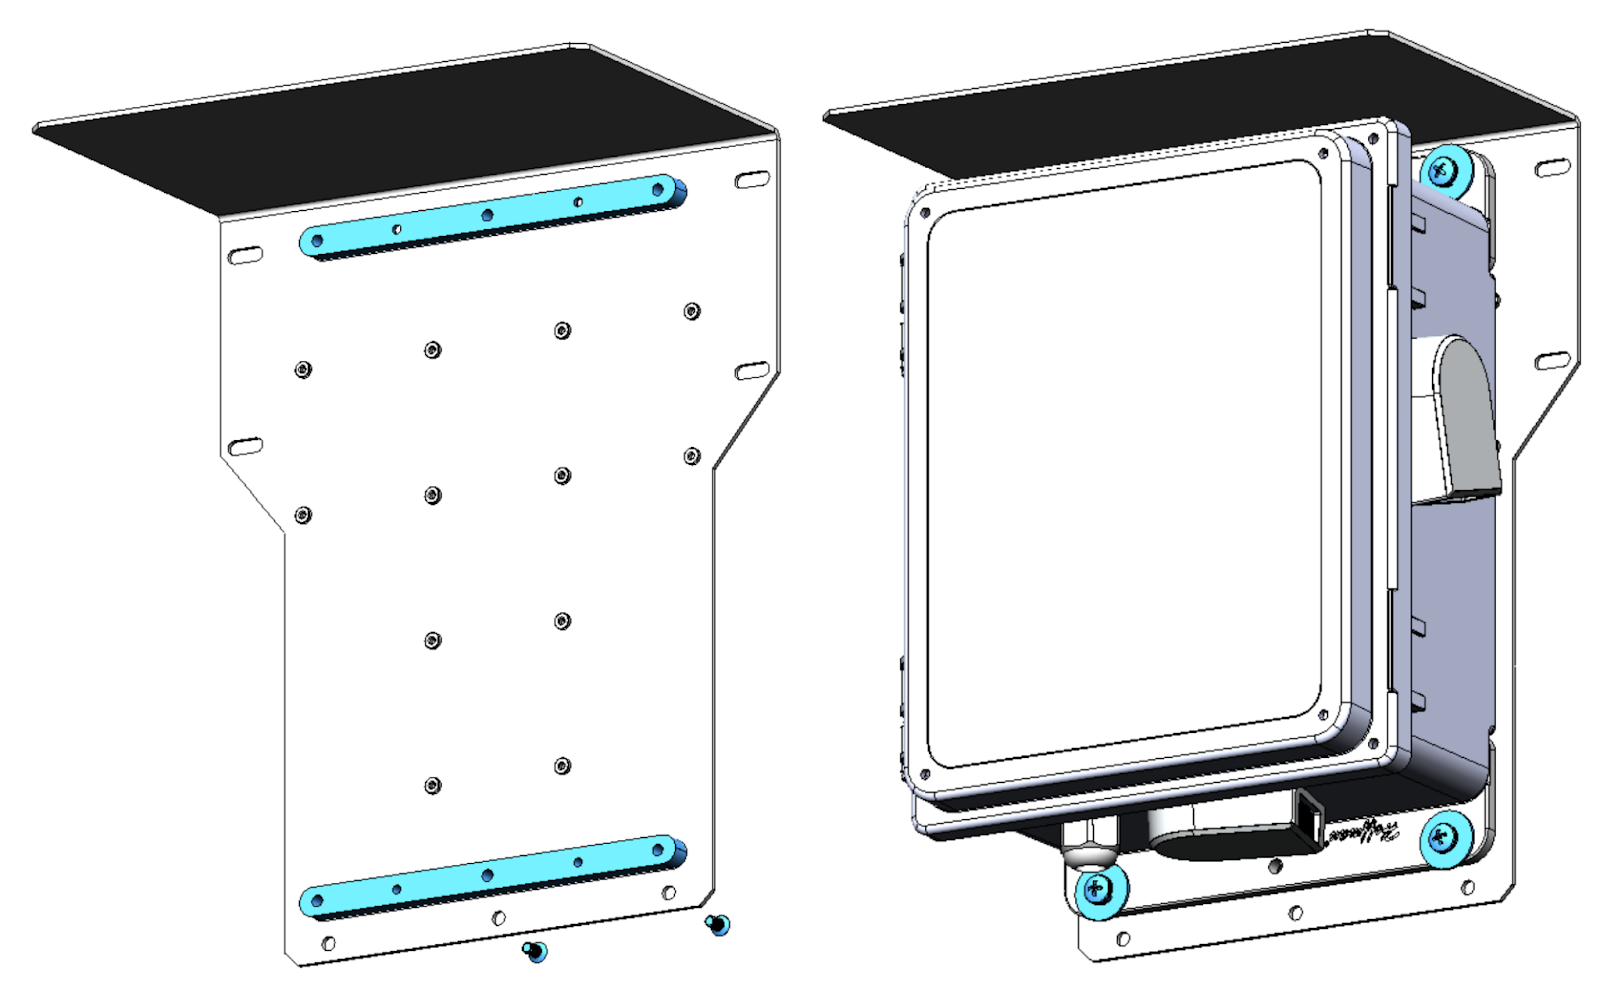
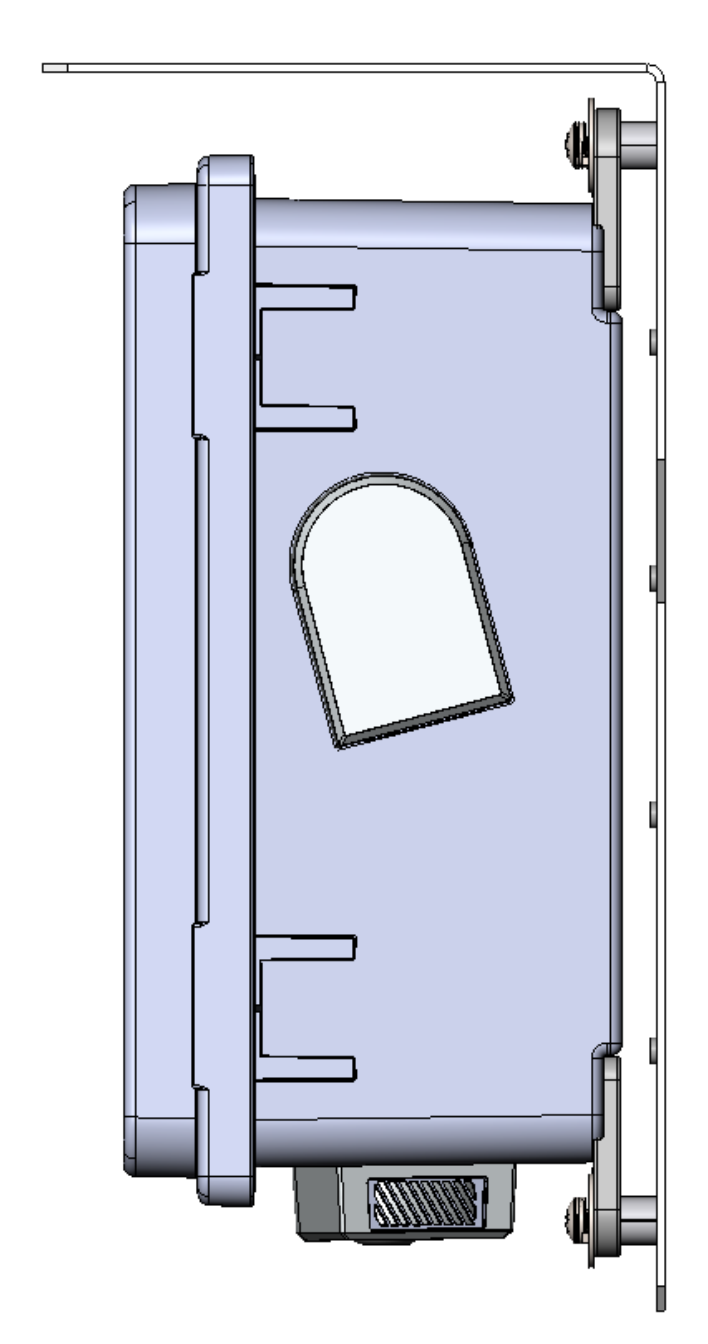
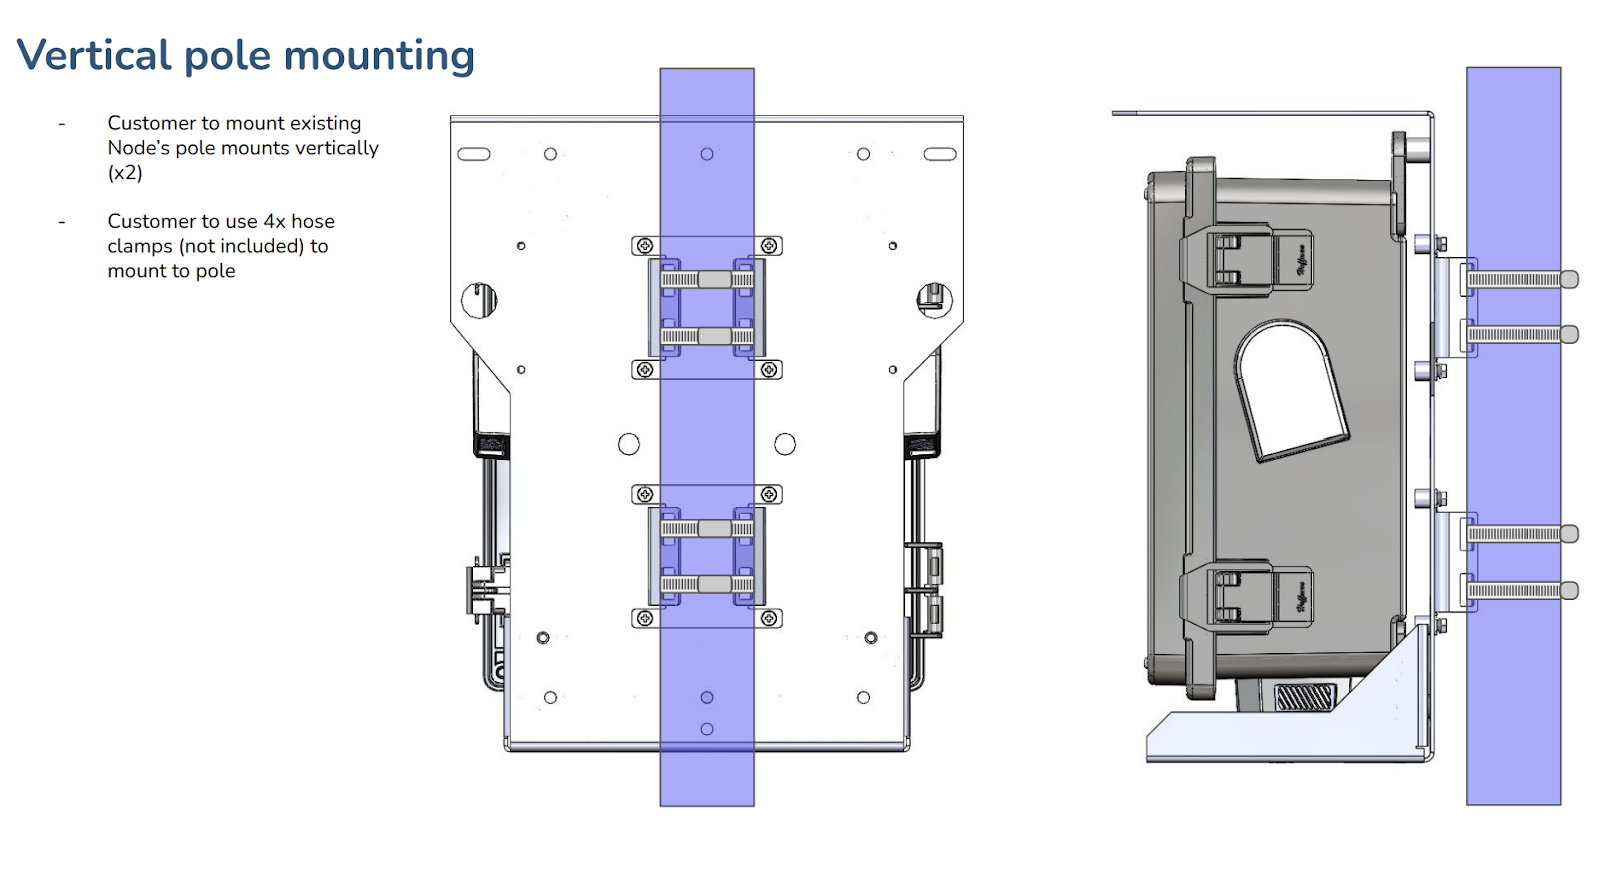
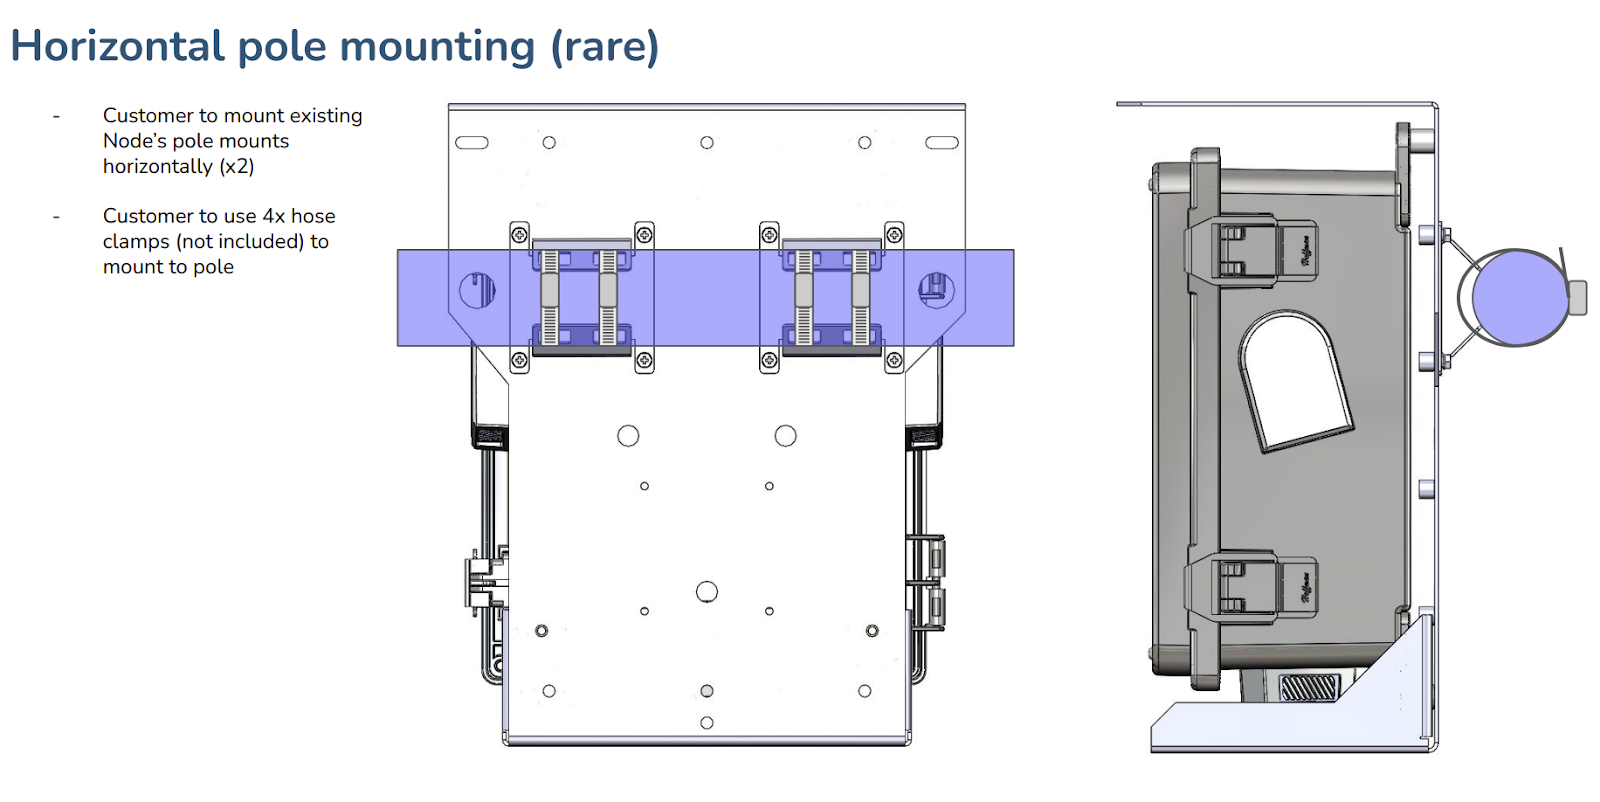
Mount the Ozone Module to the pole or panel. Refer to the dimensions and mounting diagrams below to pick the right hardware for your site:

-
Reattach the Ozone Module cable to the Node-S body after both are securely installed.
-
Listen for these sounds in sequence after reattaching the cable:


Maintenance: After deployment, see Maintaining and recalibrating your Clarity Ozone Module.
What's next
- Site your Ozone Module correctly.
- Confirm data is uploading after deployment.
- Deploy your Clarity Node-S.
- Keep your Ozone Module maintained.
Was this article helpful?
Yes, thanks! / Not really
Still need a hand? Email us at support@clarity.io or create a support ticket, and our team will get back to you.